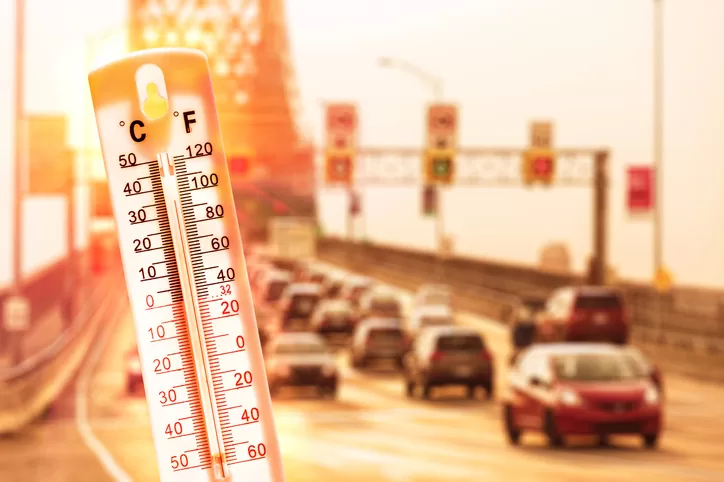
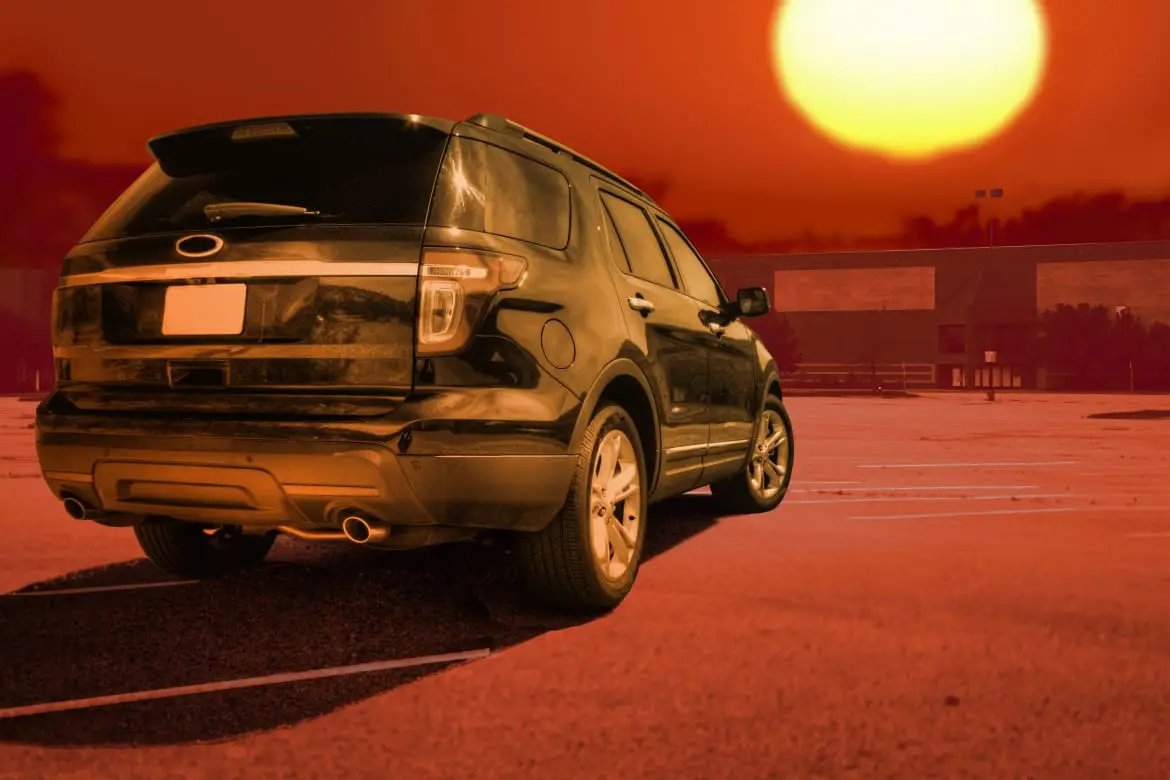
When summer heatwaves roll in, most drivers think about their air conditioning — but there’s something else at risk: your car’s paint. Prolonged exposure to extreme heat and UV rays can do serious damage to your vehicle’s exterior, especially during intense heatwaves like the ones hitting New Jersey this summer.
Here’s how heatwaves affect your car’s paint, and what you can do to protect your investment.
☀️ 1. Fading and Oxidation
Direct sunlight during heatwaves accelerates paint fading. UV rays break down the molecules in your car’s paint and clear coat, leading to a dull or chalky finish — especially if your vehicle is a darker color.
Oxidation can also occur, giving your paint a cloudy or milky appearance over time.
✅ Prevention Tip: Park in shaded areas or use a car cover. Regularly apply wax or ceramic coatings to add a layer of UV protection.
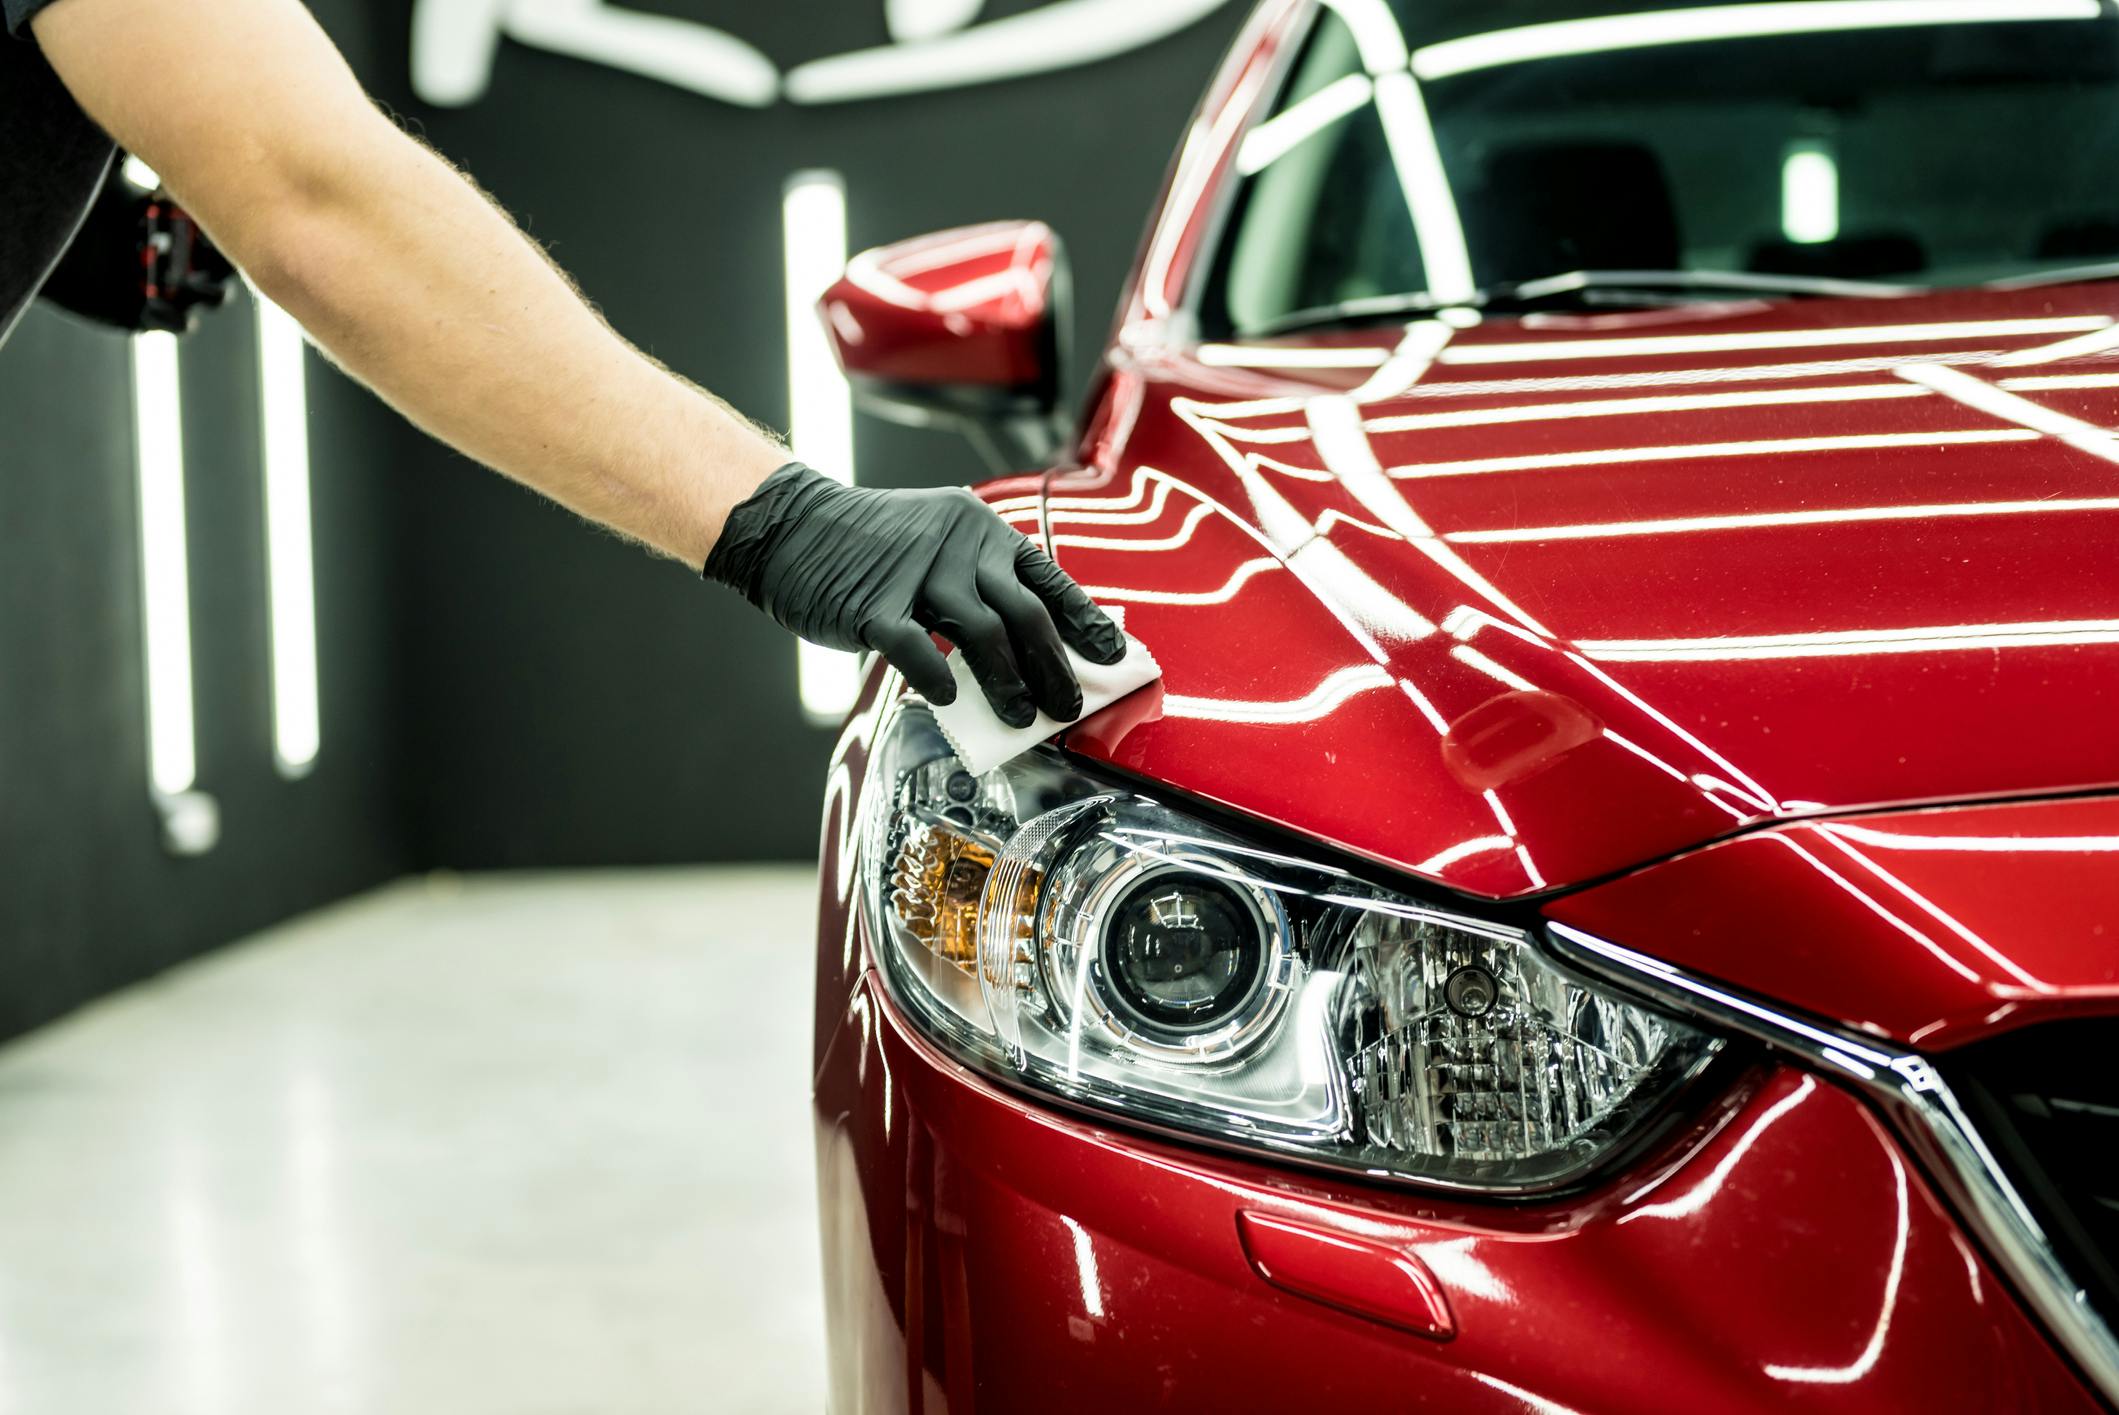
🔥 2. Clear Coat Damage
The clear coat is your car’s first defense against the elements. Extreme heat can cause this protective layer to dry out and crack, especially if the paint hasn’t been maintained.
Once the clear coat fails, your paint is exposed to the elements, leading to rapid deterioration.
✅ Prevention Tip: Schedule regular detailing. Reapplying protective coatings (wax, sealants, or ceramic) every few months helps extend the life of your clear coat.
🌡️ 3. Expansion and Contraction
Heat causes materials — including your vehicle’s body panels and paint — to expand. At night, cooler temperatures cause them to contract. This cycle of expansion and contraction can cause minor cracking in the paint over time, especially in older cars or areas with existing damage.
✅ Prevention Tip: Get chips and scratches repaired quickly. These small imperfections become vulnerable spots during temperature fluctuations.
🚗 4. Interior Heat Can Exacerbate Exterior Issues
You might not think of your car’s interior affecting the exterior, but prolonged heat trapped inside your car can impact your window seals, causing them to dry out and shrink. This leads to potential leaks and more UV exposure inside and around windows.
✅ Prevention Tip: Tint your windows and use a windshield sunshade to reduce internal heat buildup.
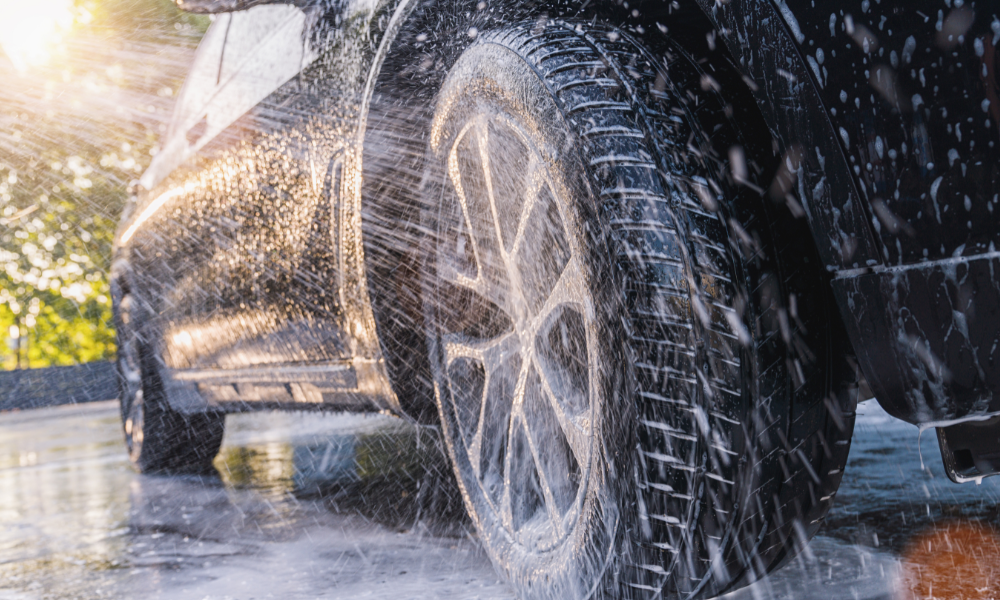
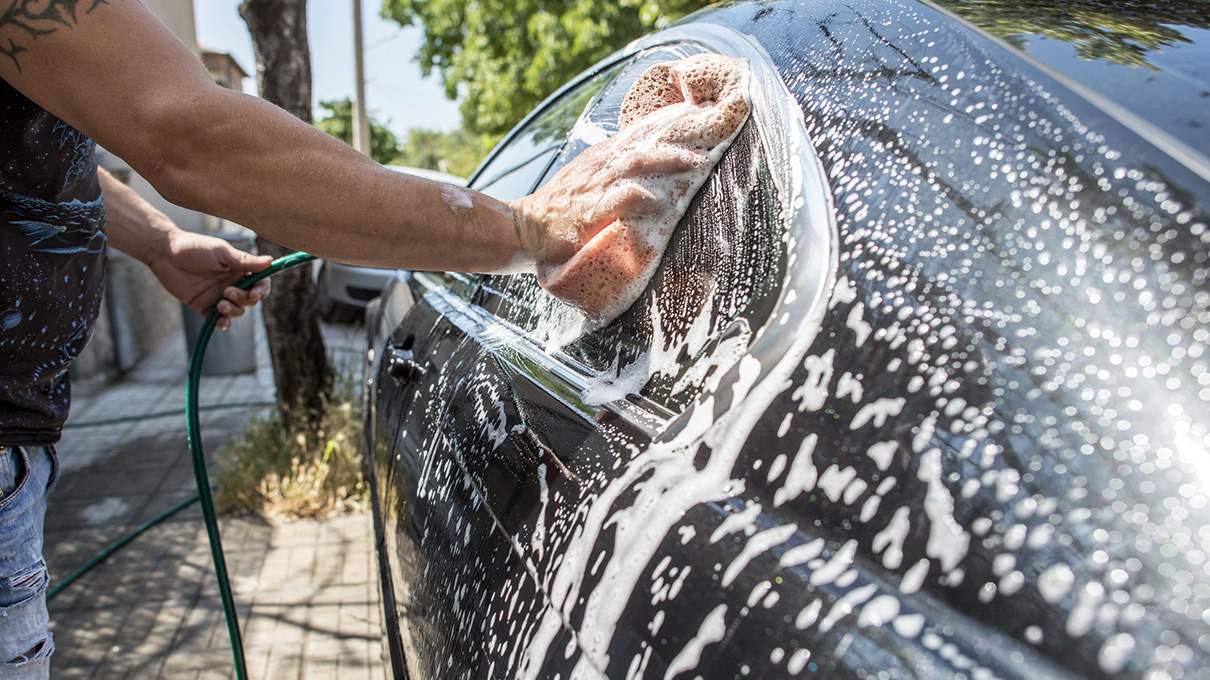
🧼 5. Washing Your Car During a Heatwave? Be Careful
Washing your car during extreme heat can actually damage the paint if done improperly. Water and soap can dry too quickly, leaving behind stains and streaks, or even burning into the surface.
✅ Prevention Tip: Wash your car in the early morning or evening, when temperatures are lower, and always dry it properly.
🛡️ Final Thoughts
A heatwave doesn’t just test your patience — it tests your car’s durability. Protecting your paint isn’t just about looks; it’s about preserving your car’s value and preventing expensive repairs down the road.
At Clifton Auto Repair & Tire Services, we offer professional detailing, paint protection, and repair services to keep your car looking sharp — no matter how hot it gets.