5 Tips to Take Care of Your Windshield Wipers

Windshield wipers are vital necessities that help keep you safe on the road. When neglected, dull wiper blades can cause problems during a sudden downpour, which is why keeping them properly maintained is so important. Here are a few of our top windshield wiper care tips to help ensure your wipers are always ready to go.

Defrost and Scrape Before Using the Wipers

Windshield wipers tend to stick when there’s been heavy snow or ice, causing them to snap if you turn them on before defrosting the windshield. In freezing temperatures, run the defroster first and scrape away any snow or ice, if necessary. It’s helpful if you warm up the car ahead of time with the defroster on high, especially if you have an early morning commute.


Replace the Blades at Least Twice a Year

Wiper blades are only designed to last about six months. After that, you’ll start to notice a decline in your driving visibility. To help combat this problem, buy replacements every six months and change them on time. You’ll also need to keep an eye on the blades for signs of early wear, such as smearing, skipping, or squeaking across the glass. The process is so easy, in fact, that you can do it yourself with a little practice.

Keep the Windshield Clean

Your car’s wiper blades are going to wear more quickly if they’re wiping across filthy glass. To help prolong their longevity, clean your windshield every time you stop to fill up at a gas station. Most stations provide a squeegee specifically for this use, so take advantage of it. Just be sure to inspect the sponge before use and wipe it with a paper towel when needed, as communal squeegees can harbor small rocks and other debris that can scratch your windshield.

Never Run the Wipers on a Dry Windshield

Windshield wipers are designed to be used when the windshield is wet. Operating them on a dry surface can cause the wipers to wear out much more quickly than they would normally, which only causes extras headaches. When you do need to clean a dry windshield, such as when there’s pollen buildup on the glass, press the washer button first. This will require you to keep your car topped up on windshield washer fluid, which is another thing to remember as part of your wipers’ routine maintenance.

Reposition the Blades During the Winter Months

Dealing with frozen windshield wipers is the last thing you want to be doing before work on a cold winter morning. To prevent this problem, pull the wiper blades away from the windshield the night before a freeze. This keeps the rubber squeegee part of the blades from freezing to the glass, and it makes it easier to scrape away any ice and snow.

Taking care of your car requires paying attention to the little things. When it comes to your windshield wipers, getting into a routine and being vigilant can ensure they’re always ready to go when you need them.

Why Did My Gas Gauge Stop Working?

Have you ever found yourself on a long drive, glancing nervously at the gas gauge as it sits dangerously close to empty? You’re not alone.

But what happens when the gas gauge stops working? It’s a scenario we’d all rather avoid, but it’s better to be prepared. Understanding how our vehicle’s gas gauge works and why it may stop working is essential knowledge for any driver. This article will delve into the common causes of gas gauge failure, providing practical advice and precautionary measures to help you avoid such situations.

What is a gas gauge and how does it work?

The gas gauge — an essential component in your vehicle — plays a vital role in alerting you when it’s time to refuel. It’s part of a complex system made of 3 main components: the gauge, the sender, and the circuit. These components work together to keep you informed of how much fuel is left in your tank. But problems can occur.

Common gas gauge problems

The most common causes of faulty gas gauges include sending unit failure, a blown fuse, circuit problems, and instrument cluster failure. We’ll discuss each in detail below.

Bad fuel sending unit

A faulty fuel gauge resistor in the sending unit can send full voltage to the fuel gauge at all times, causing it to read as full regardless of the actual fuel level. Other symptoms of a faulty fuel-sending unit include a fuel gauge getting stuck on empty or full and the fuel gauge behaving erratically. It’s like having a broken watch that either always reads 12 o’clock or jumps from time to time randomly.

Blown fuse

One common cause of a blown fuse is corrosion. Over time, elements such as moisture and salt can cause corrosion, leading to electrical issues that can blow a fuse. Once the fuse for the instrument panel is blown, it can affect the fuel gauge, making it read incorrectly or not at all.

Corroded wires and circuit issues

Corroded wires are typically caused by exposure to moisture, chemicals, or environmental factors such as salt or pollution. When corrosion occurs, it can lead to voltage and current flow degradation. When corrosion interferes with the electrical flow in your vehicle’s wiring, it can cause the gas gauge to read incorrectly.

Circuit issues can also lead to problems with your gas gauge. These issues could stem from a lack of source voltage or an interrupted ground. If the circuit delivering information between the sending unit (fuel level sensor) and the gas gauge is interrupted, the gauge may provide inaccurate readings. One common cause of circuit problems is poor-quality wire insulation.

Instrument cluster failure

Instrument cluster failure is the least common cause of gas gauge failure. However, if it does occur, it’s often the most expensive problem to fix. This is because modern instrument clusters are fully integrated circuits and may not even feature replaceable bulbs. If the gas gauge fails as part of the cluster, the entire unit must be replaced.

Can you drive with a faulty gas gauge?

The most obvious risk of driving with a faulty gas gauge is running out of fuel unexpectedly. This could potentially leave you stranded on the side of the road. More than the inconvenience of being stuck, running your vehicle on low fuel can cause the fuel pump to overheat.

Also, if your gas gauge isn’t working properly, allowing your tank to be constantly close to empty, debris can settle at the bottom of your fuel tank and cause problems with your fuel system.

How to fix a gas gauge

There are several tests to check the gas gauge. Be sure to consult with a professional if you’re not experience with safe vehicle maintenance practices. They include:

  • Instrument cluster self-test: Turn the ignition switch on but don’t start the engine. Press and hold the odometer reset button. After a few seconds, the gauges and lights on the instrument panel will go through a series of checks. Pay close attention to the fuel gauge during this process. If it does not move or behaves erratically, there might be an issue with the instrument cluster.
  • Fuel sender unit test: Disconnect the wire that runs from the sender unit to the gas gauge. Ground this wire and turn on the ignition. If the gas gauge moves to the full position, the sender unit could be faulty.
  • Voltage test: Using a multimeter set to 20V DC, test the wiring going to the gauge. If it’s not receiving 12 volts, the gauge could be faulty.
  • Ground wire test: Check the ground wire and ensure that it’s properly connected. If this wire is loose or disconnected, it can cause the gas gauge to give inaccurate readings.

Your gas gauge may seem like a small detail in your car, but its role is critical. It ensures that you are informed about your vehicle’s fuel level and helps prevent unexpected breakdowns. Make sure to routinely check that it’s running properly to ensure your safety and the safety of others on the road. Lastly, don’t forget to protect yourself and your vehicle with the right auto insurance for your needs.

4 Tire Care Tips for the Summer

When it comes to your car tires, it’s important to be extra cautious and mindful, especially during the blazing heat of summer. The intense hot weather can harm your tires and even raise the chances of them blowing out. That’s why it’s important to prioritize your car’s safety to prevent accidents and enjoy a pleasant summer journey. There are several steps you can take to ensure your tires stay in great condition and work well during the summer.  And this how you can take care of your tires:

1. Get Tire Rotation

One of the best ways to make the most of your tires and keep them from wearing out too quickly is by getting regular tire rotation. You should aim to rotate your tires every 5,000 to 6,000 miles. A common rotation method involves moving the front tires to the back or the back tires to the front, while keeping them on the same side of the car.

2. Ensure the Correct Tire Pressure

The temperature outside can change the air pressure inside your tires, making them either fill up or get less air. But if you regularly check your tire pressure, you can keep the right amount of air inside them and prevent your tires from wearing out too quickly. When you check the pressure, it’s best to do it when the tires are cold and haven’t been driven on for a while. This way, you’ll get the most accurate measurement. If you check the pressure when the tires are hot from driving and constantly rubbing against the road, the heat and friction can make the reading wrong.

3. Replace Your Tires Promptly When Needed

Over time, all tires experience wear and tear. The more you use them and the changes in seasons can make them deteriorate faster, which is something you can’t avoid. However, it’s important to carefully inspect your tires to look for signs of damage such as tread separation, cracks, or bulges on the surface. Using worn-out tires can lead to problems like longer stopping distances, less grip on the road, and brakes that don’t respond well. So, if you notice issues with alignment or air pressure, it’s a good idea to replace your tires.

4. Examine the Tire Tread

When you first get a new tire, it usually has a tread depth of around 10/32” or 11/32”. However, as you drive regularly, the tread depth gradually becomes shallower. It’s important to keep an eye on the tread depth and make sure it doesn’t go below 2/32”, as this can pose safety risks. Before going on long drives, take a close look at the tread wear. Also, run your hand over the tires to check for any uneven wear. Ideally, the surface should feel smooth and even.

Dangerous heat in cars can be lethal to people and pets

With the summer sizzle well underway, and heat indices in the triple digits more and more, the National Weather Service wants to remind you of some important safety tips for the people and pets you love.

It seems like a no-brainer, don’t leave anyone or any pet in your car. But so far this year, 18 children have died nationwide after being found in a hot car. And hundreds of pets die each year from heat stroke because they are left in a car by their owners. While most of us know the dangers of a hot car, the National Weather Service warns that this time of year, all of us need a reminder.

The temperature inside of a car can reach critical levels putting people and your pet at risk of serious illness or death in less than 10 minutes, even on a day that doesn’t seem that hot to you. And even in the winter months too. Children can either be left accidentally in the car, or may find their way into one while playing and find themselves unable to get out. With the hot and humid weather expected, vehicle temperatures can reach lethal levels in a very short time.

5 Driving Tips for Extreme Heat

The forecast in New Jersey: Hot and getting hotter. And, that can make for troublesome travel.

When the temperature increases, decrease your risk on — and off — the road with these safety tips:

1. Check your tires. You’re already checking your tire pressure every month, right? Even if you are (most of us don’t), keep a closer eye on them during the warm months. Heat can increase tire pressure rapidly.

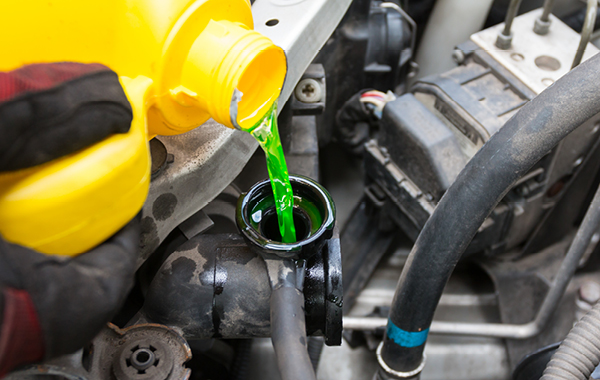
2. Keep cool under the hood and inside your car. If you don’t remember the last time you had your engine coolant checked and flushed (mechanics recommend flushing and refilling every two years), now is probably a good time — before you hit the road. Give your air conditioning a test run, too. If it’s not cooling you down, get it serviced.

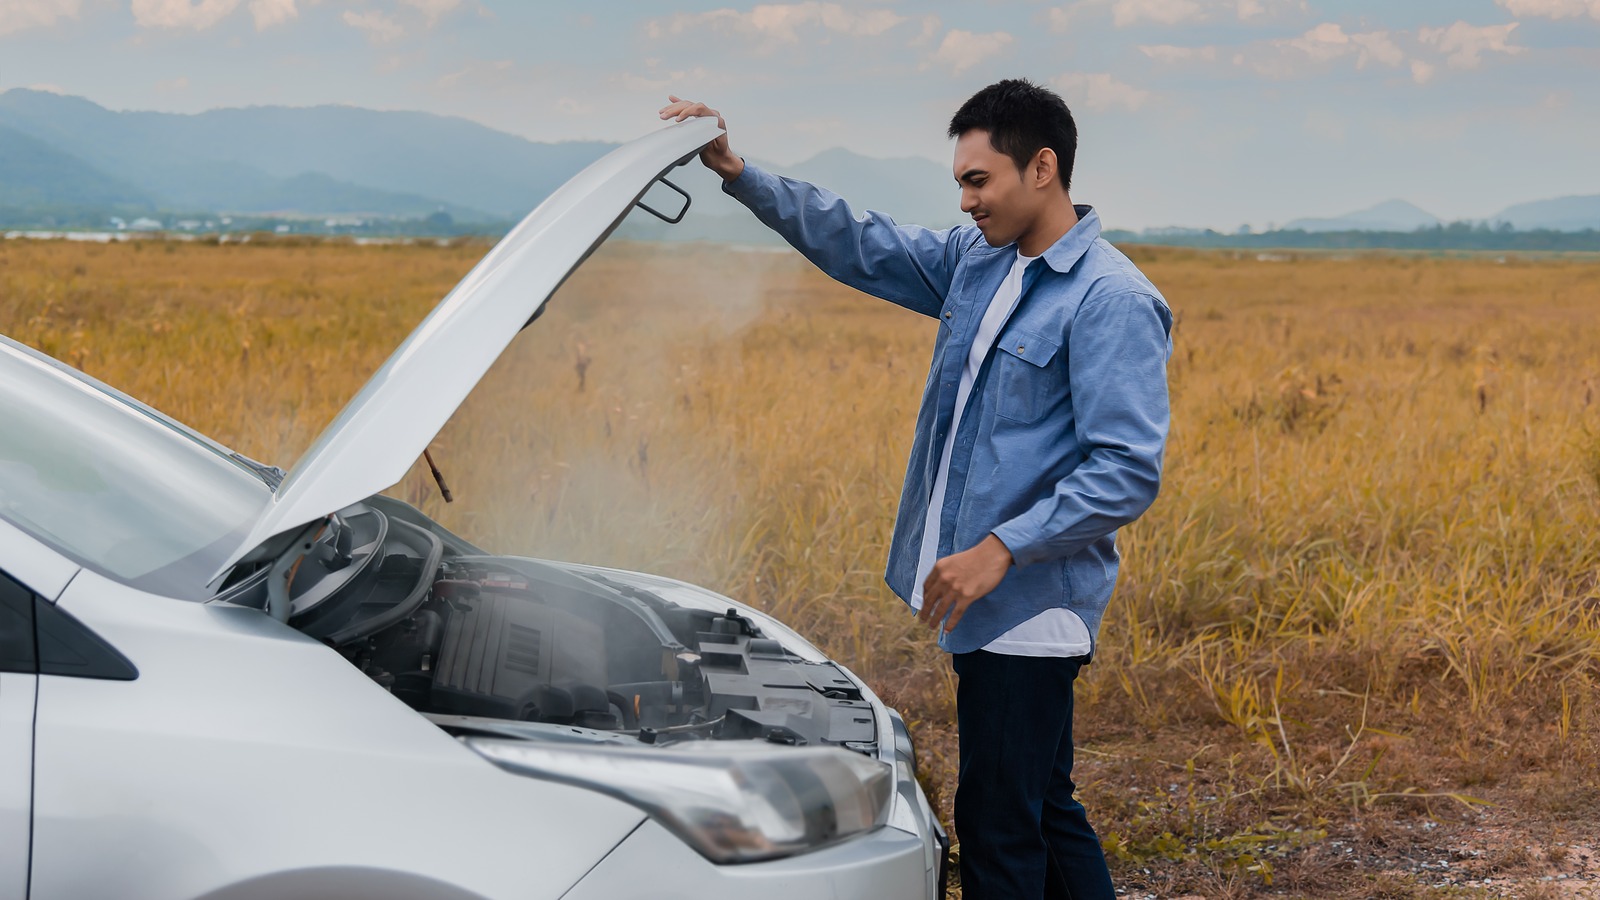
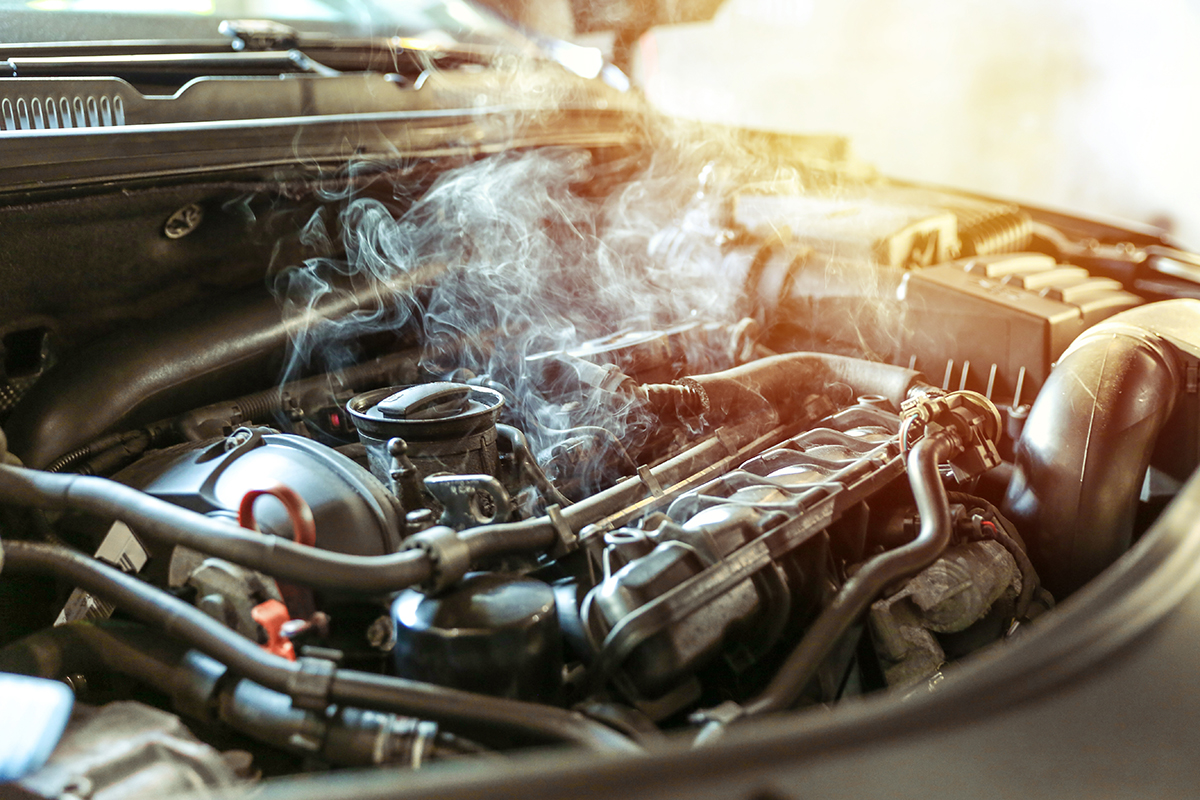
3. Act quickly if your car starts to overheat. When your car’s temperature moves above the halfway mark on the dashboard, try turning off your air conditioning and turning on your heat to give your engine a break. Pull over if it’s safe to do so, and give your engine even more of a break. Call for roadside assistance if there’s steam or smoke, and get away from the car if it’s smoke. More of a do-it-yourselfer? Be careful opening the hood of an overheated car, and don’t add coolant or water until the car cools down.

4. See to the comfort — and safety — of your passengers. Within just 10 minutes of parking your car on a 90-degree day, the interior temperature can hit 110 degrees. Don’t leave kids or pets in a parked car, even for just a few minutes, and bring plenty of water for the trip. The back seats and cargo areas of many cars don’t get as much air as the front seats, so make sure your kids, both human and furry, stay hydrated.

5. Proceed with caution in an electric car. High temperatures (and cold ones, too) can reduce the charge of your battery, sometimes by as much as 40 percent. You’ll want to take that into account when planning a trip.

Different seasons bring different car maintenance needs. Follow these tips to help make sure you and your car both stay cool in the heat.

How to Protect Your Car From Sun Damage

There’s never a bad time to think about sun damage and your vehicle. Even now in the winter, the sun is still beating down on your car, truck, SUV or motorcycle, and damaging everything from the paint to the interior.

People who benefit from covered areas to park – public or private garages, covered spots, or even shade under a tree – also see reduced damage from exposure. That being said, not everyone has the ability to find a place to park and block the rays.

The good news is that there’s plenty that you can do even further to reduce the effects of the sun on your car. Here are a few ways to protect your interior, exterior, tires and yes, even the engine from damage brought on by the sun!


Exterior Sun Damage Protection

Obviously, the exterior of your vehicle suffers the most exposure to the rays of the sun. It’s built to withstand it – but heat and UV rays can still take their toll.

  • Wash Your Car Frequently
  • Hand Dry, Don’t Air Dry
  • Wax
  • Ceramic Coating

Interior Sun Damage Protection

Inside your vehicle, it’s more to do with covering up than chemicals. Obviously, you can’t just cover up the outside of your vehicle conveniently – but there’s plenty of preventative measures to take inside.

  • Seat Covers
  • Windshield Sun Shades
  • Regular Cleaning and Protecting: Especially plastics and rubbers
  • Leather Care

Wheels, Tires, Engine, and More

More than just looks can be affected by the sun. How your car runs and operates can also suffer from degradation from the sun.

  • Wheels: As many wheels feature the same paint and clear coat of the exterior, they can be degraded similarly. This means treating them the same! Wash, hand dry, and wax if possible.
  • Tires: Rubber in your interior gets punished by the sun – so no surprise that it punishes the rubber of your tires too. Regular use of tire dressing or rubber protectant will help prevent your tires from fading, cracking, or blistering.
  • Engine: While the engine isn’t directly affected by the sun – the damage the sun does elsewhere can put a strain on your engine. Make sure to check your battery, cooling system, belts, and other fluids regularly when the sun is beating down!

Protection During Car Transport

Sun damage isn’t just when you’re behind the wheel or when your vehicle is parked in your driveaway. It’s anywhere the sun is up, and your vehicle is in the open. Even when you are having it transported it is exposed to the sun’s rays.

A great way to prevent any additional sun damage during transport is by opting for one of our enclosed trailer options. We often talk about how these protect your vehicle from road debris, but they also protect your car from unnecessary sunlight exposure, heat, and UV rays. Using enclosed transport will get your car where it needs without unnecessary exposure.

Top 10 Tips to Successfully Maintain Your RV

These 10 handy tips will help you successfully maintain your RV and protect your investment.

1. Inspect the roof seals and seams of your RV

Be sure to inspect your RV’s roof for leaks every three months. Water leaks can occur through any open seams in your roof’s edges, vents, skylights, or air conditioning unit. Initially, water will soak into your roof’s outer wood framework and then it will seep through the inner ceiling panels causing extensive amounts of water damage. There are a number of sealants you can use to patch up your RV’s roof leak. It is important that you use a sealant compatible with the material of your RV’s roof. RV roof materials can range from: Fiberglass, Metal, EPDM (Rubber), TPO, and ALFA.

2. Tighten your RV’s wheel lug nuts and check tire pressure.

Before every RV trip, be sure to tighten your RV’s wheel lug nuts and measure tire pressure to ensure your safety on the road. Check the vehicle’s wheel lug nuts to make sure they haven’t loosened up at any point during previous travel or while in storage. Driving with loose lug nuts is dangerous and could lead to losing a wheel on the road. In addition, checking your RV’s tire pressure is important because overinflated tires may explode, doing damage to your RV, and possibly causing you to get into an accident on the road. Underinflated tires are also dangerous, creating control problems and generating more resistance on the road, which effects your gas mileage.  Tire pressure changes as temperature increases and decreases, so if your RV has been sitting all winter, your tire pressure will have significantly dropped creating an unsafe and fuel inefficient ride.

3. Check your RV’s batteries.

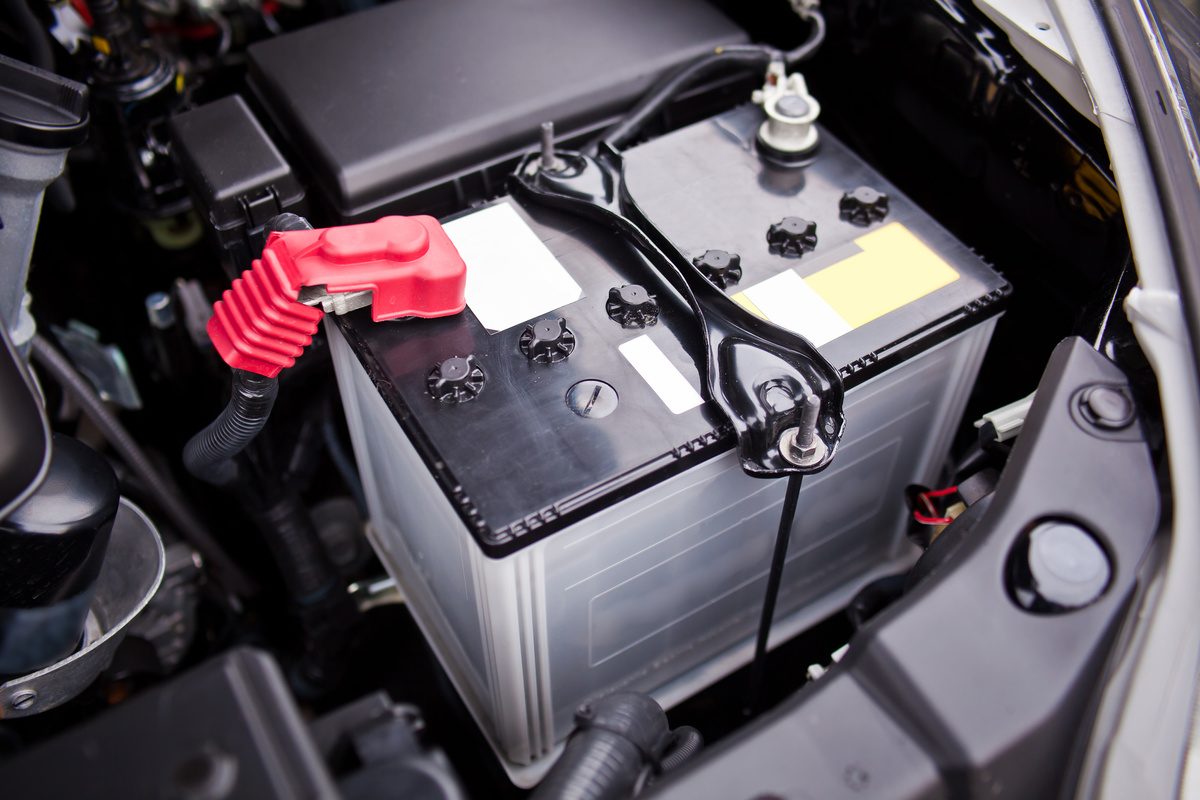
The last thing you want to happen on your camping trip is a dead RV battery. Some batteries have water levels and some are maintenance free. The goal for an RV’s battery is that you do your best to keep it fully charged at all times. Batteries tend to last 3-5 years. After three years, a deep-cycle battery (towable RVs) starts to lose capacity. After five years, a start-type battery (drivable RVs) starts to loose capacity.

4. Keep waste water system in good condition.

Maintenance of your RV’s waste water system includes making sure that you are using chemicals that are designed to work with each system, whether it be gray water or black water systems. In addition, you need to use adequate amounts of fluid to start the system after flushing, and make sure that you flush the system on a regular basis. If you don’t maintain your RV’s water system, you will get excessive amounts of buildup, which may cause clogging of the system, failure of operation, and valves seizing.

5. Keep your RV’s brakes maintained.

It’s important to keep your RV’s brakes maintained for your safety as well as everyone else’s on the road. Brake maintenance should be on your RV’s spring to-do checklist. Maintain the wheel bearings and make sure that they are nice and lubricated throughout the summer.  In addition, make sure your brakes still have enough material left on them and that they’re working properly so you get a good working activation in the trailer. Brake replacements can run anywhere from $300-$500. Replacements usually include a repacking of wheel bearings and replacing the seals.

6. Clean and treat your RV’s slide outs and seals.

Slide outs need to be cleaned on a regular basis so you don’t have dirt build up in and around the seals. Not cleaning your slide out could cause problems sealing your RV. To clean your RV’s slide out, you want to lubricate the slider mechanisms to make sure that they run in and out with the least amount of wear and tear on the motors. For window seals, there are also lubricants that you can use around the rubber to help keep them fresh and pliable so that they create good seals. In addition, it allows easy movement of the windows up and down and side to side. If your windows start to catch, the felt that they slide on could begin to tear and require a replacement.

7. Change your RV’s oil.

Unlike a car that you do regular maintenance to every 3,000-5,000 miles, an RV tends to sit a lot. It’s important that you do oil changes on a seasonal basis just to make sure that everything is lubricated and running to the best of its ability. For RVs, it’s recommended to change your oil every 3,000-4,000 miles or every year (spring is a great time). If you don’t change the oil, your RV will receive excessive wear and tear on its engine and may require expensive service or even lead you to purchasing a new engine.

8. Replace the air, fuel, coolant, and hydraulic filters in your RV.

Similar to changing your RV’s oils, you need to change the air, fuel, coolant, and hydraulic filters in your RV on a seasonal basis. Usually, we recommend inspections of the air filter, fuel filter, coolant, and hydraulic filters at every oil change. Similar to not changing the oil, you could have excessive wear and tear to your RV’s engine and on the drive train of the RV.

9. Keep your RV’s awning maintained.

It’s important to keep your RV’s awning clean so you don’t get mildew and mold buildup. By inspecting it on a regular basis you can catch and repair any possible tears early on before they start to grow larger. If you don’t clean off your awning during an RV trip, debris could cause nests (bees!) to build up, or items could get stuck and tear the fabric. Depending on what type of damage is done to your awning, a tear in the fabric could cost up to $600. Replacing the awning itself is around $1,300-$1,400.

10. Make sure the electrical connection from your RV to your tow vehicle is working.

The connection from your RV to your tow-vehicle is of critical importance to your safety on a RV trip. This is what transmits your electrical signal from your tow vehicle to your RV, turning on your RV’s brake lights when you hit the brake pedal in your vehicle. This electrical connection gives you and your RV safety when driving on the road both during the day and at night. Another benefit of the electrical connection is that while you’re driving, your tow-vehicle is charging your RV’s battery through the charge circuit. Ultimately, your electrical connection makes sure your RV has good brake activation, a fully charged battery, and makes sure all your lighting is working.


Safety Tips for Driving During a Thunderstorm

Stormy weather can be an inconvenience for several reasons, and driving may be one of your primary concerns. Decreased visibility and concurrent weather hazards such as hail, wind, and flash floods make braving the roads risky when thunder or lightning strikes.

Driving in a storm is best avoided altogether, and The American Safety Council suggests waiting out a storm with your vehicle parked and the emergency brake engaged.


Safety Tips for Driving in a Thunderstorm

While it is recommended that you wait for the storm to pass through before getting on the road, there are precautions you can take to reduce your risk of an accident.

  • Keep your doors and windows closed. It may seem obvious, but it is vital to make sure you are safely enclosed in your vehicle should lightning strike.
  • Drive slowly, preferably below the speed limit. As traction issues, puddles, and wind can affect your position on the roadway, make sure that you decrease your speed.
  • Don’t tailgate. While this tip is consistent with general driving practices, it is especially important when driving in bad weather. Make sure to leave the appropriate amount of space between your car and the car in front of you.
  • Turn your lights on. With decreased visibility during a storm, it is important to turn on your headlights.
  • Follow local hazard light laws. Familiarize yourself with laws regarding hazard lights, as states like Florida, Massachusetts, Rhode Island, among others, prohibit the use while driving. Hazard lights have the potential to cause more confusion, leading other drivers to think your car is braking, turning, or stopped on the roadway.
  • Wait to cross bridges. During a storm, bridges are more likely to collapse. Avoid bridges if possible until the storm has passed.

10 Basic Car Maintenance Tips You Must Know

Taking care of your car is, in many ways, like taking care of your health. While it is important to take your car to the shop for regular maintenance, as well as obvious emergencies, it is equally important to develop some basic habits for keeping your car in top shape at home.

1. Keep an Eye on the Fluids

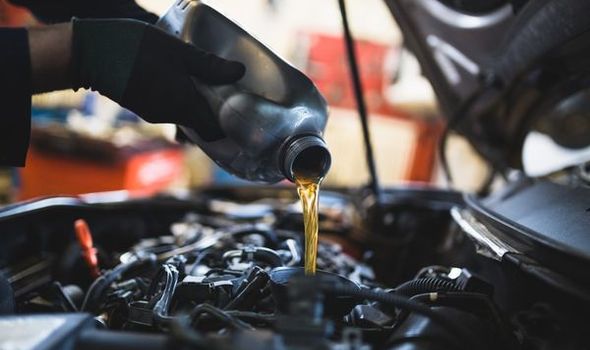
Keeping the motor oil, power steering fluid, and coolant topped off is an easy way to maintain your car’s performance. Refer to your owner’s manual or ask your mechanic to show you how to check your fluid levels and where to pour in more if needed.

2. Owner’s Manual

Periodic references to your owner’s manual are extremely valuable. There is so much going on with our vehicles that no one can be expected to remember all of it.

3. Watch the Warning Lights

Cars have elaborate systems of sensors and warning lights that will tell you everything from whether you forgot to replace the gas cap to the fact that one of your tires is low on air. Learn what each of your warning lights means and how to resolve it.

4. Check the Tire Pressure

Correct tire pressure is absolutely essential for proper vehicle handling, and to minimize the risk for premature wear and even complete tire failure (blowouts). Yet tires lose air every day. Your car might have a tire pressure warning system, but it will engage only when a tire drops down to a dangerously low-pressure level.

5. Feel the Car’s Operation

Pay attention to the way your car feels when it is operating normally. Once you understand this baseline, you can begin to notice when something is wrong. When a new “feel, vibration, shudder, jerk, bump or hesitation sets in these are all signs that something has changed.

6. Listen to Your Car

Machines do communicate audibly – they make all sorts of “Normal” sounds so when abnormal sounds begin to appear this is your car telling you to take it to your trusted car care center.

7. Lighting Check

Inspect exterior and interior lighting once a month. Also, refer to your owner’s manual for a proper understanding of all lighting systems used in your car. This might seem simple and intuitive but some lighting systems only come on under certain conditions.

8. Do a Walk Around

Driving is a serious business therefore it’s a good idea to walk around your vehicle at least once per week. In fact, commercial drivers are required to do pre and post-trip inspections each day.

  • Look for body damage.
  • Check your wiper blades to ensure that they are still in good shape.
  • Inspect tires for abnormal wear, punctures or cuts.
  • Test all the locks, windows, and even the sunroof (if equipped) to make sure they operate easily without sticking.(You may need a window for an exit in a wreck)

9. Keep It Clean

Taking care of cosmetic details such as washing and waxing helps to improve the life of your car’s paint, and can prevent the formation of rust.

  • There is no substitute for mechanically washing your car – hand washing. Hand washing removes the film that makes paint appear dull.
  • Wash wheels and tires.
  • Wash glass – inside and out (including mirrors).
  • Keep the interior free from debris that can obstruct your feet on the control pedals.
  • Vacuum the floors.
  • Remove leaves from vents.

In addition, the better your car looks and smells, the more money it will be worth in an eventual trade-in.

10. Find a Trusted Mechanic

It is absolutely vital to your car’s health as well as your financial health for you to form a relationship with a mechanic you trust. Working with the same mechanic throughout your car’s life lets he or she get to know your car, its full history, and its individual quirks. This can make troubleshooting easier and help your mechanic quickly hone in on just the right solution.

10 Summer Safety Tips for Babies in Cars

If you’re spending time in the car this summer, arm yourself with water, snacks and some very good advice. Read on for our top 10 tips on keeping babies and toddlers safe in the car on warm summer days.

1. Get your car seat inspected.
More than half of all car seats are installed incorrectly, according to the National Highway Traffic Safety Administration. And since people tend to spend more time in the car during the summer, it’s a good time to find the nearest car seat inspection station, usually at a local police or fire department. The experts there will inspect your car seat and show you how to install it properly, usually at no charge.

2. Cool the car down quickly.
A hot car is uncomfortable for everybody, especially kids. If you’re getting into a scorching car, crank up the air conditioning and open the windows first to push out that hot air. After a few minutes, when the car is cooler, get in and roll up the car windows and let the AC keep working its magic. Also, when placing your child in the car seat, watch those metal buckles, which can get blazing hot on warm days. When your car is parked outside, keep the metal parts out of direct sunlight, tucking them into the car seat straps or placing a towel or light blanket on top of the metal when your child is out of the car seat.

3. Inspect your tires.
How are tires like babies? They’re both prone to blowouts, and tires are more likely to have them during the summer months. Blame the combination of hot weather, longer drives and cars packed full of road-trip gear. Regularly check your tire pressure and the condition of your tires to stay safe.

3. Don’t skip major services

When it’s time for a tune-up, you will likely need to swap out older parts for new ones. These include spark plugs, oil filters, fuel filters, PCV valves, belts and hoses. These items’ longevity depends on your vehicle’s make and model. Consider asking the service department for cost estimates before tune-ups are needed so you will be prepared.

4. Get your brakes checked

There is no standard for how frequently you should have your brakes checked. However, experts recommend doing this every time your tires are rotated or every six months.

If you notice a change in your brakes while driving, have them inspected as soon as possible.

5. Check fluid levels often

Select a day each month to check your fluid levels and note it in your calendar. It will only take a few minutes, and you can make a handy checklist to know what to do when the time comes.

Be sure to include engine oil, coolant, power steering fluid and windshield washer fluid. You should also check the brake fluid and transmission fluid at least twice a year — preferably every six months.

You could wait until it’s time for an oil change to have your fluid levels checked. However, low fluid levels could indicate significant issues with your vehicle. Plus, you will likely spend more money later on repairs if the issues are left undetected.

6. Pay attention to your tire tread

Low tread on your tires puts you at risk of losing control of your vehicle, particularly when you’re driving in the rain, sleet or snow. But there are two easy, inexpensive ways to monitor your tire tread. You can buy a tread depth gauge or use a penny.

If you choose the latter, insert the penny upside down into the tread with Abraham Lincoln’s face looking outward. If Lincoln’s head is fully visible, you probably need new tires. Take the car to a tire dealer to confirm.

7. Keep your tires inflated

Proper tire inflation contributes to vehicle safety and optimal fuel efficiency. If you have a newer vehicle, you will likely get an alert on the dashboard when your tire pressure is low. But if this feature isn’t available in your car, purchase a tire-pressure gauge to monitor your tires’ air levels.

Refer to the sticker directly inside the pillar of the driver door to confirm the proper inflation levels for your car. If the pressure is low, inflate the tires to the correct level.

8. Don’t ignore leaks, sounds or smells

Is there fluid on the ground from your car? Does it make weird noises when you crank it up, accelerate to a certain speed, turn a corner, back up or sit at a traffic light? Are there strange smells coming from your vehicle that you don’t recognize?

These signs shouldn’t be ignored as they indicate that your car could need repairs. But if you ignore them and put investigating them off, you could spend several hundred or thousands in repairs later.

9. Pay attention to alerts

Whether it is the dreaded check engine light that pops up or some other icon you have never seen, don’t ignore it. Instead, take your car in to be checked out since it’s trying to communicate that something isn’t quite right. Even if it’s not that big of a deal, better to be safe than sorry.