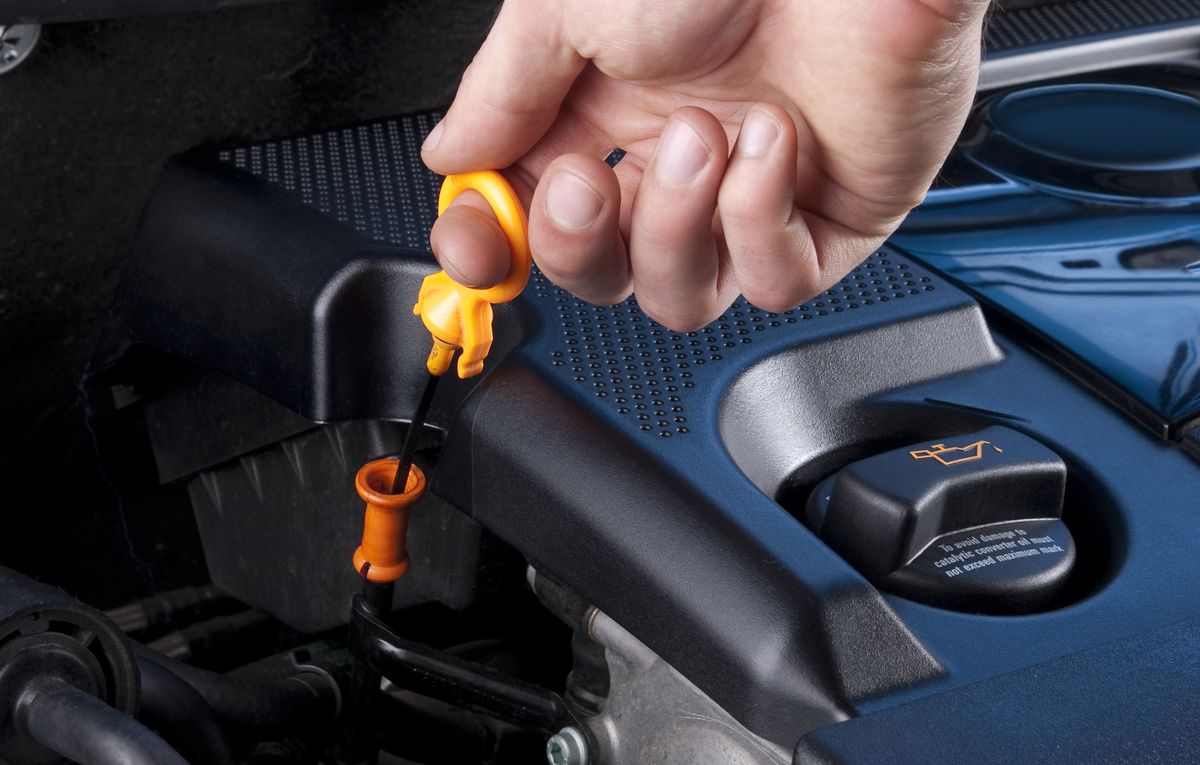
Oil is the lifeblood of your vehicle’s engine. Making sure there’s always enough oil is the easiest way to ensure that you avoid catastrophic engine failure and the huge repair costs that go with it.
This is especially important if you’re driving an older vehicle. When a car’s odometer rolls past the 100,000-mile mark, wear on the engine can cause it burn off small amounts of oil every time you drive. That loss adds up, which can make the oil level go down too far between oil changes. High-mileage vehicles are also more prone to oil leaks. Both of those issues are reasons to check your oil regularly to gauge just how often you need to top it up.
Check your oil once a week for a month and you’ll know how quickly it gets depleted—or if it gets depleted at all. Once you know that, you can check it less frequently—say, once a month. Here’s how to check your oil:
Step 1: Prepare to Check
Be sure your vehicle is parked on level ground with the engine off, the transmission in Park (or the manual transmission in a lower gear) and the parking brake on. Lift the hood. If you don’t know how to do this, consult your owner’s manual.
Most vehicles have a hood-release lever under the instrument panel on the left side. There’s also a safety catch under the front edge of the hood that you’ll have to unlatch before you can raise the hood.

