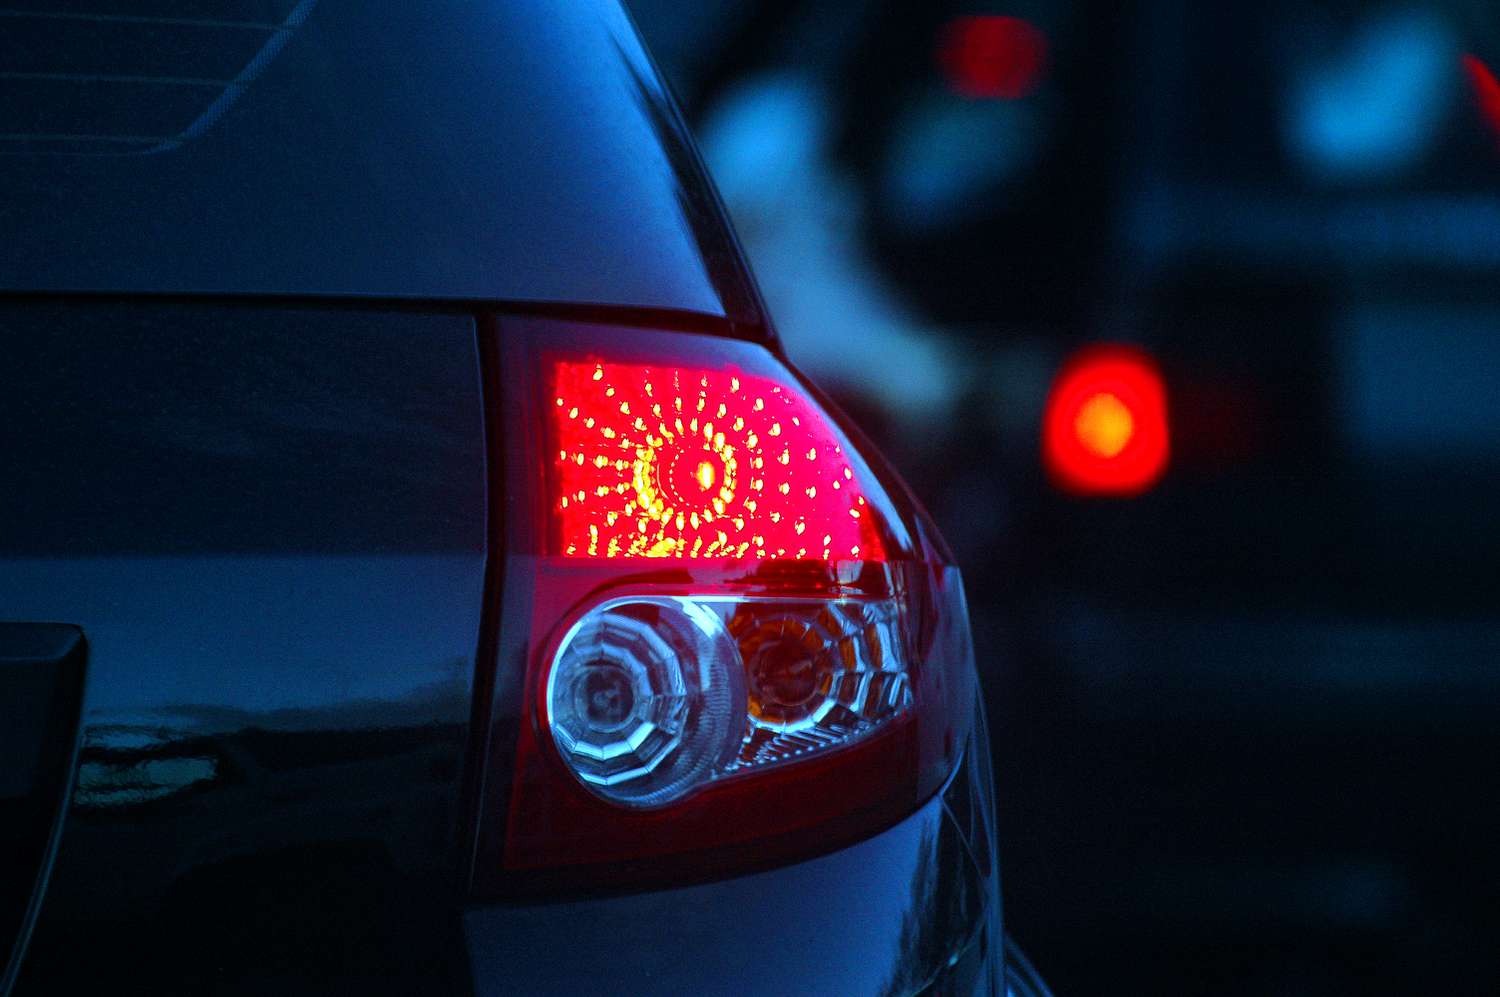
Have you ever had a brake light go out and were not sure what to do next? It can seem intimidating, but with the right tools and knowledge, you can replace that brake light in no time. Keep reading for a comprehensive guide on changing your brake light, including step-by-step instructions, the tools you’ll need and replacement tips.
Tools and materials needed to replace a brake light
Before getting started, make sure you have the correct tools that you’ll need to replace your brake light:
- Replacement bulb (specific to your vehicle)
- Screwdriver
- Safety goggles
- Gloves
- Ratchet
- Bulb grease
How to change a brake light step-by-step:
If you notice that your brake light is out and decide to change it yourself, follow these steps. Remember to get into a safe place, NOT on the side of a highway or road, before changing the bulb.
1. Open the trunk or tailgate
Once you put on your safety equipment, such as nitrile gloves and safety glasses, grab your replacement bulbs and open the trunk or tailgate. Move the fabric in the trunk and look behind the taillight lens. It’s possible that you’ll have to remove the outside assembly with screws or bolts to get to the taillight. Just remember to put the screws or bolts somewhere safe so you don’t lose them. If you’re having trouble accessing this area, do a web search to find your make and model and how to gain access to the area.
2. Find and remove the brake light bulb
Once you spot the malfunctioning bulb, find the wires and plastic base where the bulb is located. Use a light to determine which bulb is the brake light, turn clockwise to release the bulb and then remove the bulb from the socket.
3. Replace brake light bulb
Carefully guide the replacement bulb into the socket. Then put the socket into the same area that it came from in the car and turn it to the right to secure it. If you removed screws or bolts to get to the bulb, remember to reattach those.
4. Reattach assembly and test the new brake light bulb
Align and reattach the assembly if you needed to remove it during a previous step. Secure it by tightening the screws or bolts on both sides. Check that the replacement bulb works. Get a friend or family member to press the brake while you stand behind the car and check the brake light.
Brake light replacement tips
Here are a few tips to remember during the taillight bulb replacement process:
- Before cleaning everything up, make sure the taillights work.
- Make sure you choose the right replacement taillight bulb for your car.
- If your car is newer, the replacement process could be more complex and take longer.
- After the replacement, check your taillights regularly.
How often should you change your brake lights
It might seem like common knowledge, but you should change your brake lights as soon as they go out. Look out for the signs that they have gone out, including dim or flickering lights and a slow response time.
Keep on the lookout for the signs that your taillight is out, and make sure to replace it as soon as you can for your safety and the safety of other drivers on the road. Try to look out for other signs that your headlights that have gone out as well.

