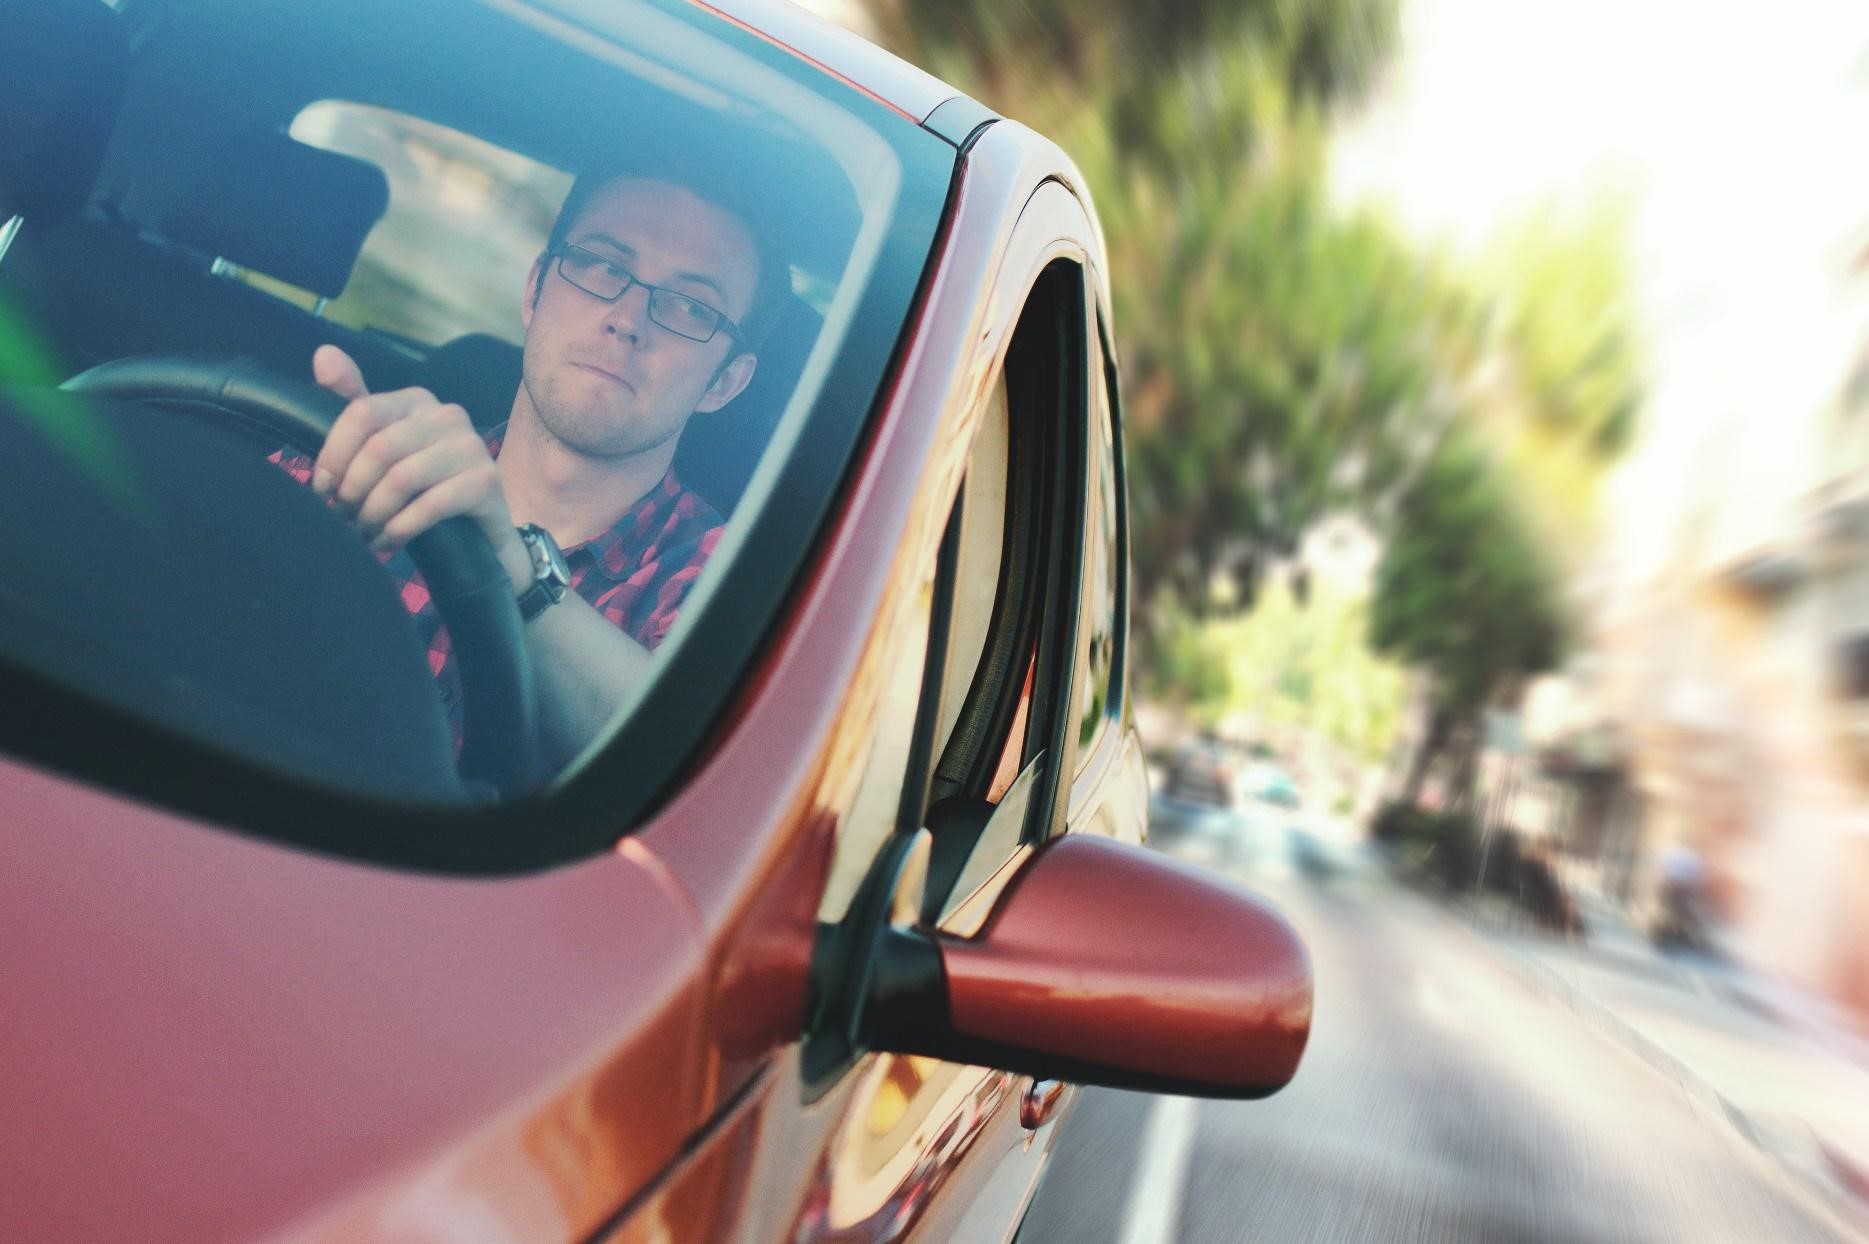
Driving a car at night doesn’t have to be intimidating. Follow these tips to reduce the risk and drive with greater confidence after the sun has gone down.
1. Avoid driving while tired
The less rested you are, the less attentive you’ll be while driving. If you feel your eyelids growing heavy and your attention span waning, it’s time to take action. Caffeine, listening to music, or getting some fresh air by opening a window can all help increase alertness. But if nothing is working, it’s important to be honest with yourself. Instead of taking a risk to push through the fatigue, find somewhere safe to stop and rest. Whether it’s just a couple of hours to recharge or a full night’s sleep, don’t be afraid to give yourself the time you need.
2. Try to steer clear of two-lane highways
You’re driving down a two-lane highway at night, not another car in sight, you go around a turn, and suddenly you’re being blinded by a pair of high beams. That’s the risk that comes with driving on two-lane highways at night. Try to avoid the glare from oncoming headlights by sticking to roads with multiple lanes, if possible. You can minimize that blinding effect by simply moving over to the rightmost lane.
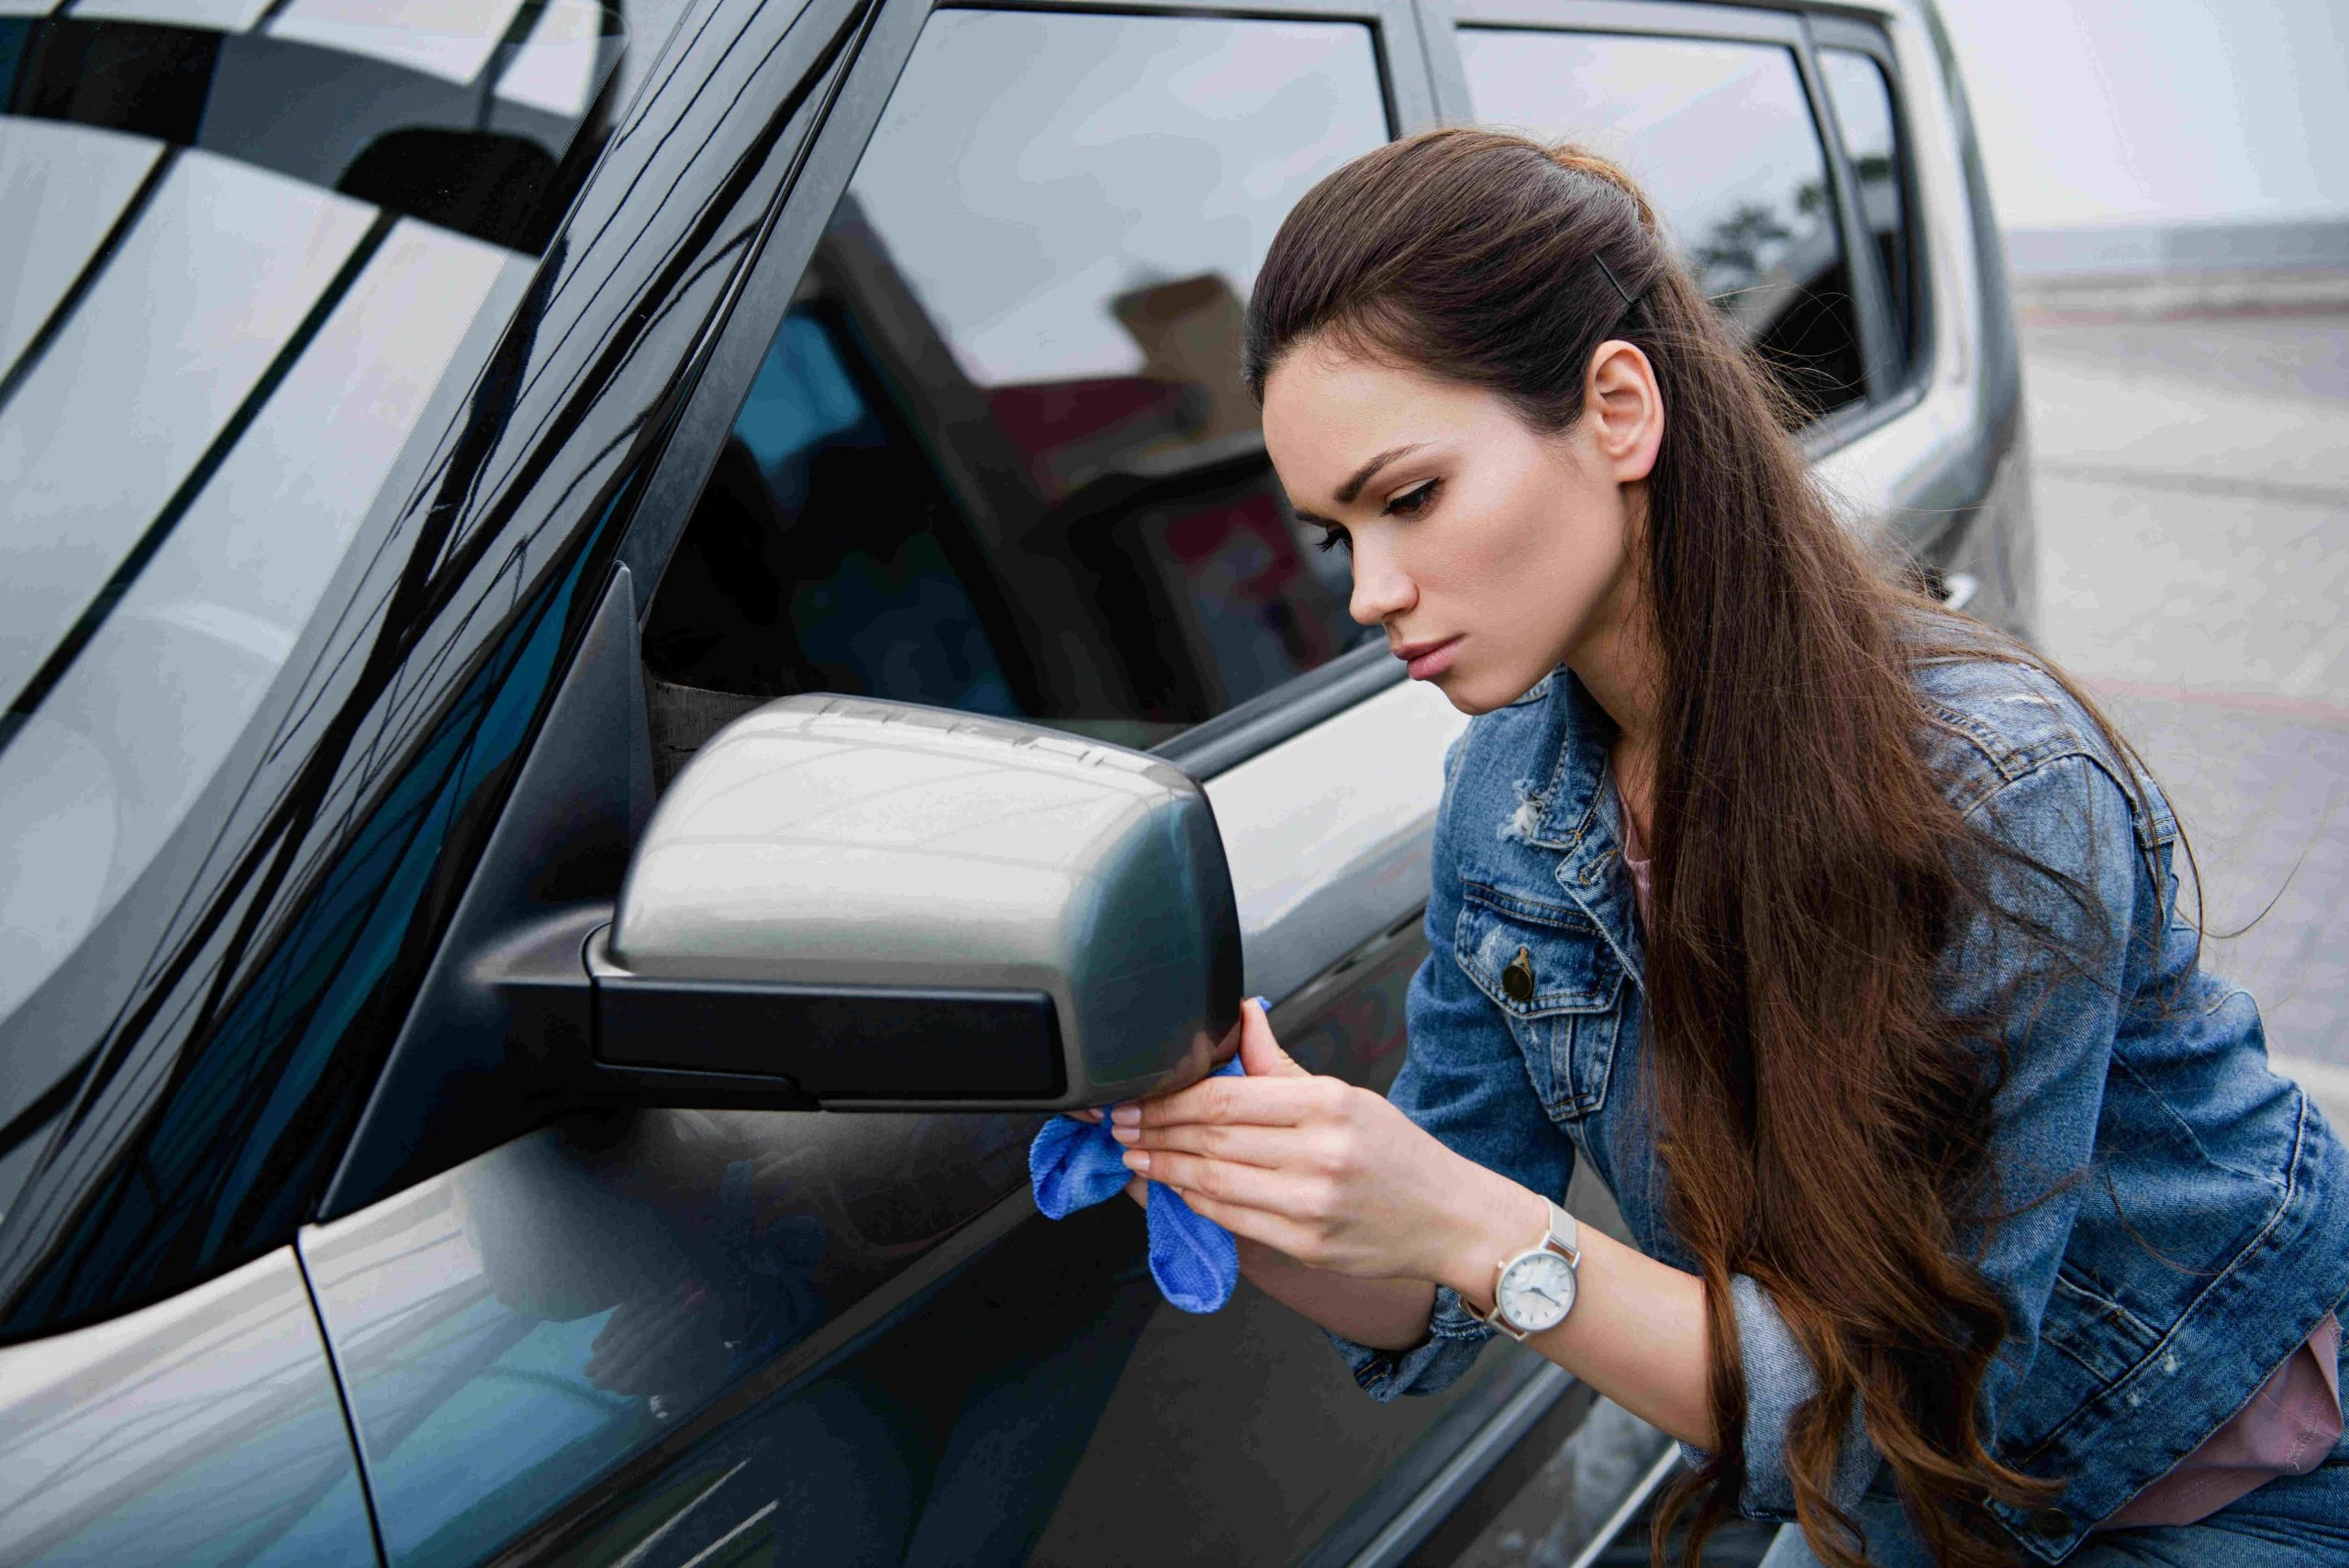
3. Clean your windshield and mirrors
Visibility is a huge part of safety when driving at night. The better you can see, the safer you’ll be. This means ensuring your windshield and mirrors are all clean and clear. A dirty windshield scatters light and worsens the effects of glare, so don’t be afraid to hit the windshield cleaner as often as you need.
4. Modify interior car lights
Light sources inside your car can create a distraction as your eyes move between the road outside and the dashboard. To counteract this, keep unnecessary interior lights off and dim the brightness of your display lights. You should still be able to see important features like your speedometer without risking distraction from excessive light.
5. Adjust your headlights
Your headlights are the star of the show when driving at night, so be sure they’re ready to perform. The protective plastic on them should be kept clean and the bulbs within should be bright enough to do their job. The angle your headlights are facing also matters. Too low and you won’t be able to see what’s ahead, but too high and you risk impairing the vision of oncoming traffic. If you aren’t able to adjust your headlights on your own, a dealership or auto shop can help.
6. Use high beams when appropriate
Properly functioning high beams dramatically improve visibility and can create much safer driving conditions, especially in poorly lit areas like back roads. But the power of these brighter lights can easily blind other drivers coming in the opposite direction, so switch to low beams when you spot oncoming traffic.
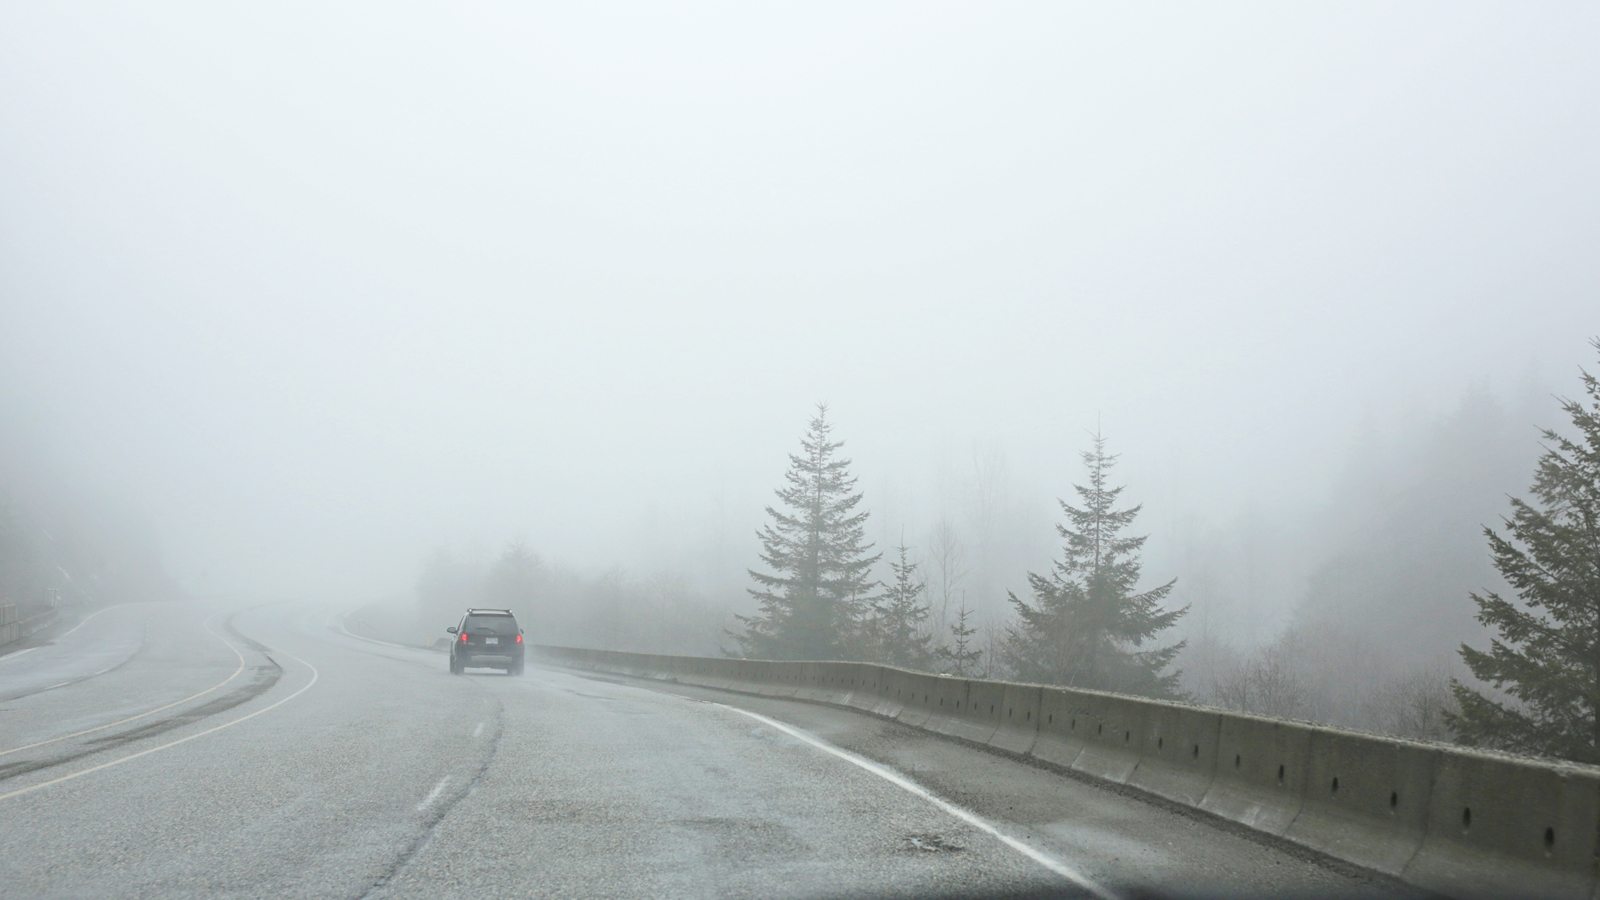
7. Slow down when driving at night
When you consider the reduced visibility and increased likelihood of encountering drivers who aren’t giving the road their fullest attention, it’s easy to understand why you should drive slower at night. Driving slower is the best way to ensure you have as much time as possible to react to anything unexpected, whether that’s a deer in the road or you’re approaching a stop sign.
Be extra mindful of your speed if road conditions are wet or icy. The Federal Motor Carrier Safety Administration recommends reducing your speed by one-third during rainy weather and one-half for snow.2 You should also watch your speed while approaching a vehicle going slower than you.
There should be about a three-second difference between you and any car in front of you. That means if the car in front passes a telephone pole, three seconds should elapse before you pass it. This rule applies at all times of the day, but it’s particularly important at night.
While it’s clear that driving a car at night poses increased safety risks, knowing what to watch out for and being proactive will help keep you safe. Plan your route, make smart decisions, and follow the tips in this article to make the driving experience a safer one for you and everyone else on the road.