Your car’s finish is more than just paint – it’s the first line of defense against rust, scratches, and weather damage. Keeping it in good condition not only maintains your vehicle’s appearance but also helps preserve its value. Everyday driving, however, exposes your car to dirt, debris, and environmental hazards that can wear down the finish over time. Here are some simple but effective ways to keep your car looking its best.
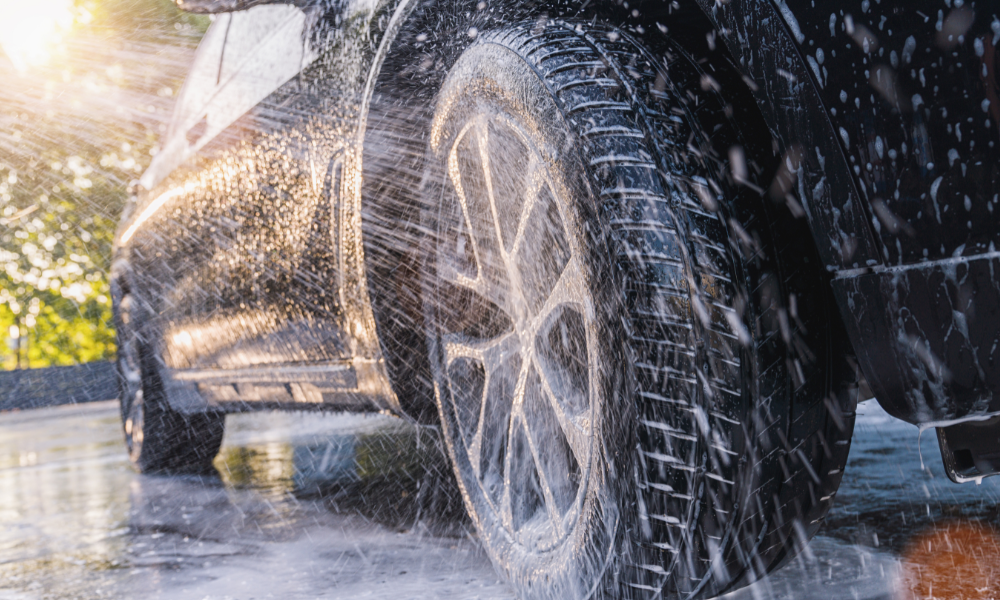
1. Wash Your Car Regularly
Dust, dirt, pollen, and road salt can all eat away at your car’s paint if left sitting for too long. Aim to wash your car every 1–2 weeks, especially during winter or rainy seasons when salt and mud build up faster. Use a gentle, car-safe soap and avoid household detergents, which can strip away protective wax.
2. Apply Wax or Ceramic Coating
Wax creates a protective layer between your car’s paint and the outside world. A high-quality wax should be applied every 2–3 months. For longer-lasting protection, consider a ceramic coating, which can shield your vehicle from UV rays, chemicals, and water spots for years.
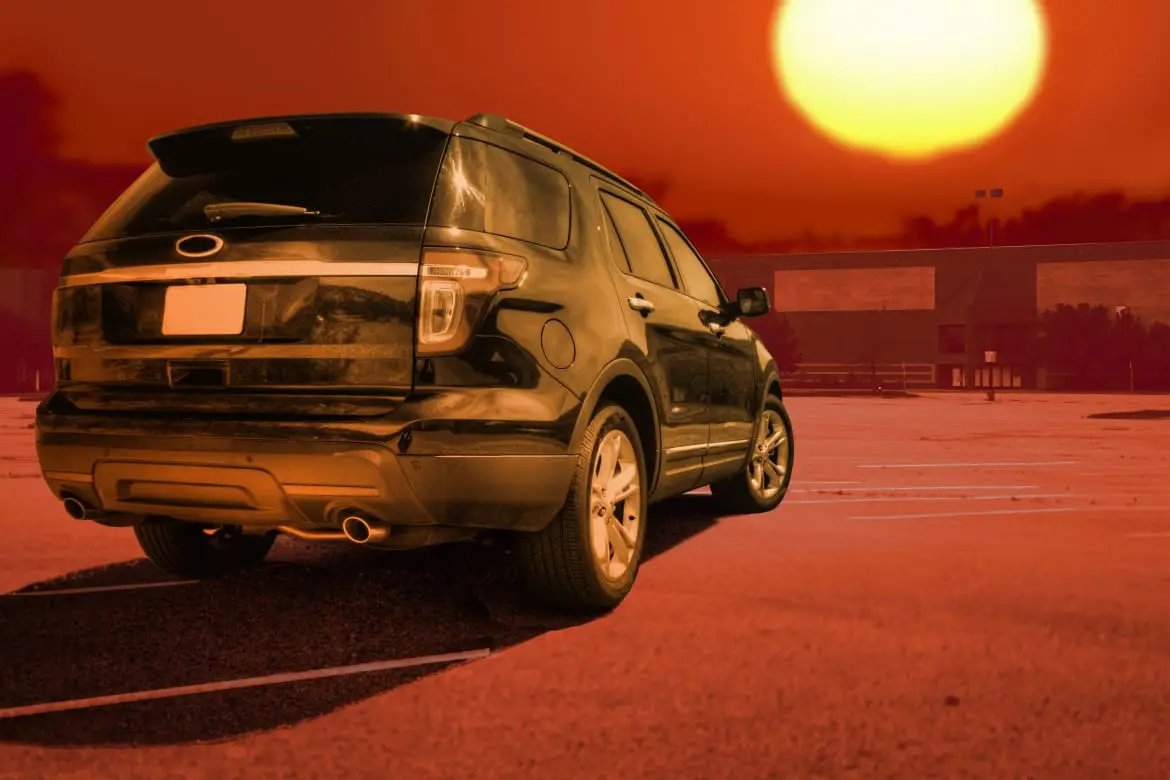
3. Park Smart
Where you park matters. Direct sunlight can cause paint to fade, while tree sap and bird droppings can damage your finish if not removed quickly. Whenever possible, park in a garage, under covered parking, or use a quality car cover.
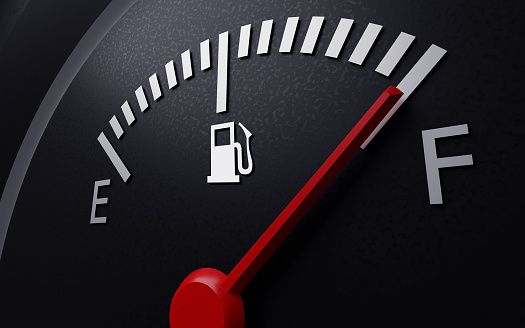
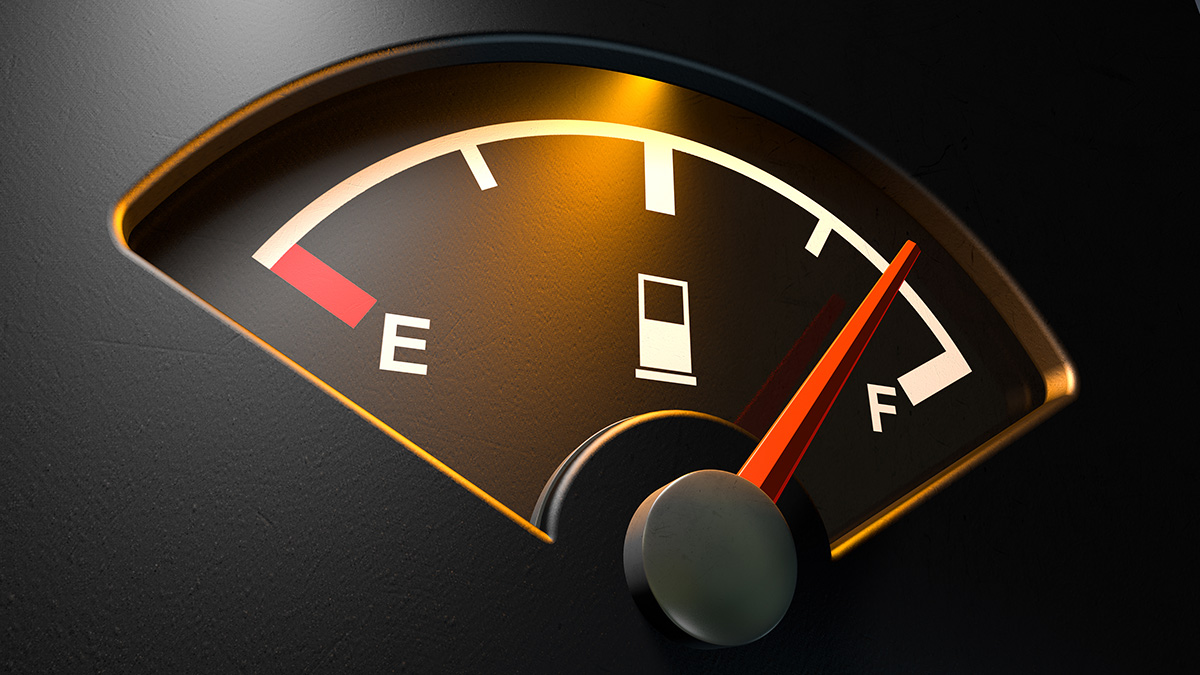
4. Be Careful at the Pump
Gas spills can damage your car’s clear coat if left untreated. Always wipe away any drips around the fuel cap right away to avoid stains and dullness in that area.
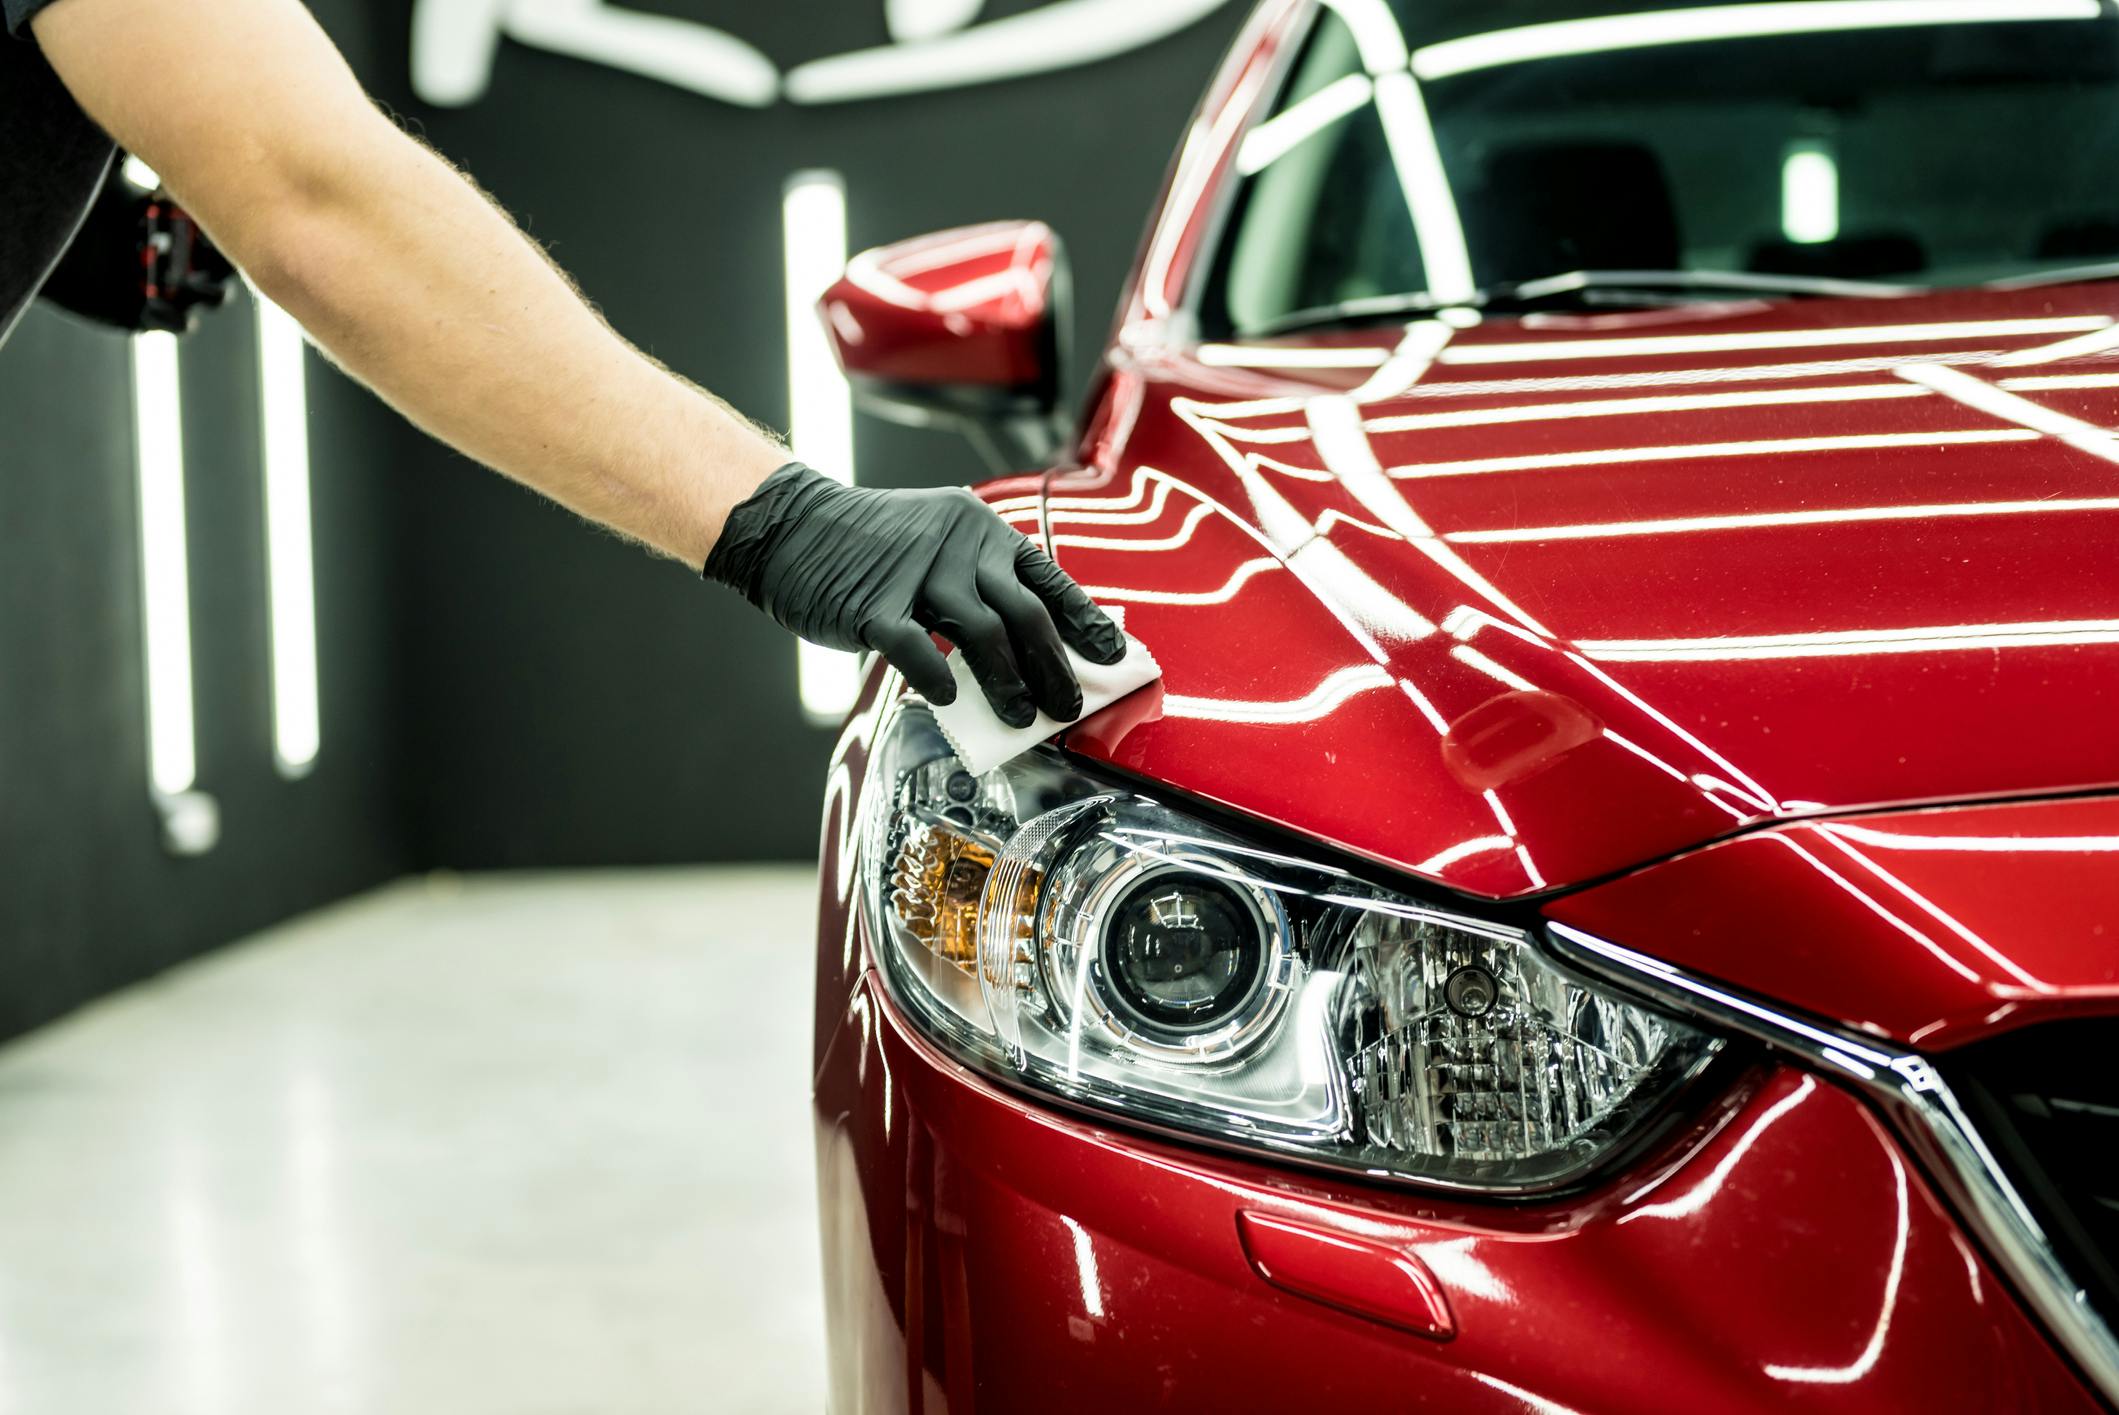
5. Avoid Harsh Cleaning Tools
It may be tempting to scrub off tough dirt, but harsh brushes and rough sponges can scratch your car’s finish. Instead, use microfiber cloths and soft wash mitts to gently clean the surface.
6. Don’t Forget the Details
Even small things can cause lasting damage. For example:
-
Bird droppings or bugs: Clean them off as soon as possible – their acidity can eat into paint.
-
Road salt: Especially dangerous in winter; rinse it off quickly to prevent corrosion.
-
Automatic car washes: Some use stiff brushes that can create swirl marks. Touchless washes are a safer alternative.
Final Thoughts
Taking a few extra steps to protect your car’s finish can save you from costly paint jobs down the road. Regular washing, waxing, and mindful parking go a long way in keeping your car looking showroom-ready. And if your vehicle ever suffers deeper scratches, dents, or paint damage, a professional auto body shop can restore it to like-new condition.