How to Keep Your Vehicle Safe from Thieves

How common are car thefts? There were 873,080 motor vehicle thefts in 2020 in the U.S., according to the National Insurance Crime Bureau.1 And when citizens are targeted in the most potentially dangerous of these crimes – carjacking – the attacker succeeds in roughly half of all attempts, according to the U.S. Department of Justice.

To find out how to prevent carjacking and car theft read on.

1. Don’t leave valuables in your car

You don’t display your cash, financial statements, and jewelry in your home’s windows, do you? So why would you do the same in your car? Hide those valuables, including purses, computer bags, and the ignition key. You’d be surprised how often people don’t. Two out of five people fail to hide valuables, according to a joint survey from LoJack and the National Insurance Crime Bureau.1 One-quarter leave a purse or wallet inside, and one-third have left bank statements – all of which are appealing to car thieves. One-third say they’ve kept their vehicle running while unoccupied.

2. Park in a well-lit area

Not everyone has a garage. But many have the option of parking on a well-lit street – another deterrent for crooks. Also, etch the vehicle identification number on windows to discourage thieves from stealing the vehicle and selling it to a chop shop.

3. Lock your vehicle doors

The minute you step into an automobile, you’re vulnerable. So lock up right away, before starting the ignition or setting up your music, GPS, etc. (Buckling up is the second “to do.”)

4. Don’t leave your keys in the car

“It’ll just be for a second, I’m only running into the store for a couple things.”

Unfortunately, “a second” is all a thief will need if you leave the keys in the car for them. No matter where you are, or how briefly you’ll be out of your vehicle, always take your keys with you. It sounds obvious, but this is one of the most important ways you can prevent car theft.

5. Stay alert

Staying alert is the best example of how to prevent carjacking. When stopped or slowing down, you increase an opportunity for a carjacker. So at traffic lights, exercise caution. “When stopped in traffic, leave enough space to move forward,” says Brent O’Bryan, vice president of learning and development for AlliedBarton Security Services, a physical security firm.4

6. Know where you’re going

Just as you want to stay in well-lit areas while parking, you don’t want to “hide” in the darkness while driving. “Don’t head into remote or unfamiliar areas,” O’Bryan says. “If you feel like you’re being followed, don’t drive home. Don’t park next to a vehicle such as a van which could be hiding a suspect.”4

7. Install an anti-theft system

If someone does try to break into your car, you’ll want to make it as obvious as possible to anyone in earshot that this has occurred. Anti-theft systems emit loud alarms when they detect some kind of forced entry into your vehicle, alerting anyone nearby and potentially scaring the would-be thief from sticking around. You can also install a GPS tracking system that will show the location of your vehicle if the thief successfully makes off with it.

Having an anti-theft device in your vehicle may earn you a discount on your car insurance.

8. Stay cool during a crisis

Even if you do all the right things, you could still get involved in a carjacking. If so, the safety of you and your passengers remains the top priority. Stay calm – if you panic, it’s more likely a criminal will too. “Never argue; give up your car,” O’Bryan says. “Get away from the area as quickly as possible. Note the suspect’s appearance, and immediately report it to the police.”

8 Items to Include in an Emergency Car Kit

Some of a driver’s worst fears are a dead battery or alternator, a blown gasket, your car running out of gas and any number of other car troubles that leave you stranded on an empty stretch of road.

For winter drivers, there’s also the possibility of sliding off an icy road into a snowbank. A quick call to a tow truck or roadside assistance service will usually get you to safety within a couple of hours, but technology can fail, and there are still parts of the country that aren’t covered by cellular service.

In such scenarios, having a car safety kit with the right components can make the difference in keeping you and your passengers safe until help arrives. 58% of people have some emergency supplies in their cars, but only 30% are confident that what they have is sufficient if bad weather strikes.

Depending on the problem, having the proper tools can also get you back on the road as quickly as possible. While some items should be found in every trunk, not every roadside emergency kit is built the same. You should tailor your kit to the type and condition of your vehicle, as well as the weather in which you’re typically driving. With the unpredictability of winter weather, even drivers in traditional warm-weather states may want to consider adding safety items for snow and ice. It’s always wise to err on the side of caution and include certain items just in case.

Here is the essential emergency car kit list:

1. Flares and lighting

The first and most important safety items to include in your auto emergency kit are flares or reflective triangles, which warn other drivers of the roadside hazard, especially in low visibility conditions. In case of a breakdown, they should be spaced out evenly along the roadside behind your vehicle. For a reusable, longer-lasting option, invest in battery-operated LED flares. A flashlight is also a necessity, especially a multi-use version that flashes.

2. Jumper cables

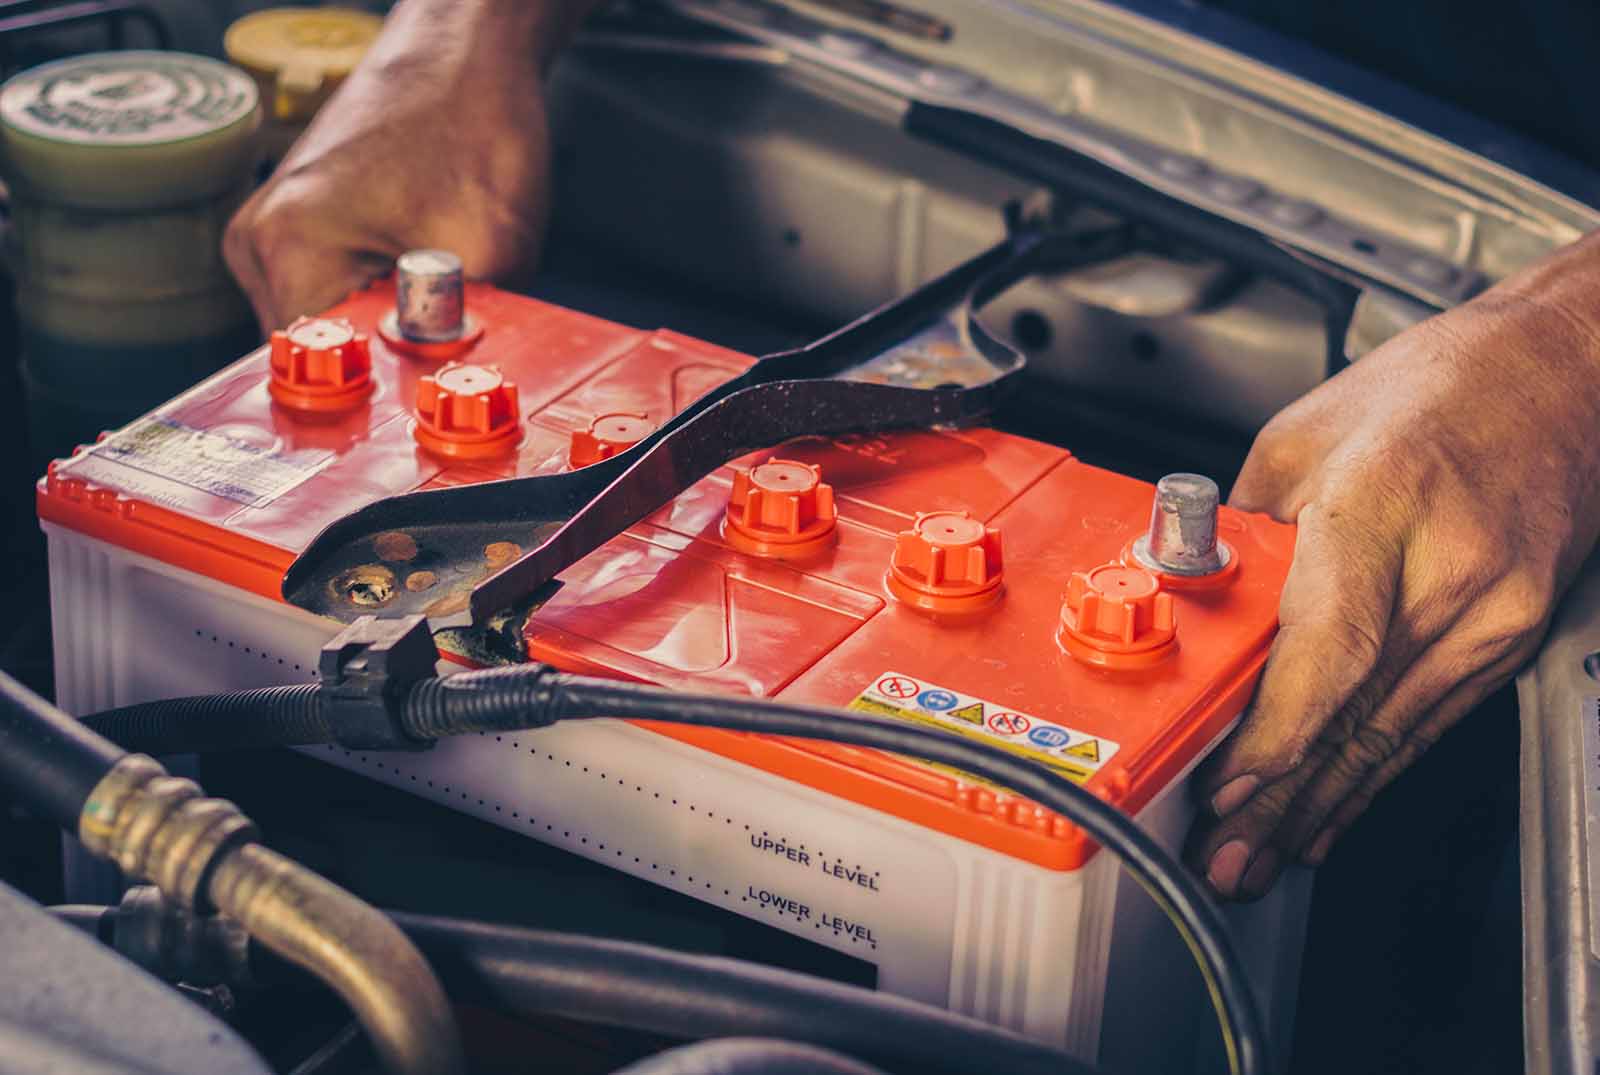
Jumper cables are another essential to include in the car emergency kit. Batteries can die or lose their juice at the least opportune moment, and jumper cables, with a jump start from another vehicle, can at least get you to the next service station. You should also consider carrying a separate battery pack for starting your car when no one else is around to help.

3. First aid kit

A first aid kit is a must-have item to include in any emergency road kit, indispensable for addressing smaller everyday injuries and more serious wounds from an accident. You can purchase them prepacked with all the essentials or assemble one customized to your needs. Families with small children should include medications that are age appropriate. Be sure to know what medications are needed for your passengers and pack enough to last for a reasonable time.

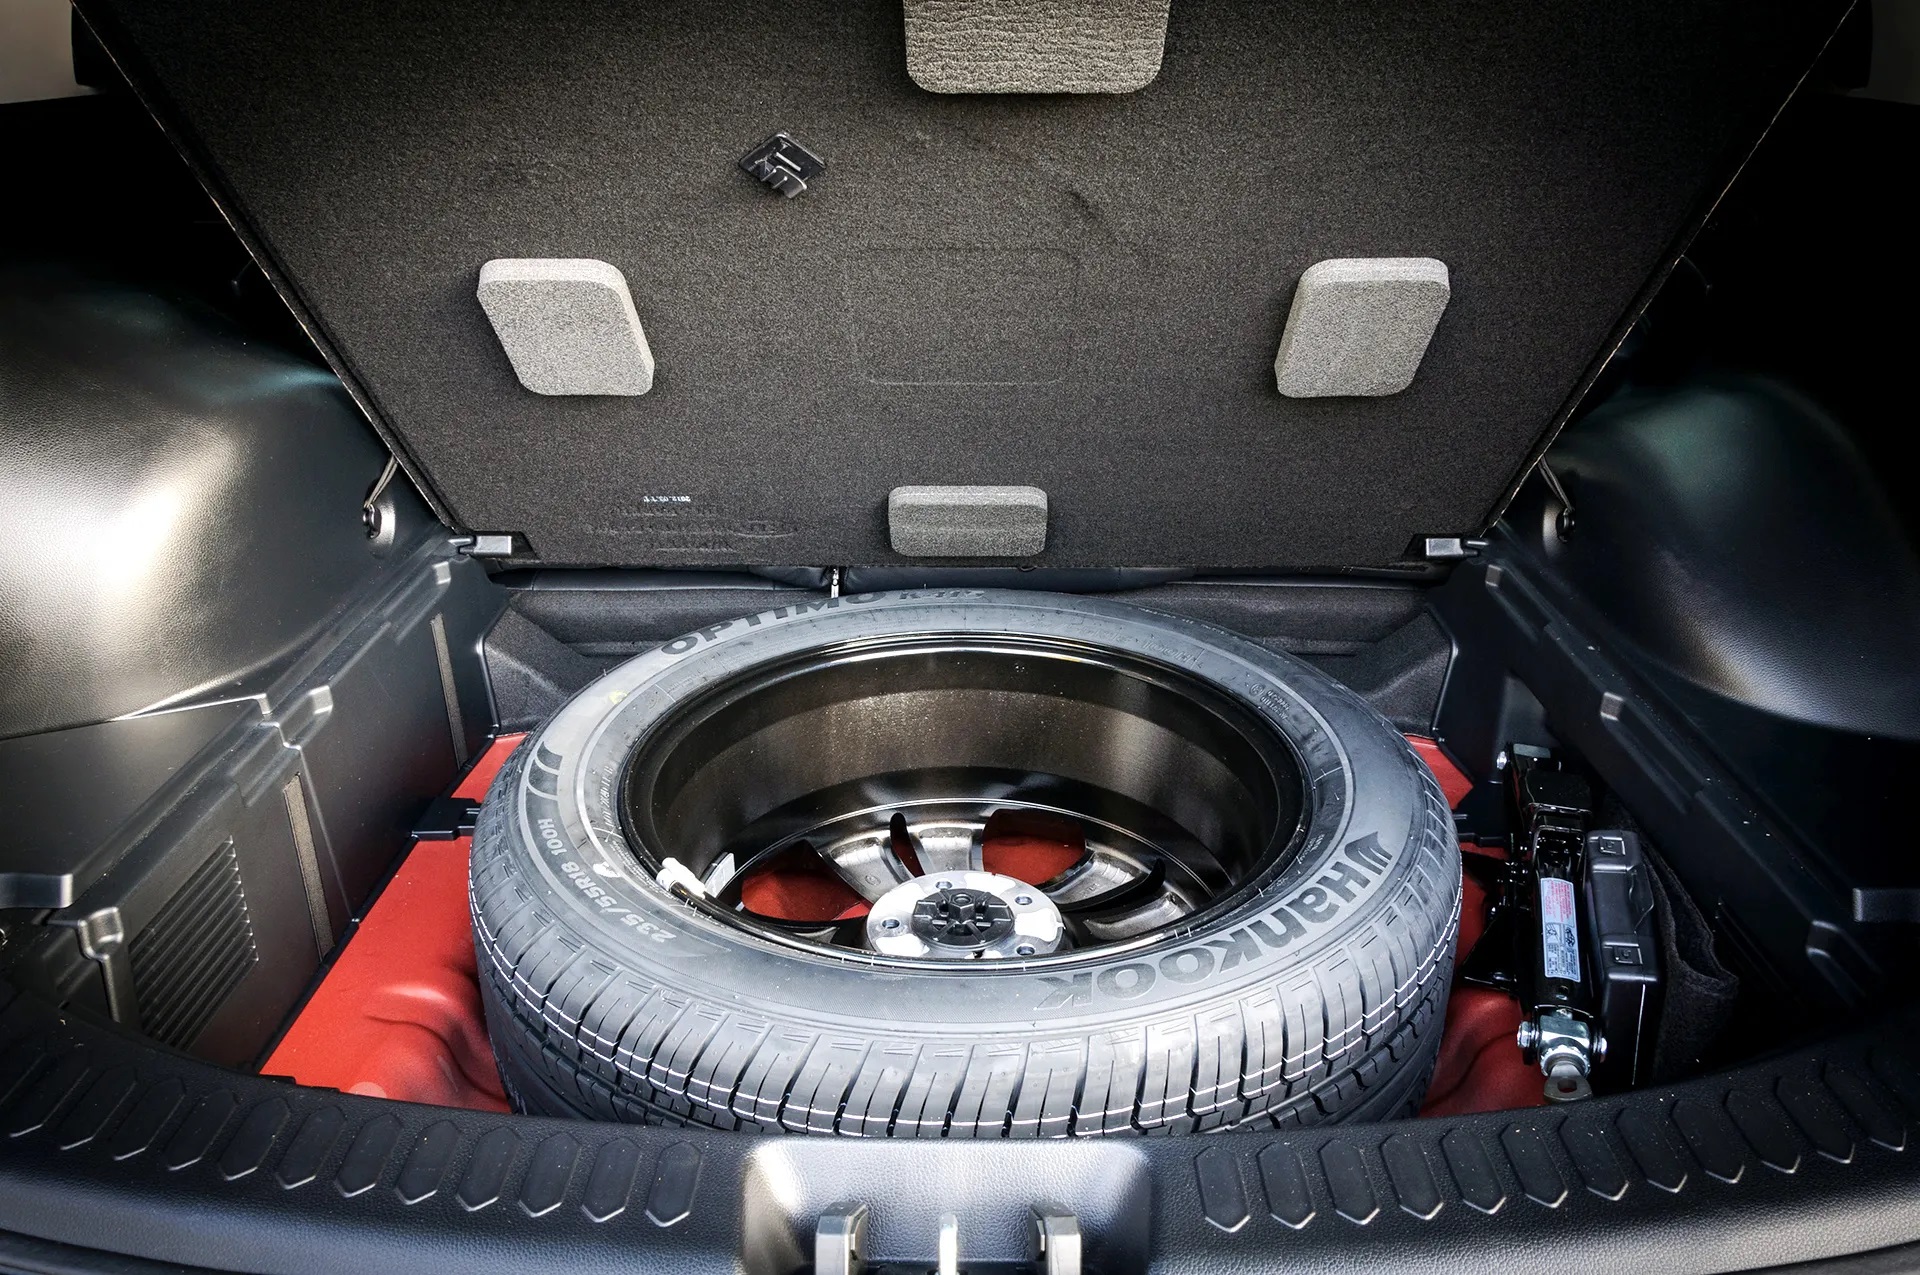
4. Spare tire, tire iron and car jack

A spare tire and tire-changing equipment should be included in your car emergency kit. You should familiarize yourself with how to change a tire just in case help is unavailable and you have to do it yourself. Check your kit every 6 months and make sure that your spare tire is properly inflated.

5. Mobile phone and charger

Another essential for your safety when driving is a working mobile phone and charger in case of a low or dead phone battery. It’s important that you can call for help if you’ve been seriously injured from a car accident or something is wrong with the car.

6. Water

Along with keeping warm, staying hydrated is an essential element of survival. Keep clean drinking water in smaller plastic containers, which will thaw faster with a little body heat in the winter than large gallon jugs. If driving in a remote area, you should be sure to bring plenty of water – one website recommends at least one gallon per person per day for three days if possible.

7. Nonperishable food

Packing food in your kit will help keep you fed in an emergency. Nonperishable food such as granola bars, soup, nuts, jerky, peanut butter and dried fruit are great options to pack in your kit.

8. Car fluids and tools

Flat tires are one of the most common causes of roadside trouble, but it’s not always possible to change a tire. Including a can of tire inflator and sealant in your kit can get you back on the road at least until the next stop. Other items that may help avert a roadside crisis and keep you going:

  • 1 quart or more of motor oil (make sure it’s the right formula for your car)
  • 1 gallon of coolant
  • A toolkit with screwdrivers, pliers and an adjustable wrench
  • 1 set of windshield wiper blades

Good wiper blades are also crucial to have handy, as they can clear a windshield in less than three swipes without leaving streaks. Keep a set of new blades in your vehicle so you can replace worn blades quickly and on the go.

10 SYMPTOMS OF A BAD TRANSMISSION

Did you know that your transmission experiences more wear during the lifetime of your vehicle than any other mechanical component? A smoothly functioning transmission is just as important to a vehicle as its engine. It is up to the transmission to multiply engine torque to usable power to spin the wheels of a vehicle at varying gear ratios depending on speed and load. However, no vehicle owner wants to deal with transmission issues. In fact, many drivers would sooner be ignorant about the symptoms of a damaged or quickly failing transmission. This explains why the transmission is the most underappreciated, misunderstood, and neglected major component in a vehicle. As A. Meredith Walters pointed out, “Ignoring things won’t make them go away. It only makes it harder to face them when they finally come around.”

We get it. No one would wish the inconvenience or expense of a transmission rebuild or repair upon their enemy. However, avoiding the topic will not prevent transmission issues. On the other hand, understanding the symptoms of a bad transmission before it fails and taking it to an experienced specialty repair shop can both lengthen the life of your transmission and save money. Often, expensive repairs can be avoided with regular vehicle maintenance – or with a quick inspection when something unusual is noticed. For example, a solenoid block or sensor can be replaced today for a fraction of a total transmission rebuild a few weeks or months down the road.

If you do need a transmission rebuild, trust a team with nearly 100 years of combined in-house transmission rebuild experience.

In this article, we discuss 10 signs your transmission went out for your reference. Some symptoms may fall into multiple categories but ultimately consider it a red flag if you experience any one or a combination of the symptoms below.

1. LACK OF RESPONSE

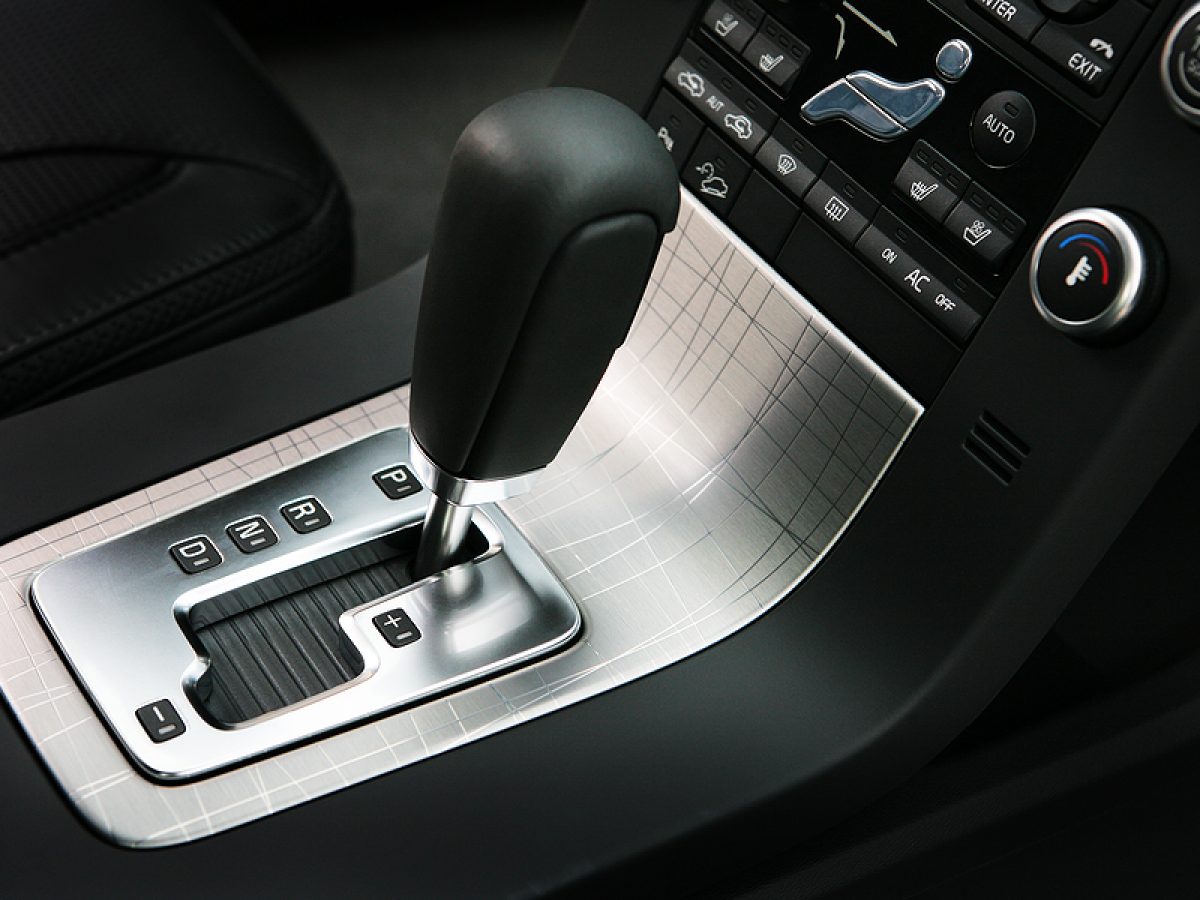
Hesitation, or outright refusal, to shift into the proper gear is a telltale sign of transmission trouble. The inability to shift can be electric, hydraulic or mechanical. At times, this may feel like a delay when shifting from drive to park before the gear properly engages, especially for vehicles with automatic transmissions. For vehicles with manual transmissions, the lack of response often takes the form of disconnect between the revving of the engine’s RPMs and actual vehicle speed. In this case, the expected acceleration of the vehicle is seemingly much lower than the sound of the engine would imply. Some describe this a transmission “slipping.”

2. ODD SOUNDS

Vehicle noises differ, depending on vehicle make and model. When determining if you should pay close attention to a specific sound, consider two questions:

Is this a sound you have never heard before? If the noise is extremely out-of-the-ordinary, you should get your vehicle looked at by your local transmission shop and a team of certified transmission specialists.

Does the sound resemble humming, buzzing, whining, or clunking? These are most commonly used to describe transmission failure noises. With hundreds of parts in a transmission, a single bearing or even a worn case can emit a troubling noise. Unfortunately, these noises are more than just a hindrance. They ultimate lead to transmission failure. It is worth differentiating noises unique to automatic and manual transmission. Often, bad automatic transmissions will emit humming, buzzing, or whining sounds; manual transmissions emit harsher mechanical noises, such as clunking. Some of these noises may relate to the engine, exhaust system, drive shaft, differentials or even a wheel bearing. At this stage, it’s extremely important to diagnosis the sound correctly.

3. LEAKING FLUID

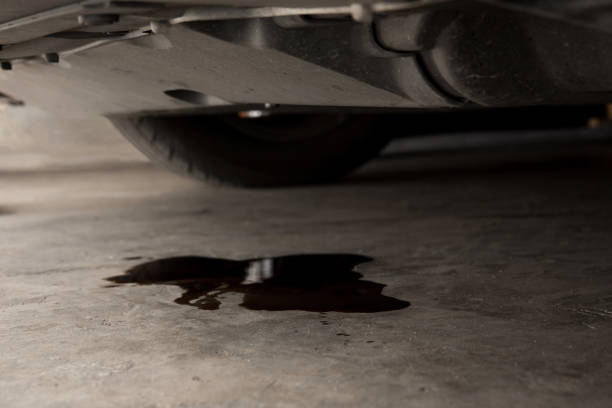
Leaking fluid is recognizable and easy to diagnose. Automatic transmission fluid (ATF) gives life to the transmission. ATF lubricates transmission components to decrease friction and prevent overheating. It also functions as a hydraulic fluid allowing gear engagement. If ATF can leak, the transmission will operate with low fluid leading to an increased chance of overheating. This is the quickest way for a transmission to break down. If you see a pool of bright red fluid beneath your vehicle, take it to a transmission shop immediately. Take note: if the leaked fluid is dark brown or black and emits a seared odor, the fluid may be burnt; if this is the case, no minor repair or maintenance procedure can fix the internal failure already present. On the other hand, a transmission pan gasket might be compromised where a transmission power flush and pan/gasket repair can fix the problem for a few hundred bucks rather than a few thousand dollars!

4. GRINDING, JERKING, OR SHAKING

Shaking and jerking are good indicators of transmission trouble. Gear grinding is a common symptom in manual transmission vehicles. Automatic transmission failure often begins with some hesitation during gears shifting. Some might describe this a “slipping,” as well. Eventually, the vehicle may begin trembling or shaking during shifting. There are alternative causes for these symptoms. Engine and transmission mounts are notorious for clunking and jerking between gears. The best way to diagnose the issue is by bringing your vehicle to a repair expert immediately to determine the true problem. Any delay will likely cause further damage.

5. BURNING SMELL

As mentioned previously, leaked fluid is a bad sign. However, if no leakage accompanies the burning odor, your transmission fluid is probably overheating due to clutch debris, breakdown of metallic components and sludge. If transmission fluid has not been flushed or serviced on a vehicle with over 100,000 miles, this is a common outcome.

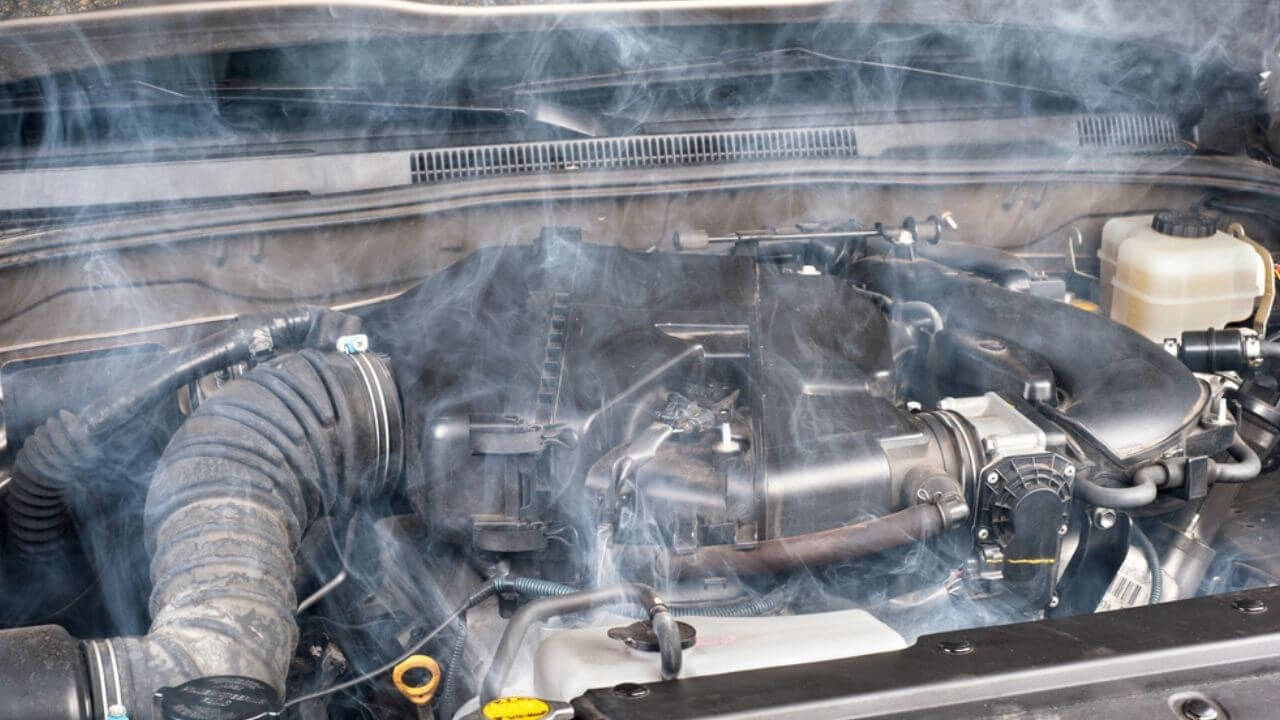
How will you know what burnt transmission fluid smells like? When ATF burns, it omits a uniquely acrid smell, closer to the stench of burning rubber than burning oil. If the transmission fluid gets extremely hot, you may even observe smoke. Once the fluid is burnt it no longer can complete its responsibilities to manage heat, lubricate parts and hydraulically shift gears.

6. WON’T GO INTO GEAR

You may have found yourself in this terrible scenario: sitting in a stagnant vehicle with the engine on – and you cannot move. Your transmission won’t go into gear. Cars honk, swivel around you, traffic halts for miles… Even if you have never experienced this, any driver can imagine the situation with gut-wrenching revulsion.

So, what is the issue? If your vehicle won’t go into gear, several issues can be the culprit. A few potential issues include improper transmission fluid type, incorrect shift cable positioning, internal mechanic failure, a clogged filter, faulty clutch linkage, failing solenoids, malfunctioning sensors, or a malfunctioning computer system.

7. SERVICE ENGINE SOON

Beyond the possibility of transmission issues, your vehicle’s Check Engine Light is designed as an incredible early indication of a problem. Do not ignore this warning sign, and do not assume that the warning light came on for no reason. The service light on your dashboard responds to sensors placed at crucial points inside the vehicle, sensors that detect slight unusual vibrations that you may not detect while driving. Don’t wait for your vehicle to begin grinding and trembling; if the Check Engine Light turns on, it is best to take your vehicle to a repair shop you trust for an accurate diagnosis right away. In some cases, a diagnostic code could point to a minor repair that prevents a major (and costly) repair. In other circumstances, the diagnostic code tells a technician a major repair (e.g. transmission rebuild or replacement) is required.

Did you know that your transmission experiences more wear during the lifetime of your vehicle than any other mechanical component? A smoothly functioning transmission is just as important to a vehicle as its engine. It is up to the transmission to multiply engine torque to usable power to spin the wheels of a vehicle at varying gear ratios depending on speed and load. However, no vehicle owner wants to deal with transmission issues. In fact, many drivers would sooner be ignorant about the symptoms of a damaged or quickly failing transmission. This explains why the transmission is the most underappreciated, misunderstood, and neglected major component in a vehicle. As A. Meredith Walters pointed out, “Ignoring things won’t make them go away. It only makes it harder to face them when they finally come around.”

We get it. No one would wish the inconvenience or expense of a transmission rebuild or repair upon their enemy. However, avoiding the topic will not prevent transmission issues. On the other hand, understanding the symptoms of a bad transmission before it fails and taking it to an experienced specialty repair shop can both lengthen the life of your transmission and save money. Often, expensive repairs can be avoided with regular vehicle maintenance – or with a quick inspection when something unusual is noticed. For example, a solenoid block or sensor can be replaced today for a fraction of a total transmission rebuild a few weeks or months down the road.

If you do need a transmission rebuild, trust a team with nearly 100 years of combined in-house transmission rebuild experience.

In this article, we discuss 10 signs your transmission went out for your reference. Some symptoms may fall into multiple categories but ultimately consider it a red flag if you experience any one or a combination of the symptoms below.

8. NOISY TRANSMISSION IN NEUTRAL

Pay attention to the sound of your transmission in neutral. Does your transmission “bump” or quake? Some noises, such as this, require adding or changing the automatic transmission fluid or some other simple fix. Other times, however, a more serious issue at on hand, and – as we’ve mentioned many times – taking your vehicle to a specialty repair shop is the safest and most cost-effective option. It might sound silly but many Chrysler, including Dodge and Jeep brands, vehicles require fluid inspection in neutral.

9. SLIPPING GEARS

Each symptom listed above could pose risk; however, slipping gears is an obviously serious safety hazard for both vehicle owners and surrounding drivers/ pedestrians. To avoid a dangerous situation, often a driver is forced to slam on the breaks or quickly accelerate. A vehicle that doesn’t respond, or slips between gears or into neutral, poses a serious safety threat. At this point, it is a matter of public safety to take your vehicle into a professional transmission repair shop to be examined. Many modern transmissions will prevent a driver from recklessly driving with a damaged transmission by going into “limp mode” or “safe mode.” Under this circumstance, the computer system will detect a problem with the transmission and default to one gear. The vehicle will not shift between gears and will only operate in one gear, often 3rd gear, as a safety mechanism to allow the driver to get the vehicle to a local transmission shop.

 10. DRAGGING CLUTCH

A dragging clutch is experienced by manual transmissions only, making it extremely difficult to change gears – sometimes impossible. A dragging clutch occurs when the clutch disc and flywheel don’t disengage when the clutch pedal is pushed. In some cases, a manual transmission might also “pop-out” of gear. Oftentimes, these issues are accompanied by grinding noises during gear shifting. The master and slave cylinder must be inspected as the hydraulics of the clutch pedal to clutch to flywheel engagement is often the source of a transmission misdiagnosis.

How to Clean Headlights

Headlights are an important safety feature on your car, whether you’re driving at night or in inclement weather. Unfortunately, headlights can become foggy and dirty, which dulls their brightness and makes them less effective at lighting the road. Plastic headlights can become foggy as a result of UV ray exposure and damage from the elements.

If your lights don’t appear as bright as usual, try one of these methods to clean them. There are several ways to restore clarity to your headlight lenses.

Use liquid soap, baking soda and vinegar

With liquid soap, baking soda and vinegar, you can restore your headlights in a few simple steps. Keep in mind that this method may not fully brighten very yellowed, foggy lights, and you may need to repeat the steps several times.

Begin by cleaning dust from the headlights with a microfiber cloth. Add a tablespoon or two of liquid soap to a bucket. Add enough water to thin the soap to a watery solution. Using another clean microfiber cloth, clean the headlight with the soap solution. The idea is to get the lens as clean as possible before using the baking soda and vinegar. Rinse the soap off the headlights using a spray bottle of water and use a towel to dry the headlights.

Mix 1 to 2 tablespoons of baking soda with enough white vinegar to form a thick paste. Using a dry-cleaning cloth, gently polish the headlamp with the paste. Rinse the paste off with the spray bottle of water and repeat until the lens is clean and clear.

How to clean car headlights with toothpaste

Before beginning, remove dust and grime from the headlight with a clean cloth. Then, spray the headlight with water using your spray bottle. Using an old toothbrush, apply toothpaste to the lens and gently scrub. Use regular white toothpaste, not the gel type. Rinse with water until toothpaste is gone and the headlight is clear.

How to clean foggy headlights using a headlight restoration kit

These kits can be expensive, but they’re effective and safe for restoring headlights. Use them as directed; typically, you’ll just need to apply the cleanser and rinse. A kit may also come with waxing compounds to protect the lights.With any method, use soft cleaning cloths made of microfiber. These are gentle and can help to prevent scratching. They also typically don’t leave stray fibers behind. Learn how to restore your headlights.

How to Clean Your Car Engine

Knowing how to clean your engine is an important part of vehicle maintenance, and it can save you money. Tidying up under the hood helps extend the life of belts, hoses and other components. Plus, it’s easier to spot leaks, tears and other damage on a clean engine. Check out the steps below to properly clean your car engine, and be sure to consult your car’s operation manual before you get started.

1. Eliminate any residue

Your car’s hood, grille and vents are prime areas for dirt buildup. Blow them out with compressed air or clean the areas with a wire hand brush.

2. Get the temperature just right

Next, let your engine warm up to a moderate temperature – not too hot. This will help soften grease buildup in the engine compartment.

3. Know what to cover when cleaning your engine

Plastic sandwich bags come in handy when it’s time to clean up your car. The parts to keep covered when cleaning your engine are:

  • Electrical wiring
  • Sensors
  • Spark plug openings
  • Alternator
  • Distributor

Secure the baggies with tape. To protect your battery, cover it or simply remove it.

4. Don’t forget the drip pan

Place old towels on an absorbent mat under the engine’s oil drip pan to catch any hazardous waste.

5. Give the engine a good spritz

Thoroughly spray the engine compartment with an engine cleaner, avoiding the wiring you bagged and taped. Since petroleum cleaners can damage rubber and vinyl components, consider a citrus or water-based degreaser. For parts that seem extremely oily or greasy, let the cleaner soak in for 15-30 minutes and repeat if necessary.

6. Rinse and unwrap

Once the engine cleaner has done its job, lightly rinse engine and components with water. Remove the bags you used to protect the wiring. Once the towel or mat is dry, dispose of it properly. And if you removed the battery, don’t forget to replace it.

7. Remove excess moisture

Blow away excess water in the engine compartment with compressed air.

8. Dry out the interior

Lastly, turn on your engine and let it run until warm. The heat will help dry the hard-to-reach areas.

Tips for Driving in the Dark

Common sense tells us driving at night is more difficult than driving in the daylight. Darkness reduces our field of vision (including peripheral vision), our depth perception and our ability to distinguish colors. Driver fatigue is also a contributing factor. The question is, what can you do about it? The following tips can make night driving easier.
 
Keep Your Eyes on the Lines
Headlights from oncoming traffic can cause glare and impair your vision in the dark, so naturally, you’ll want to avoid staring at those lights. If you’re having a hard time seeing the road, take note of the white line marking the traffic lane’s edge on the right side of the road. This will help keep you on course.
 
Do not, however, constantly stare at that line (or the middle yellow dividing line) while driving at night. Keeping your eyes focused on those lines for too long can “hypnotize” a driver and reduce awareness.
 
When to Use Your High Beams
Your field of vision will grow wider and deeper when using your car’s high-beam headlights in the dark, but that doesn’t mean you should turn your high beams on at dusk and keep them on until dawn. Drivers should use high-beam mode only when traveling in very dark areas with low visibility and—most importantly—when there is no car immediately in front of you and no oncoming traffic. As soon as you see another car’s taillights or the glow of approaching headlights, be sure to turn off your high beams to prevent distracting other drivers and impairing their ability to drive safely.
 
Keep Your Windshield Clear
Windshields that appear clean by day may show streaks or smudges in the dark that will create a halo effect around lights and make it difficult to see at night. Your windshield will smudge if you touch it with your skin, so professional car detailers often use newspaper to clean the interior windshield surface. A cotton or microfiber cloth will also work to clean the inside of your windshield, which can be easy to overlook when cleaning your vehicle.
 
For the windshield’s exterior, check that your wiper blades are in good condition and not cracked. Always be sure to use windshield wiper fluid rated for sub-freezing temperatures. This fluid has some anti-freeze liquid in it (that’s usually why it’s blue), as opposed to using just water, which can freeze in your lines if you live in a cold climate.
 
Dim the Interior Lights
 
Most drivers realize their night vision is impaired when the overhead dome light is left on. But if the dashboard displays are too bright, this can also limit a driver’s forward vision in the dark. Most vehicles come with a dash dimmer switch. Make sure to locate yours and keep the dash at a low glow when driving at night.
 
Beware of Animals
 
If you live in or travel through rural areas on dark country roads, you will most likely be sharing the road with some animals. Larger animals like deer and moose can be hard to spot even if they are in the middle of the road—be on the lookout for the reflection of your lights in the animal’s eyes.
 
If you see a pair of tiny bright spots in the road ahead of you or you happen to see the entire animal, slow down as quickly as possible without endangering yourself, your occupants, or any vehicles that may be near you. Trying to steer around the animal is often futile, because it is likely to follow your vehicle’s lights, and swerving is one of the leading causes of accidents due to wildlife encounters on the road.
 
The Bottom Line
Driving in the dark presents some challenges, but nothing that can’t be overcome with some knowledge and planning. You just need to know what to look for, where to keep your eyes and how to prep your car for driving at night.

How to Clean Your Car Engine

Knowing how to clean your engine is an important part of vehicle maintenance, and it can save you money. Tidying up under the hood helps extend the life of belts, hoses and other components. Plus, it’s easier to spot leaks, tears and other damage on a clean engine. Check out the steps below to properly clean your car engine, and be sure to consult your car’s operation manual before you get started.

1. Eliminate any residue

Your car’s hood, grille and vents are prime areas for dirt buildup. Blow them out with compressed air or clean the areas with a wire hand brush.

2. Get the temperature just right

Next, let your engine warm up to a moderate temperature – not too hot. This will help soften grease buildup in the engine compartment.

3. Know what to cover when cleaning your engine

Plastic sandwich bags come in handy when it’s time to clean up your car. The parts to keep covered when cleaning your engine are:

  • Electrical wiring
  • Sensors
  • Spark plug openings
  • Alternator
  • Distributor

Secure the baggies with tape. To protect your battery, cover it or simply remove it.

4. Don’t forget the drip pan

Place old towels on an absorbent mat under the engine’s oil drip pan to catch any hazardous waste.

5. Give the engine a good spritz

Thoroughly spray the engine compartment with an engine cleaner, avoiding the wiring you bagged and taped. Since petroleum cleaners can damage rubber and vinyl components, consider a citrus or water-based degreaser. For parts that seem extremely oily or greasy, let the cleaner soak in for 15-30 minutes and repeat if necessary.

6. Rinse and unwrap

Once the engine cleaner has done its job, lightly rinse engine and components with water. Remove the bags you used to protect the wiring. Once the towel or mat is dry, dispose of it properly. And if you removed the battery, don’t forget to replace it.

7. Remove excess moisture

Blow away excess water in the engine compartment with compressed air.

8. Dry out the interior

Lastly, turn on your engine and let it run until warm. The heat will help dry the hard-to-reach areas.

Things to Do When Your Car Is Stuck in Snow

Getting stuck in the middle of a big pile of snow or on a stretch of ice can be an all-too-common occurrence during the cold winter months. Luckily, we have a few tips and tricks that can get your car free in no time, even if you don’t have one of the best vehicles for winter driving. Follow these six tips below to get a car unstuck in snow:
1. Clear a path around your tires
Try to dig snow and ice away from the drive tires. You want to free up a few feet in front of and behind the tires so you can move the car back and forth. This is particularly important if your tires aren’t winterized, or if you haven’t taken steps to prepare your vehicle for the winter. Be sure to also dig out any snow under the front or middle of your car that is higher than its ground clearance.
 
Of course a snow shovel makes this much easier, so try and store one in your trunk if you plan on driving in snowy conditions.
 
2. Rock your car free of the snow
Carefully switching from drive to reverse can help dislodge some of the snow around your wheels. “You go into drive, then reverse, then repeat,” says Mark Osborne, who oversees Michigan Technological University’s Winter Driving School. “But you have to be careful not to wreck your transmission. I put my foot on the brake at the peak of each ‘rock,’ so the car is motionless when I change gears. It’s also helpful to shift to neutral for a second before making the transition.”
 
3. Don’t floor the gas
You’ll always be tempted to floor it if you’re stuck in snow or ice, but don’t. Go easy on the pedal to give the vehicle just a little gas for a moment, then let off. Repeat to enhance the needed “rocking” motion. It’s momentum that sets you free, not power.
 
4. Add traction under your tires
If you still can’t get your car free, you can next try and gain traction under your wheels. Things such as sandbags, salt, dirt or even kitty litter can be used when your car is stuck in snow. Throw several handfuls under your tires for improved traction, then try the gas again.
 
It is also important to remember to turn off traction control if you are stuck in snow. This is one of several safety features that can help you keep control of your vehicle if you hit ice on the road, but leaving it on while stuck in snow is a different story. Traction control prevents wheelspin, which is the rotation of a vehicle’s wheels without traction, and can sometimes help you get your car out of snow.
 
5. Get others to help push your car
If you have other people in your car, or friendly onlookers who can help, simply pushing your car out of the snow can be an easy solution. Gently press the gas while the car is being pushed to add additional momentum. Safety always comes first, so make sure you’re in forward gear and the ground isn’t too slippery for helpers to push. Using snow chains can also help create traction under your tires, making it easier to move through snow and ice.
 
6. Ask for help
If all else fails and you can’t seem to figure out how to get your car unstuck from snow, calling for help is your next best bet. Nationwide offers 24-hour roadside assistance services that can help you in getting a car out of snow, jump starting a dead battery, filling an empty gas tank, and more.
 
Always keep a cool head
Whether you’re stuck in snow or hit a stretch of ice, try and remain calm. Don’t do anything abrupt, like slamming the brakes. “If you do that, you’ll transfer your vehicle’s weight to your front wheels,” Osborne says. “That lightens up the rear, making it likely that your rear end will spin.” Instead, Osborne says, gradually let off the gas and hold the steering steady until you’ve cleared the ice.

What to Do When the Check Engine Light Comes on

The dashboard of a car is full of mysterious lights that run the gamut from warning to a friendly reminder. Most of these lights remain dark most of the time, and when they do emerge, few people understand all of them. The check engine light is cardinal among these cryptic signals, with many possible reasons for its appearance and more than a few ways to make it go away. But what does the check engine light mean? Despite its varied reasons for appearing, there is an overarching rationale to it, and an important one at that. Understanding what to do when the check engine light comes on can mean the difference between a dangerous mechanical issue and an easy fix at the auto shop.


What does the check engine light mean?

Let’s start with what the check engine light doesn’t mean. It’s easy to see a warning light come on and hit the panic button, but the check engine light doesn’t usually warrant immediate concern. If you’re driving along and it turns on, you don’t usually need to pull over and call for help. You should take the light as a sign it’s time to get to a mechanic soon, though. The check engine light is a part of your car’s onboard diagnostics system, which monitors variables like engine speed, fuel mixture, and ignition timing. When that system detects a problem it can’t correct on its own, it responds by switching on the check engine light.


What does the check engine light look like?

So, your car’s diagnostics have detected a problem, what are you looking for? A yellow check engine light will appear on your dashboard, though the shape may vary based on the car you’re driving. In some cars, the check engine light literally reads “check engine” and nothing else, while in others it appears in the shape of an engine, occasionally with the word “check”. The light’s appearance may also vary depending on the problem. A solid check engine light indicates a less urgent issue, while a flashing check engine light signals a problem that requires immediate attention. Some cars also show a red check engine light if the problem is severe.


Common reasons the check engine light comes on

Engine problems

There is a slew of engine problems that can cause your check engine light to come on. Most are minor and cause your car’s fuel economy and emissions rating to decline, however, some can develop into major issues if unchecked. Engine misfires, for example, will cause poor fuel economy and performance in the short run, but can eventually lead to outright engine failure.

Damaged or loose parts and equipment

Any parts that are damaged, loose or missing will trigger the check engine light. Loose gas caps are a common example of this, though this problem does not pose any serious harm to your car.

Sensor issues

If your diagnostics system detects faults in any of your engine’s many sensors, your check engine light will come on. Some common examples are your oxygen sensors, which measure unburned oxygen in your exhaust system, and mass air flow sensors, which measure the amount of air entering your engine to determine the amount of fuel it needs.2

Transmission problems

As the master of your engine’s power output, your transmission can also trigger the check engine light if it malfunctions. Transmission problems can lead to increased tailpipe emissions.3

Overheating

If your coolant has not been changed properly it can eventually cause your engine’s thermostat to degrade, eventually overheating the engine. If this happens, your check engine light will activate.


How long can you drive with the check engine light on?

Many of us willfully ignore the check engine light until we see the symptoms of whatever caused it to turn on. That’s a tempting strategy, but it’s not wise. Your issue may be minor at first but develop into a major problem, as is the case with a bad catalytic converter. Even if the problem is merely reducing your fuel economy, that’s still additional emissions and expenses out of your pocket that a quick trip to the mechanic could fix. In either case, you should have your car evaluated as soon as possible.


What should you do when the check engine light comes on?

Turn your car on and off

Turning your car on and off three times consecutively may reset your car’s trouble codes. It’s worth trying this before taking your car in for service.2

Check gas cap

Yes, sometimes it’s as simple as tightening your gas cap. Be patient after doing this, as it may require several trips before the light resets.

Perform a diagnostic test

Many newer cars come with onboard remote diagnostics systems. These systems can report trouble codes and schedule a service appointment accordingly.

Reduce your speed

If your check engine light blinks on while you’re driving, a good first response is to reduce the strain on your engine. Lowering your speed will help. This is especially important if the check engine light is blinking or if it is red, indicating a more urgent issue.

Reduce load

You can also reduce the strain on your engine by reducing the haul it’s carrying. If you’re towing anything, you might want to stop.1

Wait and see

It’s not advisable, but you can always wait and see what happens. Most check engine lights do not need to be addressed immediately, and worsening problems will make themselves apparent. If your car’s situation is becoming more urgent, you’ll probably see or hear the signs.

Visit a mechanic

If you haven’t discovered the reason your check engine light is on, it’s probably a good question for your mechanic. You should take your car in for service as soon as possible.


What You Need to Know About Your Vehicle’s Filters

No matter what type of vehicle you drive—from luxury European automobiles to domestic cars and trucks to hybrids and electrics—there will certain types of filters that require routine inspection and maintenance. Not all filters are the same and they come in many different sizes and configurations. When attempting to replace any filter yourself, always make sure you know what you are doing and use the proper type of filter for your car.
 
Here are the four main vehicle filters every car owner should know about:
 
1. Engine Oil Filter
 
When you get a standard oil change, a key part of the process is replacing the old oil filter with a new one (in addition to changing out the motor oil itself). The oil filter helps keeps the oil that is running through the engine clean and free of contaminants. If the oil isn’t pure, the engine won’t run as smoothly and it can lead to significant engine damage. Oil changes should happen every 3,000-6,000 miles depending on the make, model, age and engine type. Some newer vehicles may only need an oil and filter change every 10,000 miles.
 
2. Engine Air Filter
 
Most cars have an air intake system that provides fresh air and oxygen to the engine. The oxygen is vital to the internal combustion process. An air filter helps keep the air going into the engine clean. As you might expect, the filters can get dirty and clogged over time. This keeps the proper amount of air from entering the combustion chamber. They can also crack and develop holes if they get really old (especially in extra dry or extra wet environments), which can lead to contaminants like dirt, debris and grease getting into the engine and causing problems. Most engine air filters will need to be replaced every 15,000-30,000 miles depending on a variety of factors. It’s good to get it checked with each service visit and replaced as needed.
 
3. Fuel Filter
 
Electric vehicle owners don’t need to worry about this one, but any vehicle with a fuel system will have a fuel filter that filters contaminants out of the fuel supply as it is fed into the engine for combustion. If the fuel filter is clogged, old or damaged in anyway, it won’t be good for your engine! A standard fuel system service will involve cleaning the fuel lines and replacing the fuel filter.
 
4. Cabin Air Filter
 
This filter won’t necessarily affect the performance of your car in any way. However, it’s good for your health and comfort inside the vehicle. It is connected to the vents and air conditioning system to filter out dirt, dust and other nasty stuff that you don’t really want to breathe while driving. It doesn’t need to be replaced nearly as often as the engine air filter, but it should be checked regularly and replaced as needed. If you notice funky smells or it seems like you are getting a lot of dust coming through the vents, then it’s probably time to change out your cabin air filter.