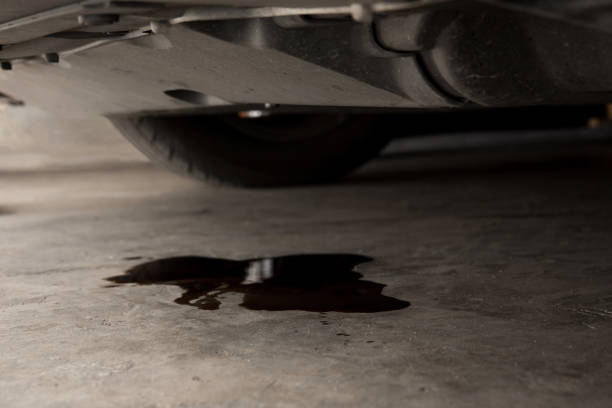
Is your car leaking gas? If so, it’s important to find out where the leak is coming from and how to fix it. Otherwise, you could be putting yourself and others at risk.
In this article, we’ll show you how to identify and fix a gas leak in a car. A gas leak in a car is when fuel escapes from the system through a hole or crack.
Can You Drive A Car With A Gas Leak?
It’s not safe to drive a car with a gas leak. If the leak is bad enough, you could run out of gas and be stranded on the side of the road. Even if the leak is not that bad, you are still wasting gas (and money) every time you drive. It can lead to several problems, including:
1. Reduced gas mileage
When your car leaks gas, it is not running as efficiently as it could be. This leads to reduced gas mileage and increased emissions.
2. Engine damage
If the gas leak comes from the engine, it could cause severe damage.
3. Fire hazard
A gas leak is a fire hazard. If there is a spark, the gas could ignite and cause an explosion. So, if you think your car is leaking gas, getting it fixed as soon as possible is important.
What Can Cause A Gas Leak In A Car?
A gas leak in your car can be a serious problem, and it is important to know what can cause it. Here are some of the most common causes of gas discharge in cars:
1. Faulty Fuel Tank
A faulty fuel tank can often cause gas discharge. If your fuel tank is damaged, it can cause gasoline to leak out.
2. Loose Fuel Cap
Another common cause of gas discharge is a loose fuel cap. If your fuel cap is not tight, it can allow gasoline to escape from the tank.
3. Leaking Fuel Line
Gasoline can also leak from a damaged or leaking fuel line. Fuel lines can become damaged over time, and if they are not properly maintained, they can develop leaks.
4. Damaged Carburetor
A damaged carburetor can also cause a gas leak. The carburetor is responsible for mixing air and gasoline to create the fuel mixture that powers your engine. If it is damaged, it can allow gasoline to leak into the engine.
5. Faulty Intake Manifold
The intake manifold is another part of the car that can cause a gas leak. The intake manifold draws air into the engine and also mixes it with gasoline. If the intake manifold is damaged, gasoline can leak into the engine.
A damaged carburetor can also cause a gas leak. The carburetor is responsible for mixing air and gasoline to create the fuel mixture that powers your engine. If it is damaged, it can allow gasoline to leak into the engine.
6. Cracked Exhaust Manifold
A gas leak can also be caused by a cracked exhaust manifold. The exhaust manifold collects the exhaust gases from the engine and directs them out of the car. If the manifold is cracked, it can allow gasoline to leak into the engine.
7. Damaged Fuel Injectors
Gasoline can also leak from damaged fuel injectors. The fuel injectors are responsible for injecting gasoline into the engine. If they are damaged, they can allow gasoline to leak into the engine.
8. Leaking Fuel Pump
The fuel pump is what pumps gasoline from the tank to the engine. When the fuel pump is leaking, it can allow gasoline to leak into the engine.
9. Faulty Oxygen Sensor
The oxygen sensor is responsible for monitoring the oxygen content of the exhaust gases. If the sensor is damaged, gasoline can leak into the engine.
10. Damaged Catalytic Converter
The catalytic converter is responsible for converting the toxic gases in the exhaust into less harmful gases. If the converter is damaged, gasoline can leak into the engine.
These are just some of the most common causes of car gas leaking. If you think you have a gas discharge, it is essential to have it checked out by a mechanic immediately. Gas leaking can be hazardous and can cause serious damage to your car.
How To Fix A Gas Leak In A Car
If you have a gas leak in your car, it’s important to take care of it right away. A gas leak can be dangerous and can cause your car to catch on fire. Here are some tips on how to fix a gas leak in your car.
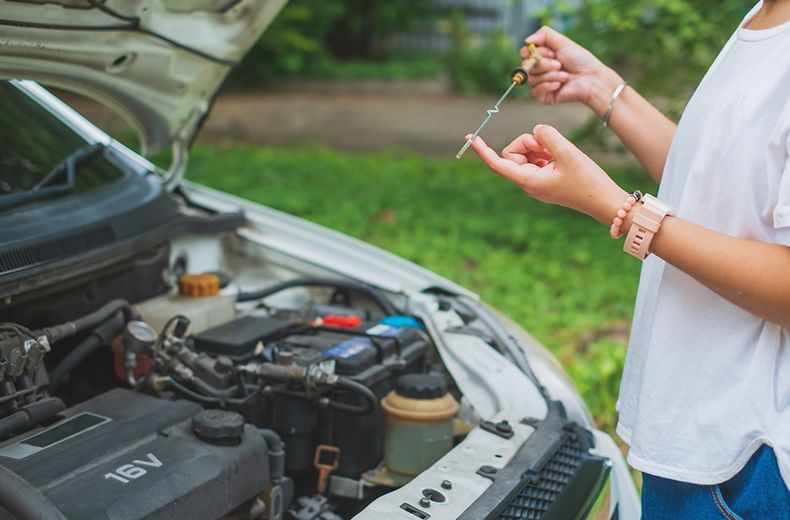
1. Find the source of the leak
If you see gasoline leaking from your car, it’s important to find the source of the leak. The most common place for a gas leak is at the fuel line. Check the fuel line to see if there are any cracks or leaks.
2. Replace the damaged part
If you find a crack in the fuel line, you will need to replace the damaged part. You can buy a new fuel line at your local auto parts store.