It’s one of the worst things that can happen to a driver. You turn the key in your car’s ignition, perhaps hear a few alarming noises and then nothing. Whether in the parking lot after dinner, in your driveway before work, or at the rest stop after you’ve stopped for snacks, there’s never really a good time for your car to not start. It’s usually indicative that your car needs some kind of repair, and even when no repairs are needed, you have a serious logistical challenge on your hands.
What to do if your car won’t start
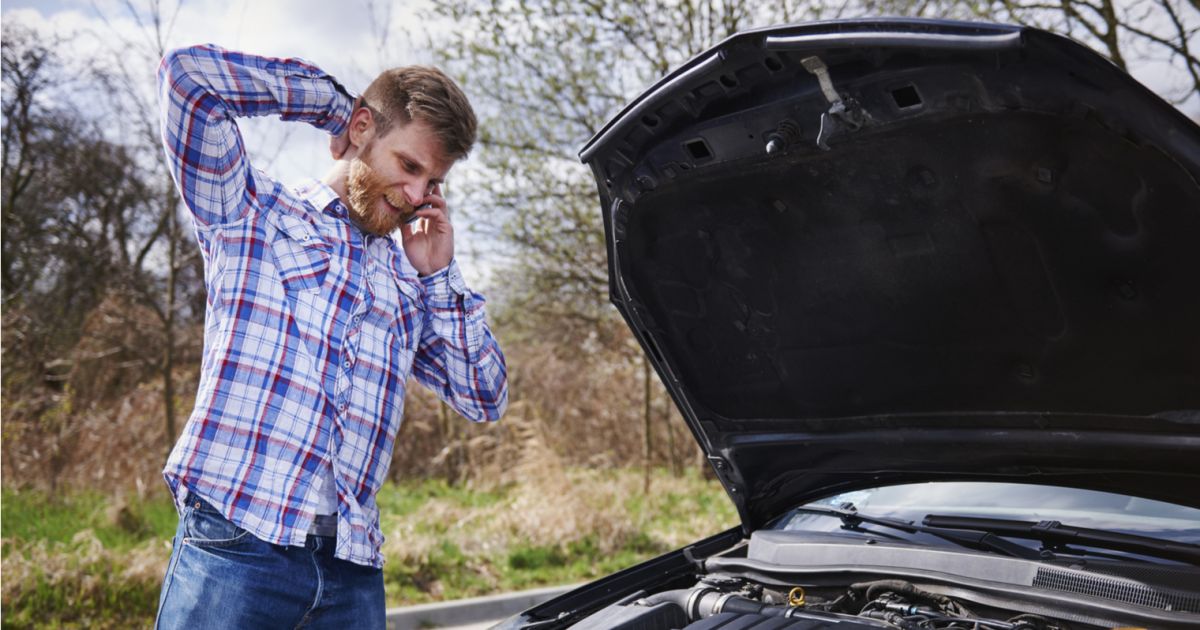
When your car breaks down and you’re on a busy road, this can be a scary experience. If you don’t have an emergency kit in your car, there are a few things to do to fix the situation. First, call roadside assistance to get you and your car to a safe location (preferably an auto shop). Then, you or the mechanic will need to figure out why it’s not starting. Here are a number of reasons why your car won’t start:
1. Bad or dead battery
The most common reason cars don’t start is a dead or faulty battery. Even though most cars run on gasoline, they all require electrical power to function. The starter that cranks your engine to start requires an electrical signal to fire. If something’s wrong with your battery, your car engine won’t turn over. There are other symptoms that may indicate a dead battery, but checking whether your engine turns over at all is a good first step.
The good thing about dead batteries is that you don’t always need a professional to get your car going again. Jumping a car battery is typically fairly straight-forward, as long as you have jumper cables and another power source. However, a battery jump may just be a temporary solution, and new batteries can be expensive, so it’s best to always take good care of your battery. For more on how to do that, check out these tips for avoiding a dead battery.
2. Bad alternator
A bad alternator goes hand-in-hand with a dead battery. The alternator recharges the battery and keeps the car’s electrical systems running after the car has started. If you have a bad alternator, you don’t necessarily have a bad battery, but you certainly might not have a functioning one. Any bad alternator should be replaced, so be sure to look out for any signs of a bad alternator.
3. Faulty starter motor
Dead batteries or alternators aren’t the only things that can stop your ignition from functioning. If something is wrong with the starter motor that receives the electrical signal to crank the engine, your car may not respond to the turn of your key.
Common symptoms
One of the easiest ways to tell if your starter motor has a problem is to check whether your lights come on when you turn your key in the ignition. Turning your key turns your battery on, so if you’ve turned your key all the way and the lights come on but the engine doesn’t turn over or click, your starter motor could be the culprit. Any signs of electrical failure could also indicate that the starter motor needs help. Repeatedly trying to use a starter motor that has been subject to a blown fuse could cause it to overheat and emit smoke.
4. Bad ignition switch
The ignition switch is another step on the road that leads from turning your key to starting your engine. It plays a crucial role between your battery and starter motor, carrying power from the battery to the engine.
Common symptoms of a bad ignition switch
If you have a bad ignition switch, you won’t hear the starter motor working to start the engine. You also might experience some electrical issues, since the ignition switch effectively activates your car’s main electrical systems. Flickering or dying dashboard lights are a prime example. You may also have difficulty turning your key in the first place.
5. Bad spark plugs
If your car doesn’t start, it’s possible that its spark plugs are old or dirty. Spark plugs that have become defective in any way can lead to reduced gas mileage, lack of acceleration, engine troubles such as misfires, and difficulty starting your car.
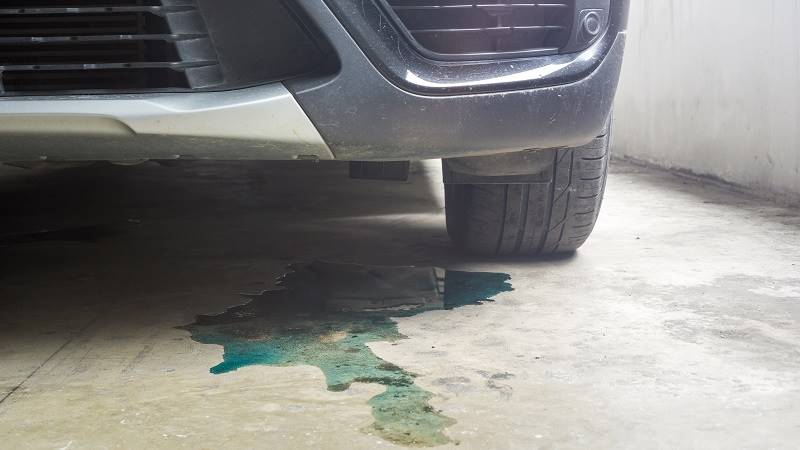
6. Broken distributor cap
It’s not necessarily the spark plugs’ fault. The distributor cap routes power from the engine’s ignition coil to the spark plugs. Broken or malfunctioning distributor caps can cause your engine to misfire, activate the check engine light, cause strange noises and, of course, prevent your car from starting.Make sure there is no moisture under the cap and replace it immediately if it’s broken. When in doubt of how to do this safely, it’s best to rely on a professional.
7. Bad timing belt
Your timing belt is another component that is integral to a functioning engine. The timing belt rotates the engine’s cam and crankshaft in unison, causing the cylinders to fire at the appropriate times.
Common symptoms of a bad timing belt
If something is wrong with your timing belt, you may hear ticking noises from your engine or strange disparities in your engine’s revving, or your engine may not turn over. Replacing your timing belt is a piece of maintenance that needs to be performed on a semi-regular basis, so if you notice any issues that could be tied to it, don’t hesitate to call your mechanic.
8. Jammed steering lock
Ever gotten into your car and found that you can’t even turn your key? If you’ve experienced this, it’s likely that your steering lock is jammed. As an anti-theft measure, your steering lock activates when someone tries to move the wheel while the key is not inserted in the ignition. It can occasionally serve as an anti-driver measure by accident.
If your steering lock jams, try to wiggle it left and right and then gently turn it in whichever direction allows some movement. Once the lock is unjammed, you can turn the key in the ignition normally.
9. Clogged fuel filter
If fuel can’t reach your engine, your car is going to have a difficult time burning it. As obvious as that sounds, you might not realize that the fuel filter is preventing your car from starting.
Common symptoms of a clogged fuel filter
You may notice an array of fuel-related troubles, ranging from sputtering to poor gas mileage and, of course, difficulty starting. Your fuel filter should be replaced every 30,000 miles, so if yours is coming up on that milestone and your car doesn’t start, it’s worth checking and replacing.
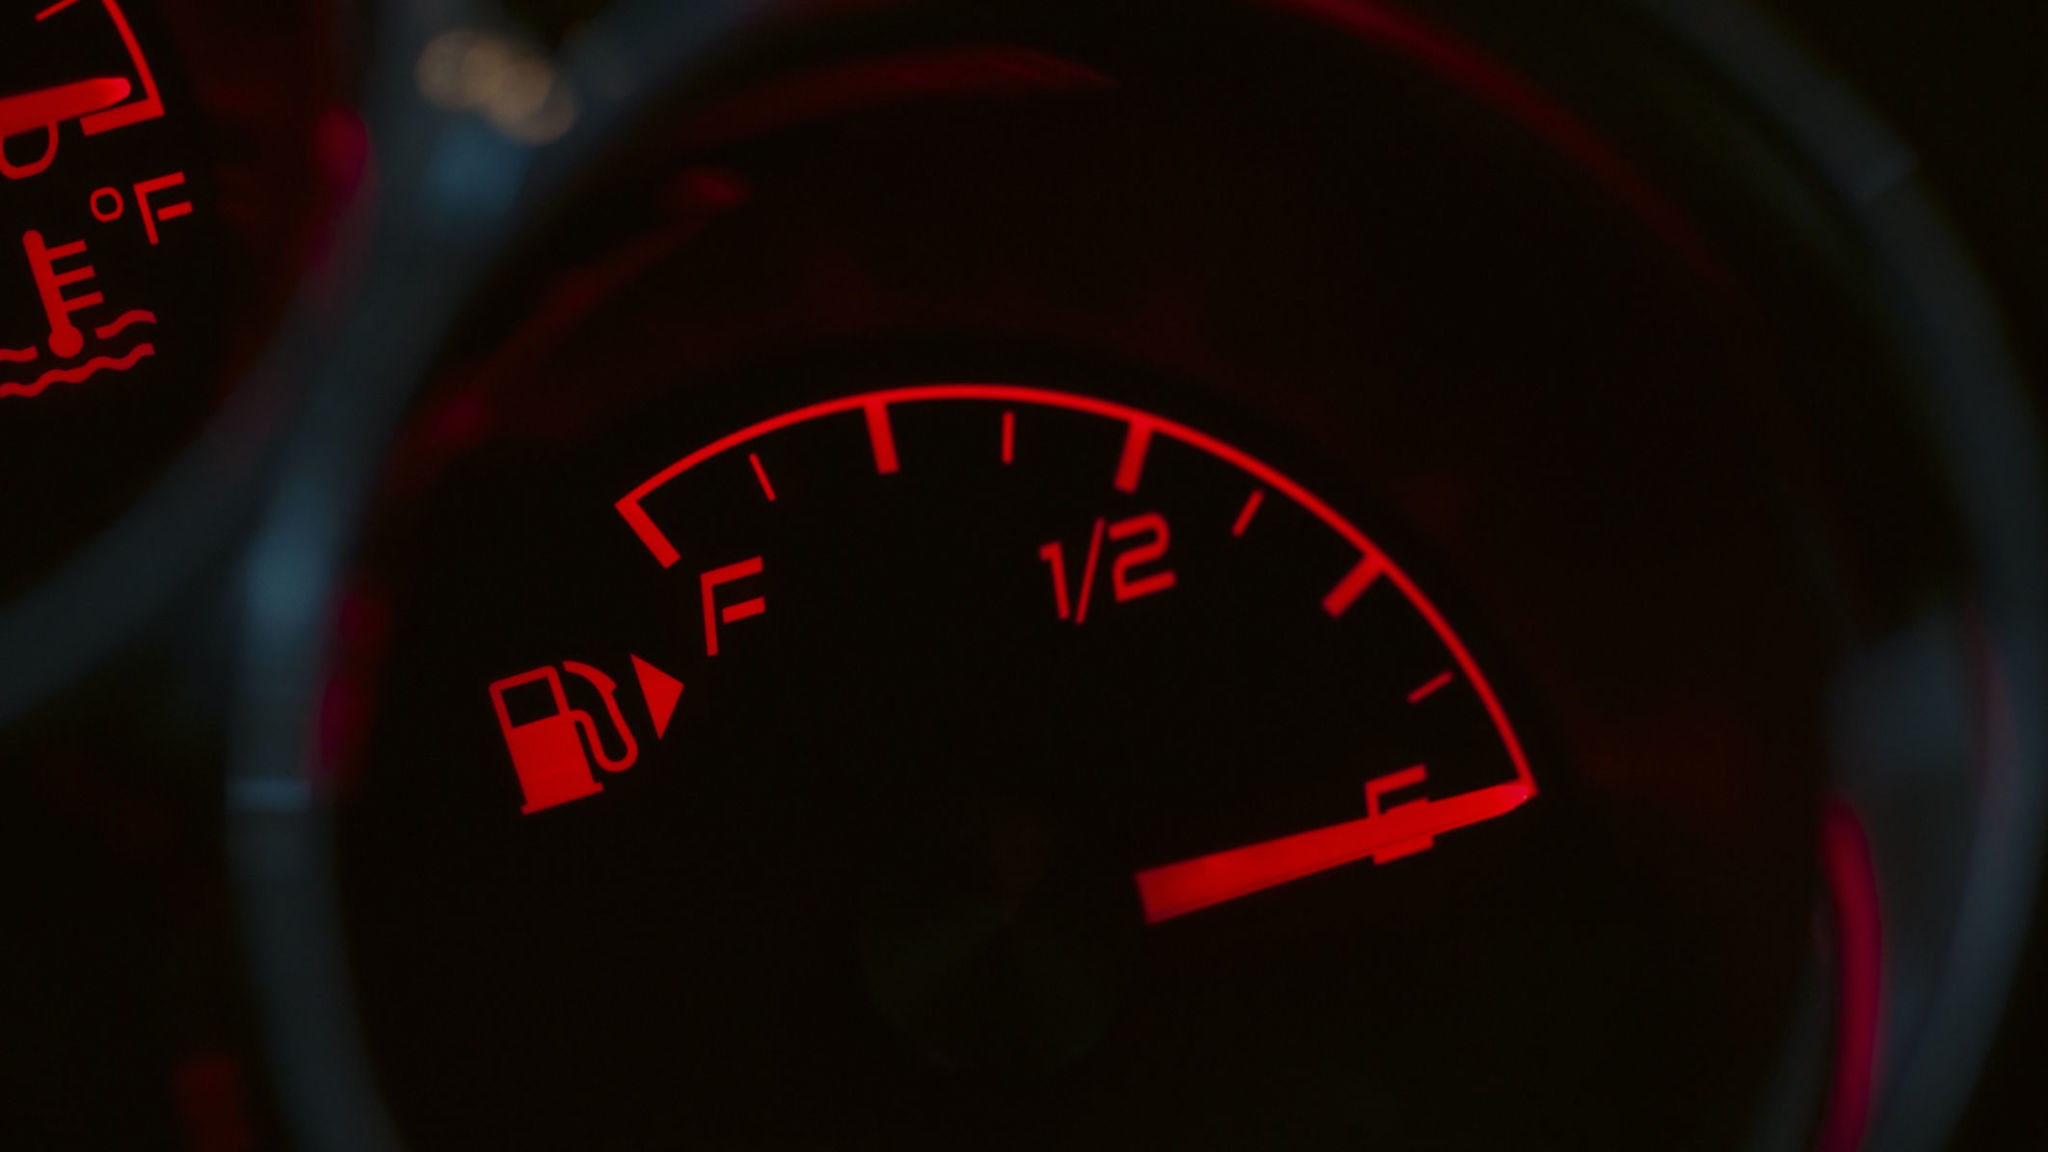
10. Empty fuel tank
No one wants to run out of gas, but if you do, the silver lining is that there isn’t anything wrong with your car. If your tank is empty, your best bet is to get a gas can and give your car the couple of gallons it needs to start and get to a gas station. Another reason for car troubles could be that the gas in your car simply went bad.
11. Electrical issues
If your car isn’t starting, this could be from issues with the fuse box, battery cables or even the body control unit. Sometimes rodents can even get underneath the hood of your car and chew the wiring.
12. Faulty immobilizer
If you try to unlock your car with your key fob and it doesn’t work, this may mean there’s a problem with the engine immobilizer. This can also cause a problem starting your car if the fob is unable to send a security code to the engine immobilizer.
Knowing why your car won’t turn on is a good first step toward repairing it, but sticking to a car maintenance schedule can help prevent issues from arising in the first place. Learn how to prepare so your car not starting or breaking down is less likely.