4 Ways to Show Your Car Some Love This Valentine’s Day

Valentine’s day is here, and that means it is time to pamper your true love with attention and affection. That means you may want to book a time at the car day spa for a fluid replacement and wash and wax. What are your date plans for your 4-wheeled love this Valentine’s day? No plans? Here are some ideas. Many people schedule annual, biannual or quarterly services for the new year, but this can cause scheduling problems because everyone else is doing it as well. Waiting until February, you are past all the new year’s schedules and can have an easier time getting service done, so schedule annual Valentine’s service and cleaning so your car is ready for the date.

Car detail

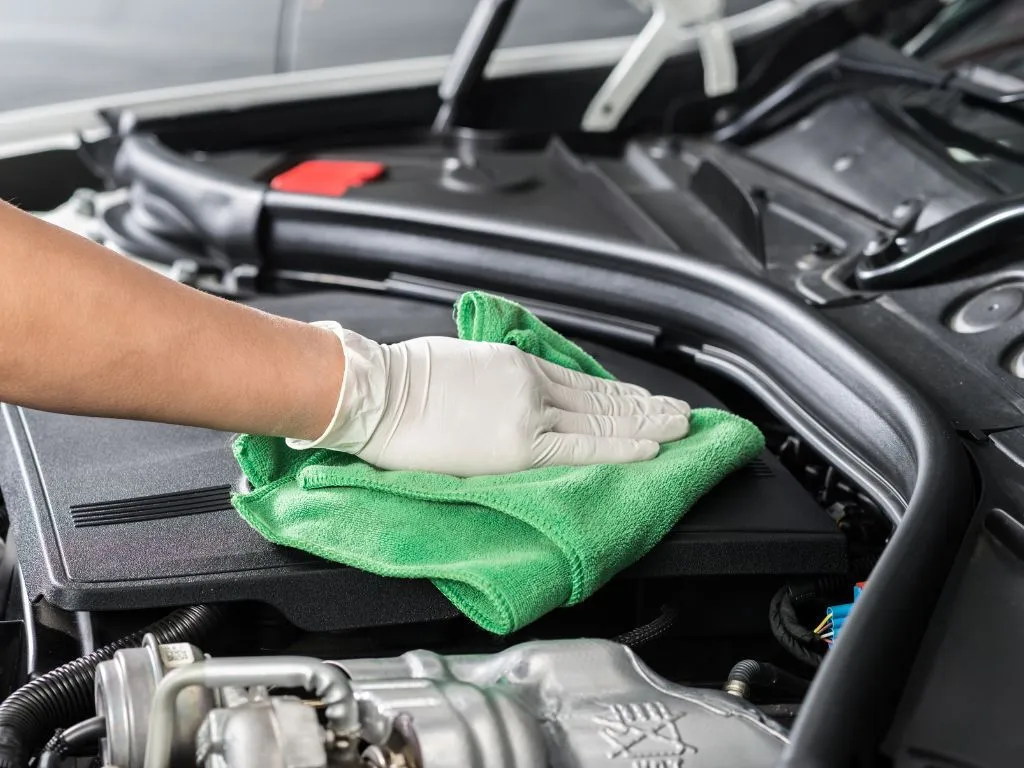
This is a simple way you can show your baby you love her. You can even do it at home. It is always a good idea to have a once in a while complete cleaning for your car. If you have a date for Valentines, you will want your car to be perfect for a special night, and if you don’t, you have nothing better to do than spend the day on a deep detail cleaning at the car wash! Single or not, it is a good idea.

Fluid replacement

Oil should be changed every 5,000-10,000 miles depending on the type of oil, so at the beginning of the year and then again before a summer road trip or 4th of July are good times for most regular drivers. Transmission, power steering, and differential oil every 3 years, so if you are approaching 3 years, now is a good time. Power steering fluid is recommended every two years, but some add it to an annual service because it is easy enough to all do at once. So, if your car is coming up on three or six years old, this is a definite for your to-do list.

Tire service

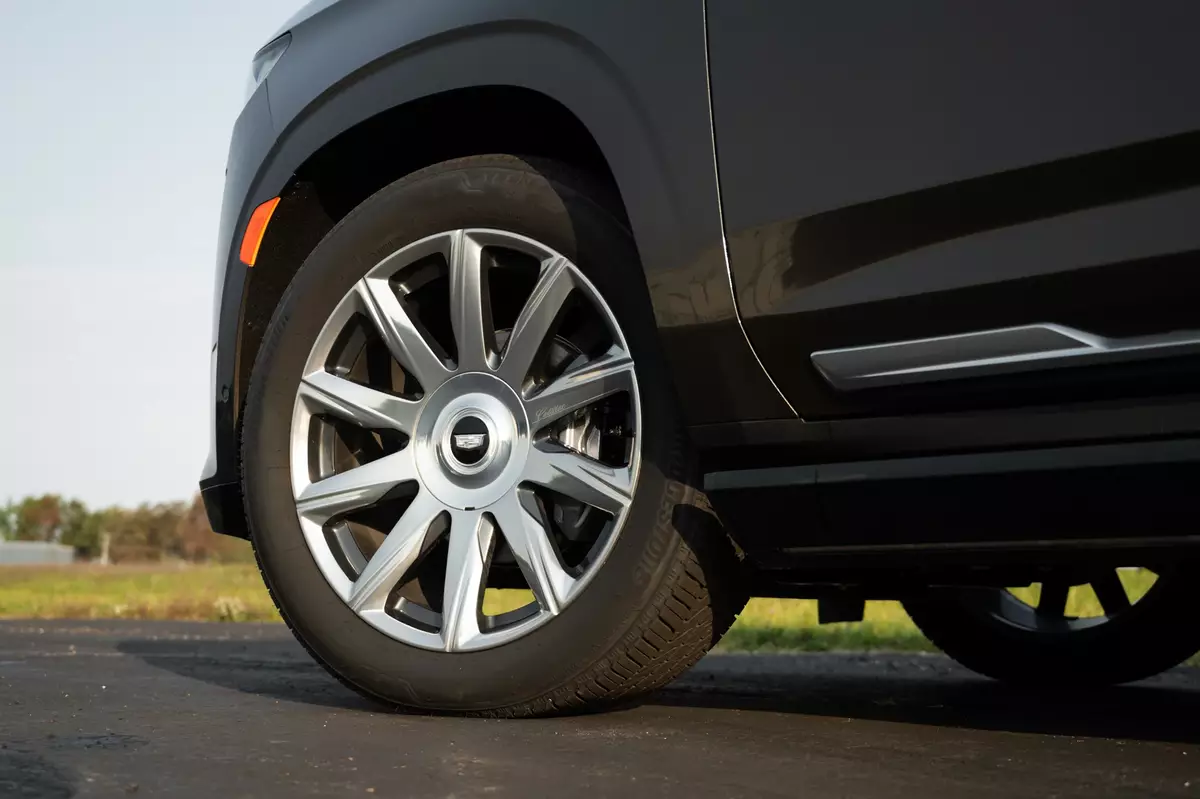
Tires need an occasional rotation as well. Most recommend every 5,000 to 10,000 miles, which puts it in at the same time as an oil change. So, while you are getting those fluids done, add a tire rotation to it.

Annual service

Any high-performance BMW, Mercedes or other vehicle needs an annual inspection. Recommended is every 10,000 miles. This is a good time to do many of our ideas mentioned here as well as have a full overall inspection for incoming problems. Make sure your electrical and other systems are in good shape and not wearing down. It is better to have an annual inspection and find something before it breaks than wind up on the side of the freeway a month later


How to protect your Car from Snow and Ice Damage

While winter may be full of beautiful landscapes and warm nights around the fire, it also brings with it snow and ice that can harm your beloved vehicles. In the mind of a vehicle mechanic, winter is equal parts hot chocolate, snowmen, and corrosion damage.


The rock salt, ice, and melting snow common on our roads in the winter all take a unique toll on your car. However, the majority of winter damage to your vehicle can be prevented with only a few preventive maintenance steps and proper storage planning. In this post, we are going to explore how you can best avoid the damage to your car caused by snow and ice.

The following are vital tips and pieces of advice for getting you and your vehicle winter-ready:


1. When Possible Park Indoors or with Overhead Cover


While fresh snow isn’t going to build up and crush your car, it will eventually melt and can lead to moisture damage. Preventing it from finding a home on your vehicle is easier with an overhead cover.


While it may seem obvious that you don’t want snow falling onto your car, you have to be aware of the underside as well. Do not park in a spot with snow build-up already present as it can push up against the bottom of the vehicle and create places of rust. Also, snow on the ground is often dirty and can deposit multiple chemicals from the road to the surface of your car.


2. Use a Windshield Cover


Ice and snow on your windshield can be incredibly dangerous and can take a long time to melt off or remove. One of the best ways of dealing with this is to invest in a windshield ice cover. Or you can get a large piece of cardboard. Anything that you can place over the windshield. Remove the cardboard in the morning, along with all the accumulated ice and snow.


3. Let the Car Warm Up and Don’t Use Buckets of Water


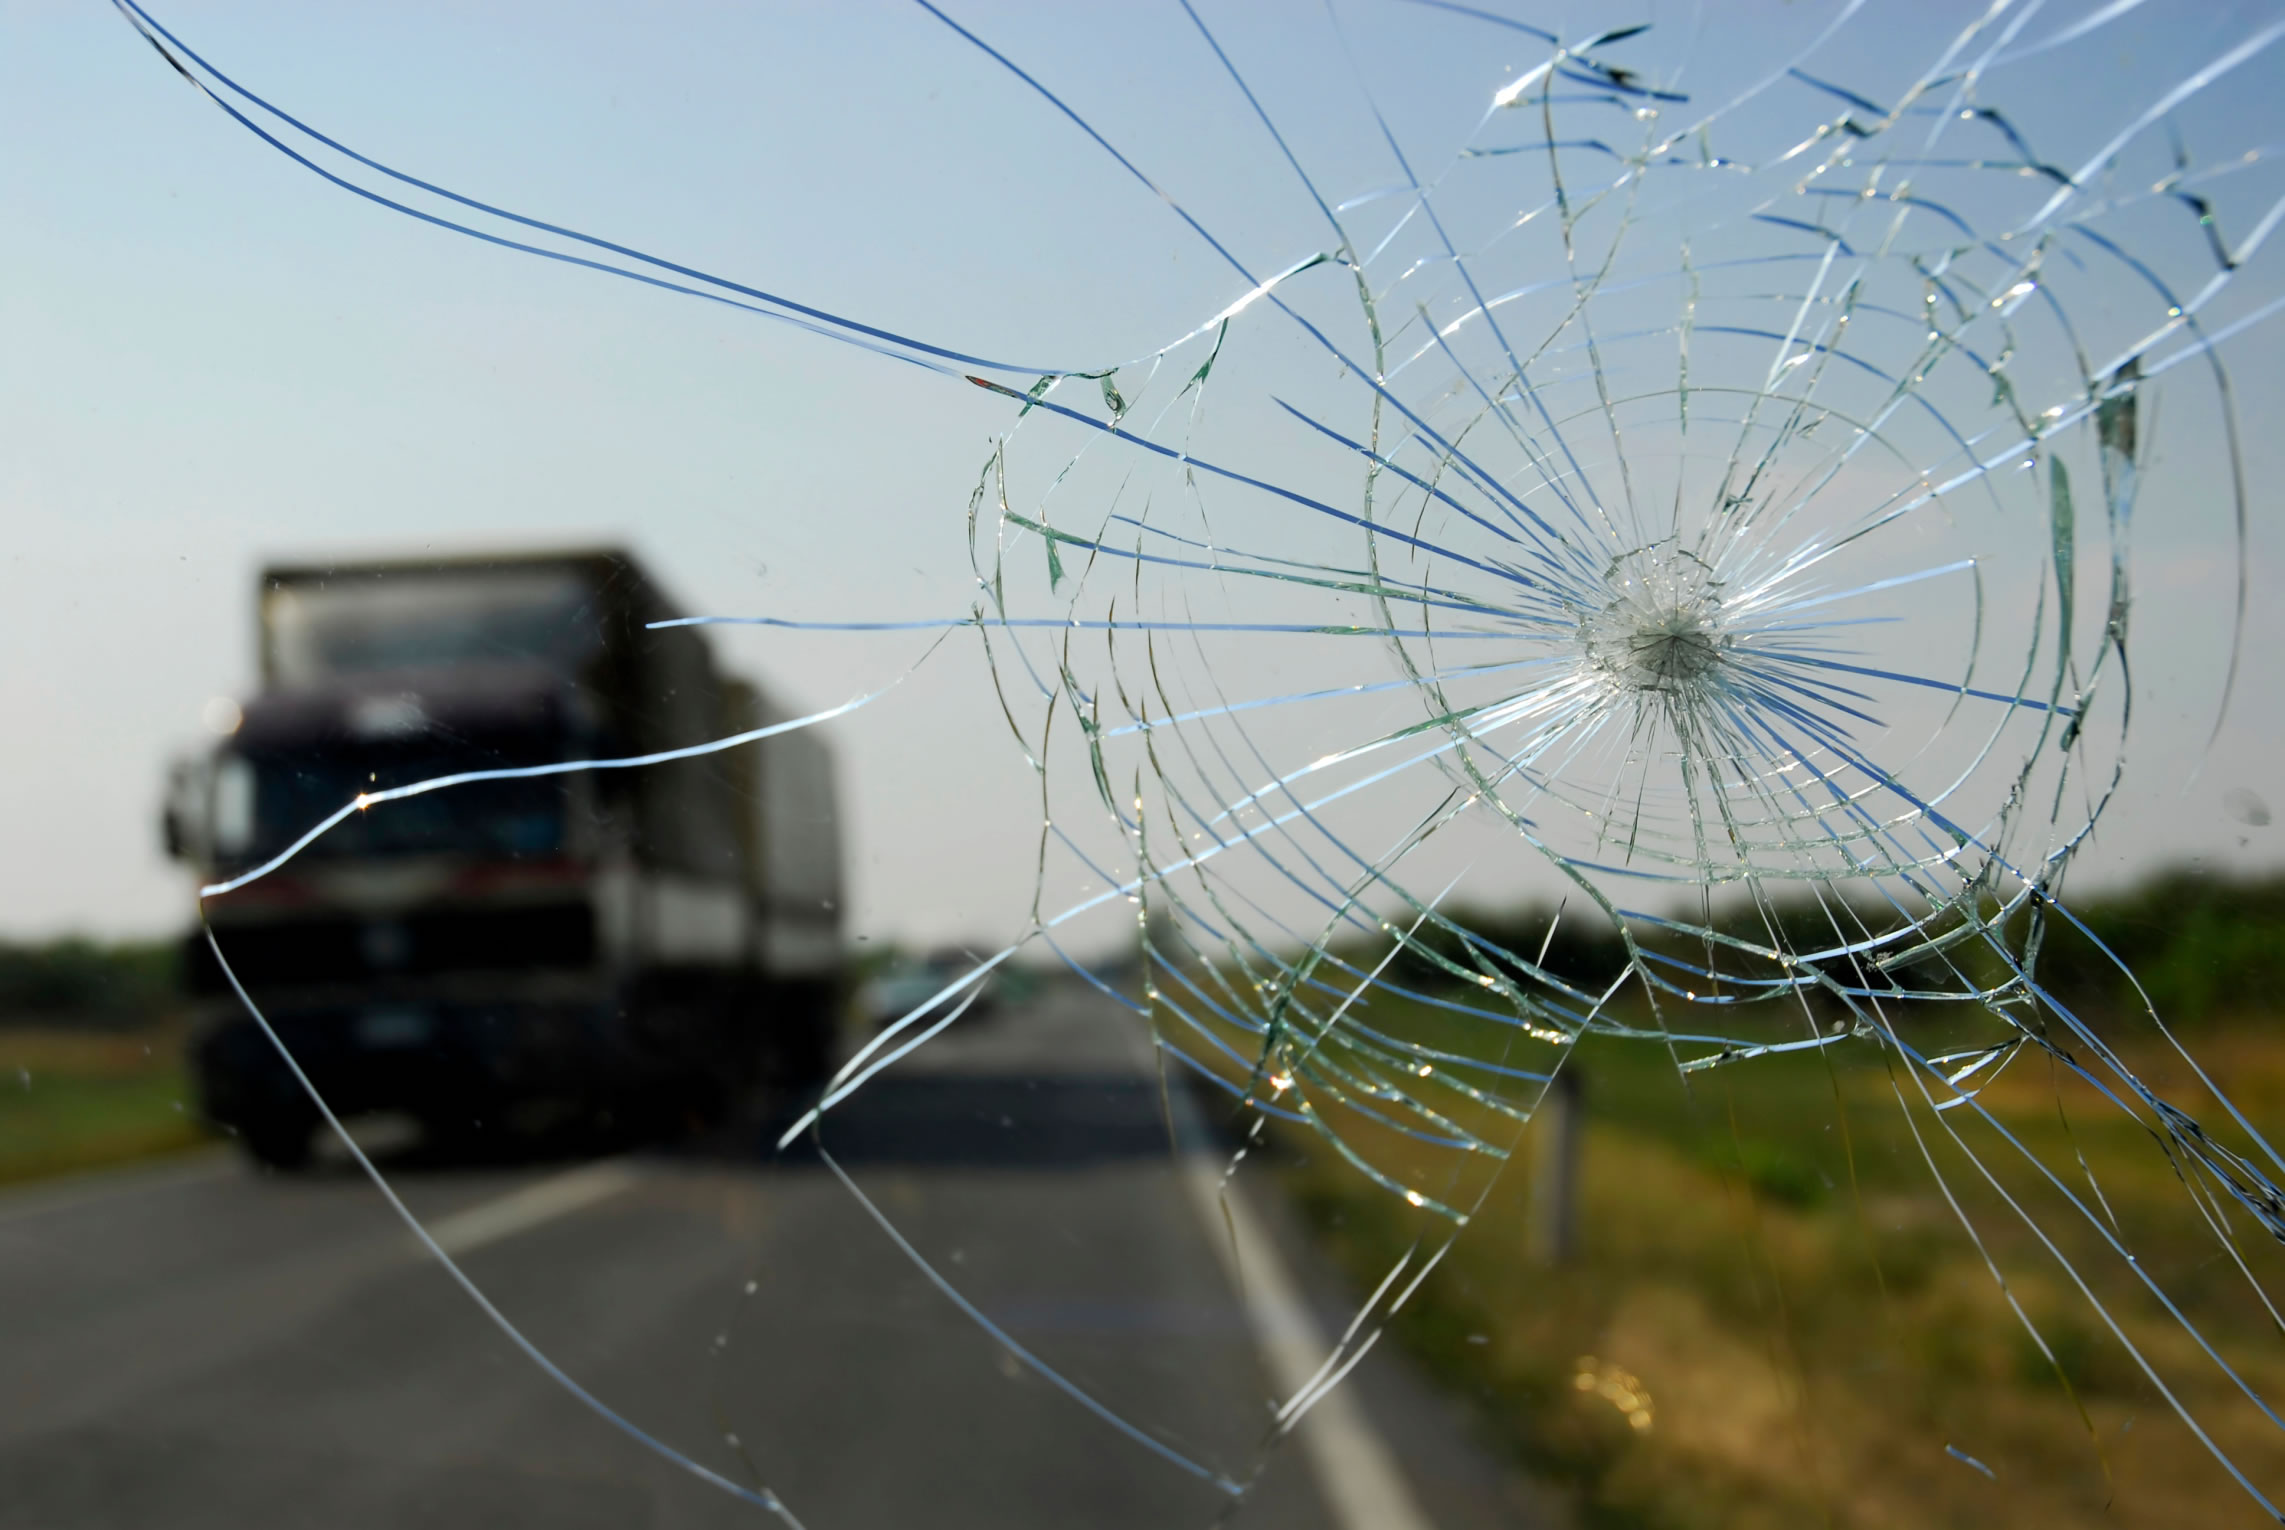
A common cause of ice damage to a vehicle is preventable. Drivers will often douse their vehicles in warm water to remove the ice and snow, which can lead to a few issues. Often, glass can crack under abrupt and extreme changes in temperature. Also, you are left with a large amount of water, which can quickly refreeze. Ice will now coat your vehicle’s surface and you have something to slip on.


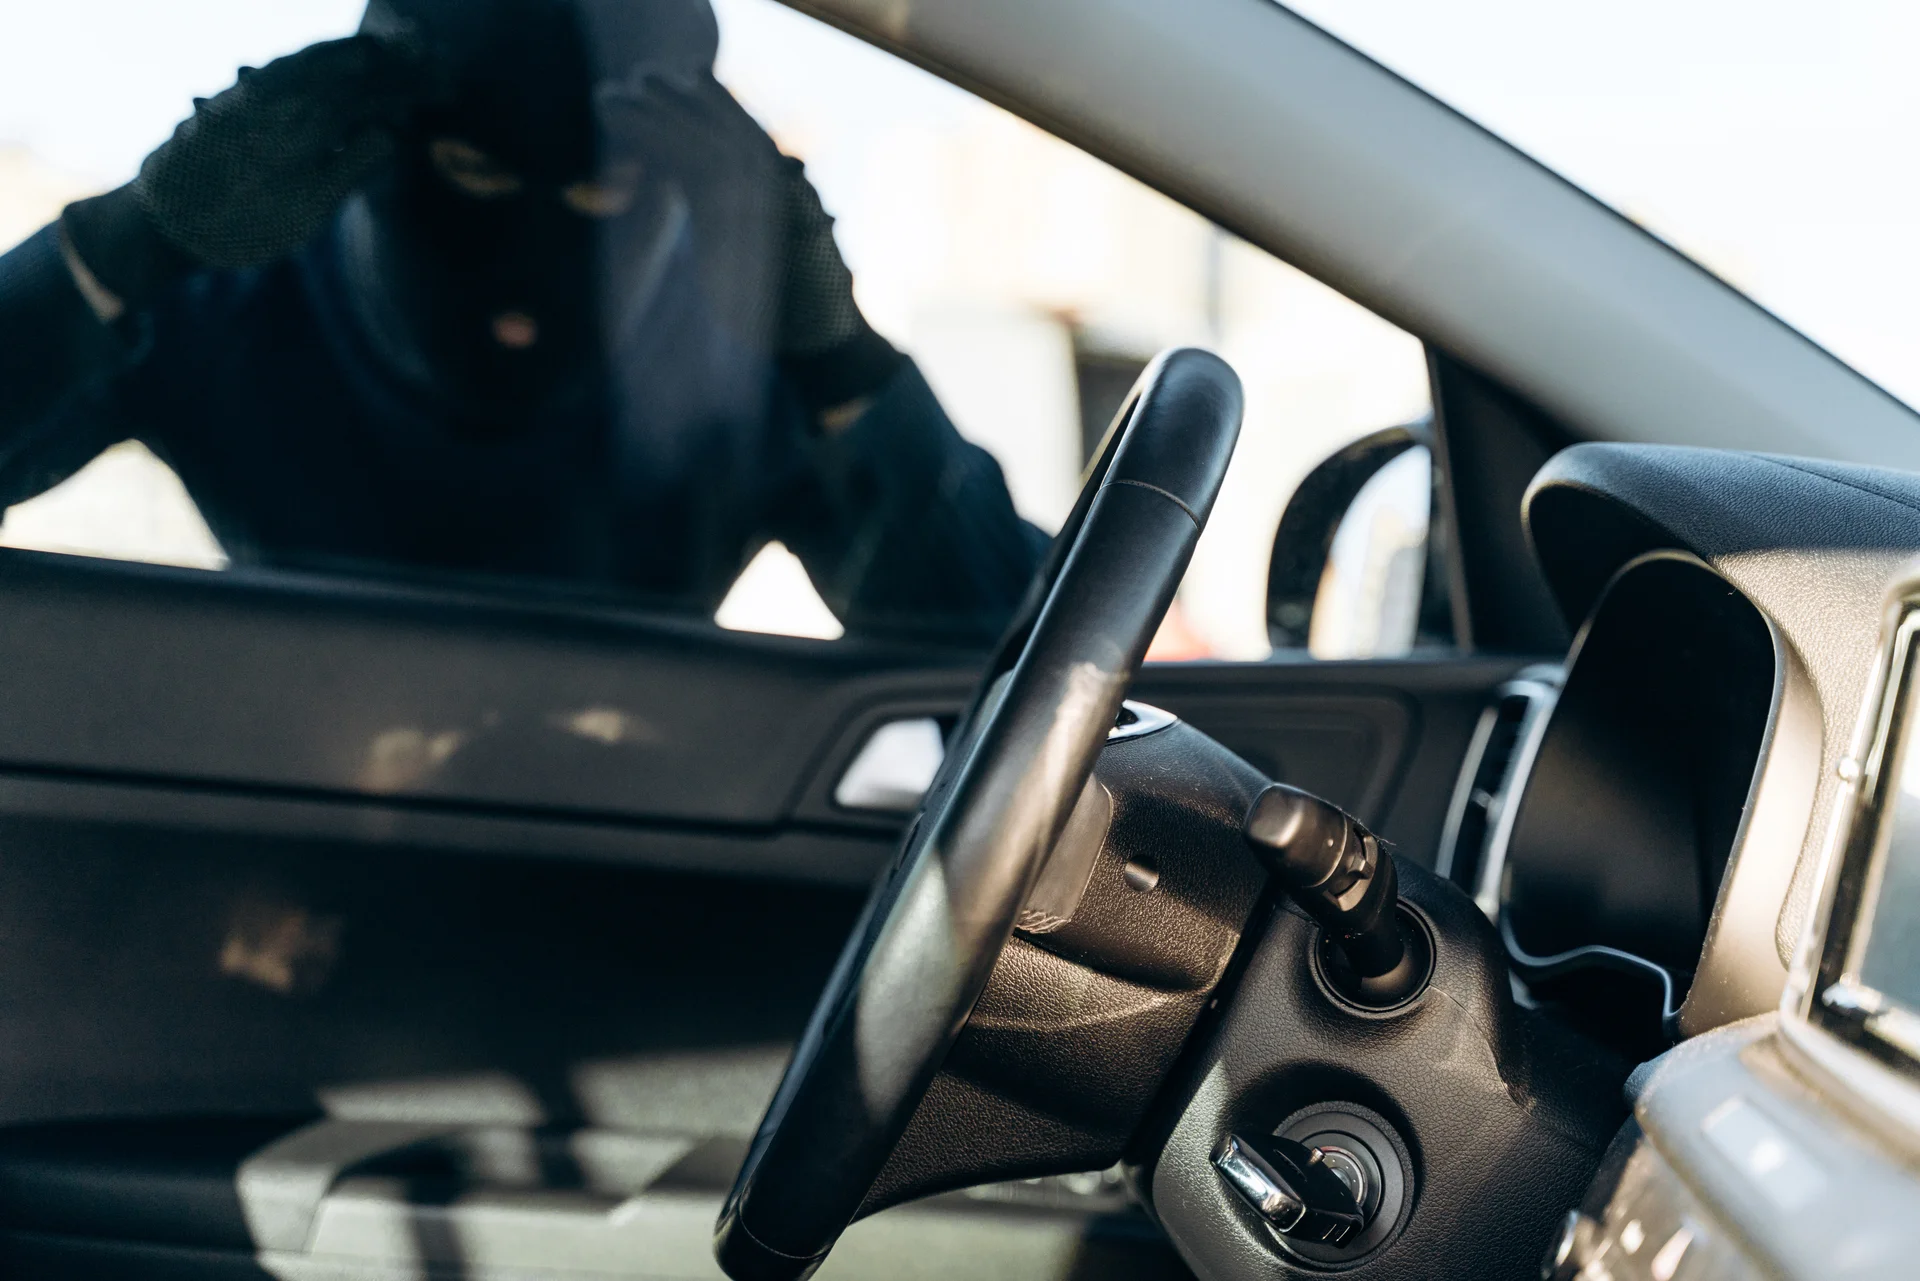
However, be careful not to leave your car a tempting target for thieves by leaving it running outside alone too long. This is apparently a growing issue and has led to some city ordinances.


Your headlights should be able to get warm enough to melt ice off of them and shouldn’t need special treatment.


4. Use an Ice Scraper Only on the Windows


Only use ice scrapers on the windows. Ice scrapers are made for hard surfaces and can easily scratch and damage the finish of your car. Similarity don’t try and use a shovel or any other hard metal device to remove ice and snow from your car. While ice and snow can do damage, so to can a shovel.

5. Invest in Warm Waterproof Gloves and Cooking Spray


De-icing liquid and Waterproof gloves, or thick socks in an emergency, can be used to help you remove the majority of ice and snow covering your vehicle. Some cooking sprays can be used as a replacement for de-icing liquids and can help you remove the ice causing the doors to stick.


Check your plastic fittings to ensure your car is still waterproof, and occasionally spray them with your cooking spray. Spraying these rubber and plastic surfaces can prevent a good deal of the damage ice can cause to them. Any relatively gentle silicone spray or white lithium grease added to your weather stripping can prevent ice damage.


6. Get a Waxing


Applying a wax coating before the weather gets too cold will place a seal between your finish and the ice, snow, and salt that threatens it. Don’t wait too long the cold weather will prevent you from correctly applying the wax.


Alternatively, you can invest in a DIY paint sealant offered by car dealers. These sealants are great at stopping the harsh chemicals in the salt, and those carried to your car by snow from the road, from tearing a hole in your paint.


7. Avoid Getting Salty


As previously stated, The ice-melting salt will corrode and eat away at both the paint and the underside of your vehicle. This salt is necessary to keep our roads safe from ice and snow but our top causes of winter-time damage.


Don’t simply rub the salt off your vehicle. Wash it off to avoid scratches and marks. Use the touchless setting if you go to the carwash. The salt also quickly corrodes metal, so wash underneath the vehicle often as well.

6 SIGNS THAT TELL YOU YOUR RADIATOR IS CLOGGED

Are you aware of what to do if your radiator begins to make odd noises? Or, worse yet, if it stops working altogether? If not, don’t worry! We’re here to help. In this Article, will discuss six signs that tell you your radiator is clogged. Knowing these signs allows you to take action before the problem gets too severe.

SIGN 01: OVERHEATING ENGINE

An overheated engine is one of the most prominent signs that your radiator is clogged. If you notice that your car’s temperature gauge is reading higher than usual, it’s time to take your vehicle in for service. Signs of an overheating engine include:

  • The temperature gauge needle moving into the red zone
  • steam coming from under the hood
  • smoke coming from under the hood

If you notice these signs, pull over immediately and turn off your engine. Do not open the hood until the engine has cooled down completely.

SIGN 02: COOLANT LEAK

It is a sure indicator that your radiator has a blockage when fluids, particularly radiator coolant, begin leaking. When the fluid in your radiator cannot flow properly, it flows in another location, which causes leaks. As a result, always consider a potential radiator blockage when there is a coolant leak.

SIGN 03: LOW COOLANT LEVEL

It’s a good idea to inspect your radiator for leaks if you find that your coolant level is low. The coolant may run out of a blocked radiator, resulting in a low coolant level. It’s crucial to check your radiator and top off the coolant as necessary since low coolant levels might result in the engine overheating.

SIGN 04: DISCOLORED AND THICKER COOLANT

You are aware of the original color of your coolant, right? Do you take care to check your coolant’s condition? If you do, you’ll be able to see that its color and viscosity have changed. The coolant will develop a dirty brown shade and feel heavier than usual when rust, sludge, and other impurities mix. Whenever this occurs to your coolant, the likelihood of accumulation rises, and the radiator’s efficiency will decrease.

SIGN 05: DAMAGED WATER PUMP

If your radiator is clogged, it can cause damage to the water pump. The water pump is responsible for circulating the coolant throughout the engine. If the coolant can’t flow properly, it can cause the water pump to overheat and fail. This will eventually lead to your engine overheating as well.

 SIGN 06: BLOCKED, BENT, OR DAMAGED RADIATOR FINS

The radiator fins are the metal pieces that protrude from the radiator. They help dissipate heat and keep the coolant cool. If they become blocked, bent, or damaged, it can prevent the coolant from flowing properly and cause your engine to overheat.

CONCLUSION:

If you notice these radiator signs, taking action is essential. A clogged radiator can cause severe damage to your engine if left unchecked. Try flushing the radiator with a solution of 50% water and 50% vinegar. You might have to replace the radiator if this doesn’t work.


8 Causes For Blue Smoke From Exhaust

Excessive blue exhaust smoke can present itself for several reasons.
Here’s what to look out for:

1. Blown Head Gasket

Blown head gaskets are famous for leaking excess oil onto hot surfaces.

Blue smoke indicates that lubricating oil has made its way into the hot exhaust system or other connecting engine parts.

2. Oil Leak

Oil leaks from engine components such as gaskets, worn engine oil seals, cylinder heads, and the engine block are common. Leaks can drip onto hot surfaces, like the cars exhaust and drivetrain, which causes burning oil.

When this happens, you can expect blue smoke and a nasty smell. You’ll likely notice this blue smoke when the car is idling or accelerating.

3. Oil Mixing With Fuel

Unfortunately, engine parts like a piston ring and valve seal don’t last forever.

If you don’t follow a rigorous oil inspection routine, the oil will do a poor job of reducing engine friction. Excessive engine heat or friction can damage a gasket and valve seal over time.

Damaged piston rings and valve stem seals will inevitably leak excess oil into your engine’s combustion chamber, allowing it to mix with the fuel.

When this mixture burns in the combustion chamber, it turns the normal grey exhaust smoke blue.

4. Stuck PCV Valve

Another likely cause for excessive blue exhaust smoke is a stuck positive crankcase ventilation valve (also called a crankcase breather).

The crankcase breather is responsible for releasing fuel pressure build-up in the crankcase. This fuel pressure is diverted into the intake manifold for fumes to be re-burned.

When the PCV valve gets stuck, it forces lubricating oil to mix with pressurized air and other gases. This fume mixture eventually gets burned, creating blue smoke.

5. Blown Turbocharger

If your car has a blown turbocharger and emits blue smoke, it’s not a coincidence.

You’ll likely notice a large blue cloud of smoke right as your turbo blows. This results from a damaged turbo casing or a broken oil seal inside the turbo itself. Both causes allow oil to seep into the engine’s air intake manifold, causing oil to mix with the fuel.

6. Faulty Transmission Modulator

Commonly found in older vehicle models, a transmission modulator controls shifting in vacuum-controlled automatic transmissions.

A faulty component in the transmission modulator, like a failing diaphragm, can cause the engine block to pull in transmission fluid.

Here’s the kicker.
Burned transmission fluid creates blue smoke!

7. Bad Glow Plug (Diesel car)

If your diesel car produces blue smoke during start-up, there’s a good chance you have a bad glow plug. Another common sign of a bad glow plug in a diesel engine is longer cranking times than usual.

8. Cylinder Head Valve Guide Issue

If you notice blue smoke happening during deceleration, you probably have a cylinder head valve guide issue.

This means that the valve stem (valve guide) is leaking oil out of the cylinder wall of the combustion chamber. Oil may drip from the valve stem onto the exhaust pipe, and in some cases, even the fuel injector.

Both instances result in either blue smoke or black exhaust smoke, depending on whether the oil has mixed with fuel or not.

With a firm understanding of the causes of blue exhaust smoke, we can now cover its diagnostics procedures.

Top 7 Common Causes of Brake Failure

Brake failure in an automobile can be serious, and each year leads to hundreds of car accidents. Some of these accidents result in serious injury or death and in all likelihood could have been avoided if the driver had noticed the signs of brake failure. Let’s consider the seven most common causes of brake failure in cars today.

1. Owner Neglect
The most common cause of brake failure is owner neglect. Brakes, like many other parts of an automobile, have a limited lifespan and should be occasionally inspected for wear. Although many brands of brake pads and shoes boast a long life, this estimate is based on standard driving patterns. If you find yourself constantly stopping and going in cities or neighborhoods, the life of the brake pads and shoes will be greatly reduced.

2. Overheating Brake Pads
Brake pads can overheat due to excessive use and become hard or brittle. This hardening decreases the ability of the pads to properly grip the wheel rotor disk, increasing the distance necessary to stop the car.

3. Damaged Rotor Disks
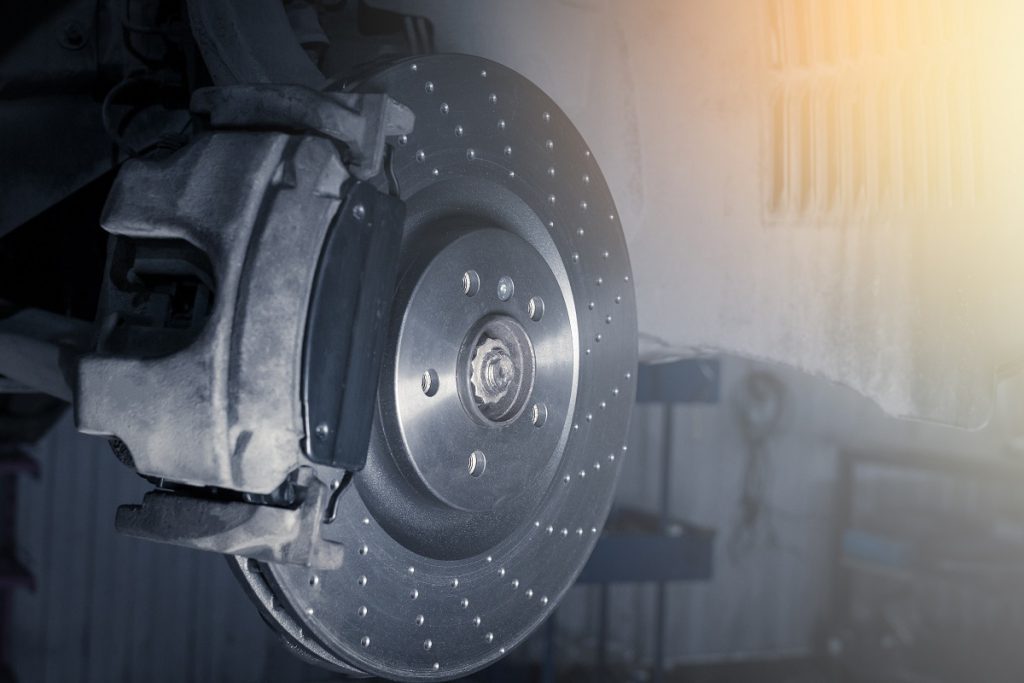
Damaged or “scored” rotor disks on the wheel can decrease the life of your brake pads, making stopping more difficult. Have your rotor disks smoothed or “turned” by a trained mechanic when your brake pads are replaced.

4. Leaking Hydraulic Fluid
Oil or other hydraulic fluid can leak from your car’s engine or brake lines. If you find stopping has become difficult, have your brakes inspected to rule out any contamination from a leaking hydraulic line.

5. Driving Through Mud or Water
Driving through mud or water will naturally “lubricate” your brake pads and rotor disks. Gently tapping the brakes can help remove excess water and re-establish the proper friction between your car’s brake pads and rotor disks. As always, use caution when driving in wet conditions, especially when your car’s wheels are partially submerged in water.

6. Loss of Hydraulic Brake Fluid Pressure
Loss of hydraulic brake fluid pressure will decrease your ability to stop quickly. If you find your brakes do not seem to work at all or are working only modestly, tap the brakes several times to help force fluid throughout the brake system. Though effective in helping stop your car, this technique should not be used unless absolutely necessary. Have a certified brake specialist check your brake system for any leaks and refill the reservoir with brake fluid.

7. Overloading Your Automobile
Overloading any automobile will change its ability to stop and can potentially damage the braking system. Only load your car as suggested by the owner’s manual.

6 Warning Signs that You Might Have a Dead Car Battery

Getting stranded with a dead battery in an unfamiliar place is always inconvenient, but getting stranded with a dead battery in the middle of winter can be dangerous. Thankfully, batteries usually give us a few warning signs that they’re about to fail, so you can get a replacement battery before you’re stranded. Watch for these 6 telltale signs of a bad battery so you aren’t caught out in the cold!

1. Slow or no start while cranking

In an ideal situation, whenever one turns the key to start their car, they can hear a chirping sound that the starter makes before it lets the engine take over and begin running. 

That chirping sound is called ‘cranking’. If your car battery is dead or about to die, you’ll either not hear the cranking or experience a very slow, staggered crank when you turn the key to start your car. 

This is one of the most common signs that will tell you that your car battery needs to be checked.


2. Clicking sound during ignition

 Another very common sign of a dead car battery is if you start to hear a clicking or grinding sound whenever you try to start your car.

Generally, during extremely cold weather, there’s a chance that you hear the clicking or grinding more often since it takes time for the engine to crank to life.  

However, if you’re experiencing such sounds even during normal weather or after your car has heated up sufficiently, it’s a sign that you need to get your battery checked.


3. Engine starts but then stops

 Once you start your car and the engine cranks up, it should keep idling till the time you switch gears and start driving.  However, instead of idling, if your engine stops, your battery might have a problem.

While this doesn’t necessarily mean that you need to replace your battery since its charge was good enough to turn over the engine, it still poses an issue since it’s failing to send consistent signals. 


4. Headlights are dim or completely out

This might be one of the easiest signs that point toward a dead or weak battery.

If you see that your headlights are dim while your engine is idling but they start to brighten up as soon as you press the accelerator and rev up your engine a bit, you most probably have a weak battery. 

On the other hand, if your headlights fail to turn on completely, and you’re certain that they’re not burnt out, then it’s clear that you have a dead car battery.


5. Check those dashboard lights

There might be a lot of lights on your car’s dashboard, but two of the most important ones that you must always keep an eye out for are the battery light and the check engine light.

If you see that your battery light is on, it’s a direct indication that something is wrong with your battery. 

This doesn’t necessarily mean that you have a dead battery as it could just be a loose terminal connection or perhaps an indication that the battery isn’t sufficiently charged.

If your check engine light is on, it could mean a lot of things, which include issues due to a faulty battery.


6. Something smells like rotten eggs

If you smell something funny when you lift the hood of your car, don’t ignore it.

When your car battery is about to die, it will sometimes release a gas that smells like rotten eggs. This is due to the battery releasing sulfuric acid, which can cause significant damage if not checked on time. 

It’s important that at times like these you do not touch the liquid as it could be dangerous. Instead, take your car to a mechanic immediately and get your battery tested or replaced.

5 TIPS FOR DEALING WITH AN AUTOMOTIVE FLUID LEAK

You never want to see fluid leaking from your car. However, some leaks may be more concerning than others . Here are some helpful tips for identifying a fluid leak and how to deal with it.

1. Look at the Color

Different automotive fluids have different colors. For example, transmission fluid is usually red while engine oil is typically gold/brown. Check out our past article on different types of vehicle fluids to help you identify where the leak might be coming from.

2. Look at Where the Leak is Coming from

Another way to identify the source of a fluid leak is to see where the leak is coming out under the vehicle. The engine and cooling system are in the front while the transmission is in the middle of the chassis. Or, if there’s a leak under one of your wheels, it could be brake fluid or hydraulic fluid from the suspension system.

3. How Thick or Dirty is the Fluid?

Another key issue is to see what the fluid looks like. It is dirty and full of debris or metal shavings? Is it thick and burnt? Or, does it look brand new? When the fluid looks fresh, it’s often just a leak somewhere in the lines or connections and it may be an easier fix. If the fluid looks bad, then it might be a sign that there is a more significant internal problem that needs to be addressed.

4. Does it Only Leak When Driving or Continue When You Are Parked?

Some leaks will happen whether the car is running or not. Again, this may be the sign of something more superficial. Other leaks only occur when the car is running or driving, which will usually point to an internal problem.

5. When in Doubt, Bring it to a Mechanic

Unless you can clearly see the source of the leak and it’s something as easy as re-tightening a line connection, you don’t want to take any chances. At the first sign of an automotive fluid leak of any kind, you will want to have the vehicle properly inspected by a professional mechanic. The team at Lighthouse Automotive can diagnose the specific problem and the exact source of the leak, as well as determine any internal damage that may be there. Then, we can get the repairs done right to fix the damage and eliminate the leak(s).

5 Reasons Why Your Steering Wheel is Shaking

Many drivers are frightened when they notice a shake or vibration in their vehicle, but it’s important to avoid jumping to conclusions. Why is your steering wheel shaking, really? There are several potential issues at play; however, the most common cause is unbalanced tires. When your car’s tires are unbalanced, the steering wheel will often vibrate—the entire vehicle might feel like it’s shaking. Read on to learn more about the causes of a shaking steering wheel and how we can help!

f your steering wheel shakes, it can most likely be chalked up to one of the five following problems:


  1. Unbalanced Tires: When your car’s tires are unbalanced, weight distribution is also unbalanced. This causes the vehicle to vibrate, especially at highway speeds. In this case, steering wheel shaking is even more noticeable if the car has a lightweight suspension system. Failing to address this issue can result in damage to your car’s suspension components.
  2. Misaligned Wheels: Your car’s wheels also need to be properly positioned. If you’re usually careful when crossing railroad tracks and take care to avoid potholes, you can more easily avoid throwing your wheels out of alignment. One tell-tale sign that your wheels are misaligned is uneven tread wear.
  3. Bad Wheel Bearings: When the wheel bearings become damaged or aren’t properly lubricated, the resulting friction can cause steering wheel shaking. If this is indeed the problem, the wheel won’t shake all the time — just during turns. Sometimes, simply cleaning the bearings can stop the shaking, but if there’s damage, you’ll need to bring your vehicle in for service.
  4. Suspension Problems: Damaged or loose suspension components or an imbalanced driveshaft can be the causes of steering wheel shaking. Whatever the case, you shouldn’t postpone these repairs. They’re fairly simple fixes, and our team can have you back on Rye roads in no time.
  5. Brake Problems: Does your steering wheel shake when you slow your speed? If so, the problem may be the brake system. Warped brake rotors or damaged brake calipers, pads, discs, or shocks can be the cause.

5 Ways to Extend the Life of Your Brakes

Despite that long lifespan, though, your brakes will eventually require maintenance. With that in mind, you may be wondering what you can do to extend the life of your brakes and avoid emergency repairs or maintenance.

In this blog, we’ll discuss the best ways to make your brakes last longer and keep your car safe.

Let’s dive in.

5 Ways to Extend the Life of Your Brakes

Want to make your brakes last as long as possible? Here are five maintenance tips:

1. Take it slow

When you drive fast, you cause lots of wear and tear on your brakes. Stopping a car traveling at 50 or 60 miles an hour generates a great deal of friction and heat on brake pads, which can cause them to break down rapidly.

Over time, this repeated heat can also cause the rotors to warp, leading to extensive (and expensive) damage to your braking system. Instead of driving like a lead foot, keep your speed low in heavy traffic and do your best to avoid sudden braking.

2. Use engine braking in hilly areas

Are you driving downhill? Hauling a heavy load? Use engine braking instead of your vehicle’s brakes.

In manual transmission automobiles or cars with a mode that allows you to manually shift gears, you can use engine braking (which uses the car’s transmission to down-shift and show the vehicle) to preserve your brake pads and rotors.

While engine braking is a great way to reduce brake burnout on steep hills or when hauling something heavy, it will not stop your vehicle fully, so you’ll need to supplement it with your brakes.

3. Invest in routine brake maintenance

Every time you take your car in for routine maintenance, have the auto repair shop inspect your brakes.

A good mechanic will examine your brake pads and rotors, flush and replace your brake fluid, and remove any debris that may be lodged in your brakes and causing damage.

These routine inspections are also necessary because they allow you to replace brake pads before they wear out completely. This, in turn, will save you money on brake repairs.

4. Reduce your vehicle’s weight

Whenever possible, remove additional weight from your vehicle. Sandbags, excess junk, and anything else that’s weighing down your car is also causing excessive brake wear. In addition to helping extend the life of your brakes, removing excess weight from your vehicle will also improve your gas mileage.

5. Practice defensive driving

Defensive driving involves surveying the surrounding area and anticipating potential driving hazards (like potholes) before you encounter them. It allows you to preserve your brakes by avoiding sudden stops, tailgating, and other activities that are tough on your car.


Easy Steps to Clean Car Battery Corrosion

Many drivers will encounter situations where the car is difficult to start, car can not jump-start because of a problem of important parts, one of the most important reasons is because the positive and negative extreme mouth of the car battery is corrosion. Car battery positive and negative electrode corrosion will reduce the efficiency of the use of car batteries, car maintenance for battery maintenance can not be ignored, and learning to clean the corrosion of the car battery terminal can avoid unnecessary spending and trouble.

How to Clean Car Battery Corrosion? Follow these 6 easy steps to remove car battery corrosion:

1. Disconnect Your Battery Cables

Disconnect the battery with the negative terminal first. Use a wrench to disconnect the negative terminal and avoid letting the wrench come into contact with the positive side as it may shock you. Do the same for the positive terminal.

You can identify negative and positive cables by checking what they’re marked by: the negative sign (-), the abbreviation ‘NEG’, and/or the color black; and the positive sign (+), the abbreviation ‘POS’, and the color red.

2. Check for damage to the battery.

If you notice any cracks, dents, or warping with your battery, cleaning the corrosion may not do you any good. then that should serve as an indication that you should have them replaced straight away.

3. Cleaning Your Battery With Baking Soda & Vinegar

If you find yourself dealing with extra stubborn corrosion that doesn’t come off with just baking soda, try the baking soda and vinegar method to clean your battery terminals. Vinegar is a powerful acid that can break down corrosion pretty quickly when combined with the fizzing action of baking soda. The baking soda method, for its part, is tried and true as well as simple to perform.

To use this method, first, make sure your terminals are disconnected. Then simply sprinkle baking soda powder on your terminals liberally. Next, pour the vinegar on the terminals and baking soda and let it sit. When you pour the vinegar on the terminals you’ll see it fizz. Similar to peroxide the fizzing action breaks up and moves the dirt and grime out. After it sits for a few minutes and it’s done fizzing, rinse it clean with hot water and follow the remaining steps from below before reconnecting your cables.

4. Rinse and Dry

Completely dry the battery. Water and electricity don’t mix well, so make sure the battery and its terminals are completely dry before reassembling it. After that, you’ll want to use your toothbrush or bristled brush to scrub the corrosion off. Once you’ve scrubbed away all the corrosion, rinse the battery and cable ends completely with clean water and let it all dry.

Be careful not to let the solution nor the corrosive elements fall on the other engine components to keep your car protected from the damage these could potentially cause. We advise you to take the battery out completely.

5. Take Some Corrosion-Preventative Steps

It’s never a bad idea to spray an anti-corrosion solution or apply an anti-corrosion gel to your terminals after you’re through. Doing so can help to prevent the issue from recurring! Also known as battery terminal protectors, these little guys help protect your battery posts. Use pads coated in a battery-corrosion preventative compound.

6. Reconnect Your Battery to Your Vehicle

Once you clear the corrosion (step 3), let everything dry completely (step 4), and apply some preventative substances to your battery parts (step 5), you’re ready to reconnect your battery to your vehicle.

Do this in REVERSE order to avoid injury. Start with connecting the positive battery terminal first, followed by the negative one. Car battery corrosion removal is a must-know maintenance task. Keeping your battery clean will add years to its lifespan and help maintain its performance levels.