4 Basic Maintenance Tips for Your Pickup Truck

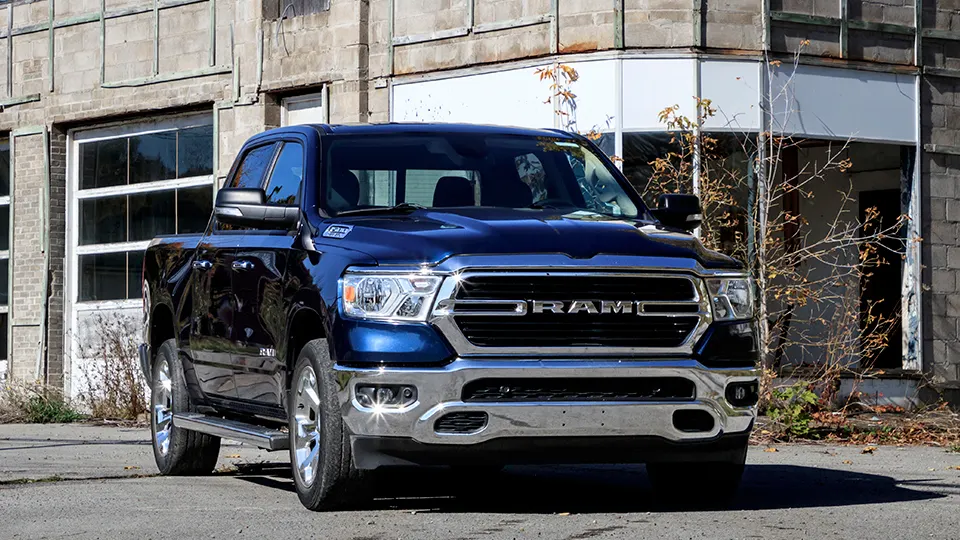
Pickup trucks offer reliability, safety, and longevity for many drivers. A quality truck can haul thousands of pounds in towing power and provide a safe means of transportation for you and your family.

Over time, if you ignore its maintenance needs, a pickup truck can run into permanent problems. Adhere to these four basic maintenance tips for your pickup truck so that your vehicle runs smoothly. Before you know it, your car can outlast its life expectancy and provide years of dependability.

Check Your Vehicle Fluids

For a pickup truck to run correctly, it needs the necessary fluids. First and foremost, engine oil needs to remain clean and free of dirt, dust, and debris. Additionally, other fluids such as engine coolant, windshield washer fluid, and other liquids must stay specific to your make and model.

Checking your owner’s manual will provide the correct fluids you need so you don’t accidentally pick up the wrong one. For engine oil, pickup trucks older than 2007 need oil changes every 5,000 miles, while newer vehicles require replacement every 7,500 miles. It’s one of the basic maintenance tips for your pickup truck you need to know.

Rotate Your Tires Routinely

Over time, tires start to wear down and lose their tread on the road. The less tread your tires have, the worse the grip is on the road. Uneven or worn tread can quickly result in hydroplaning during a rainstorm or sliding along icy roads.

Getting your tires professionally rotated will help prevent this issue. It helps maintain an even amount of treadwear on your truck’s tires. Additionally, it helps prolong the life of your tires and vehicle suspension while improving gas mileage.

Keep the Exterior Clean

Whether you live in consistent 75-degree and sunny weather all year-round or somewhere where you experience all four seasons, your pickup truck endures a lot. Rainstorms, road salt, hail, and other loose debris can kick up into your vehicle’s paint and create a layer of grime.

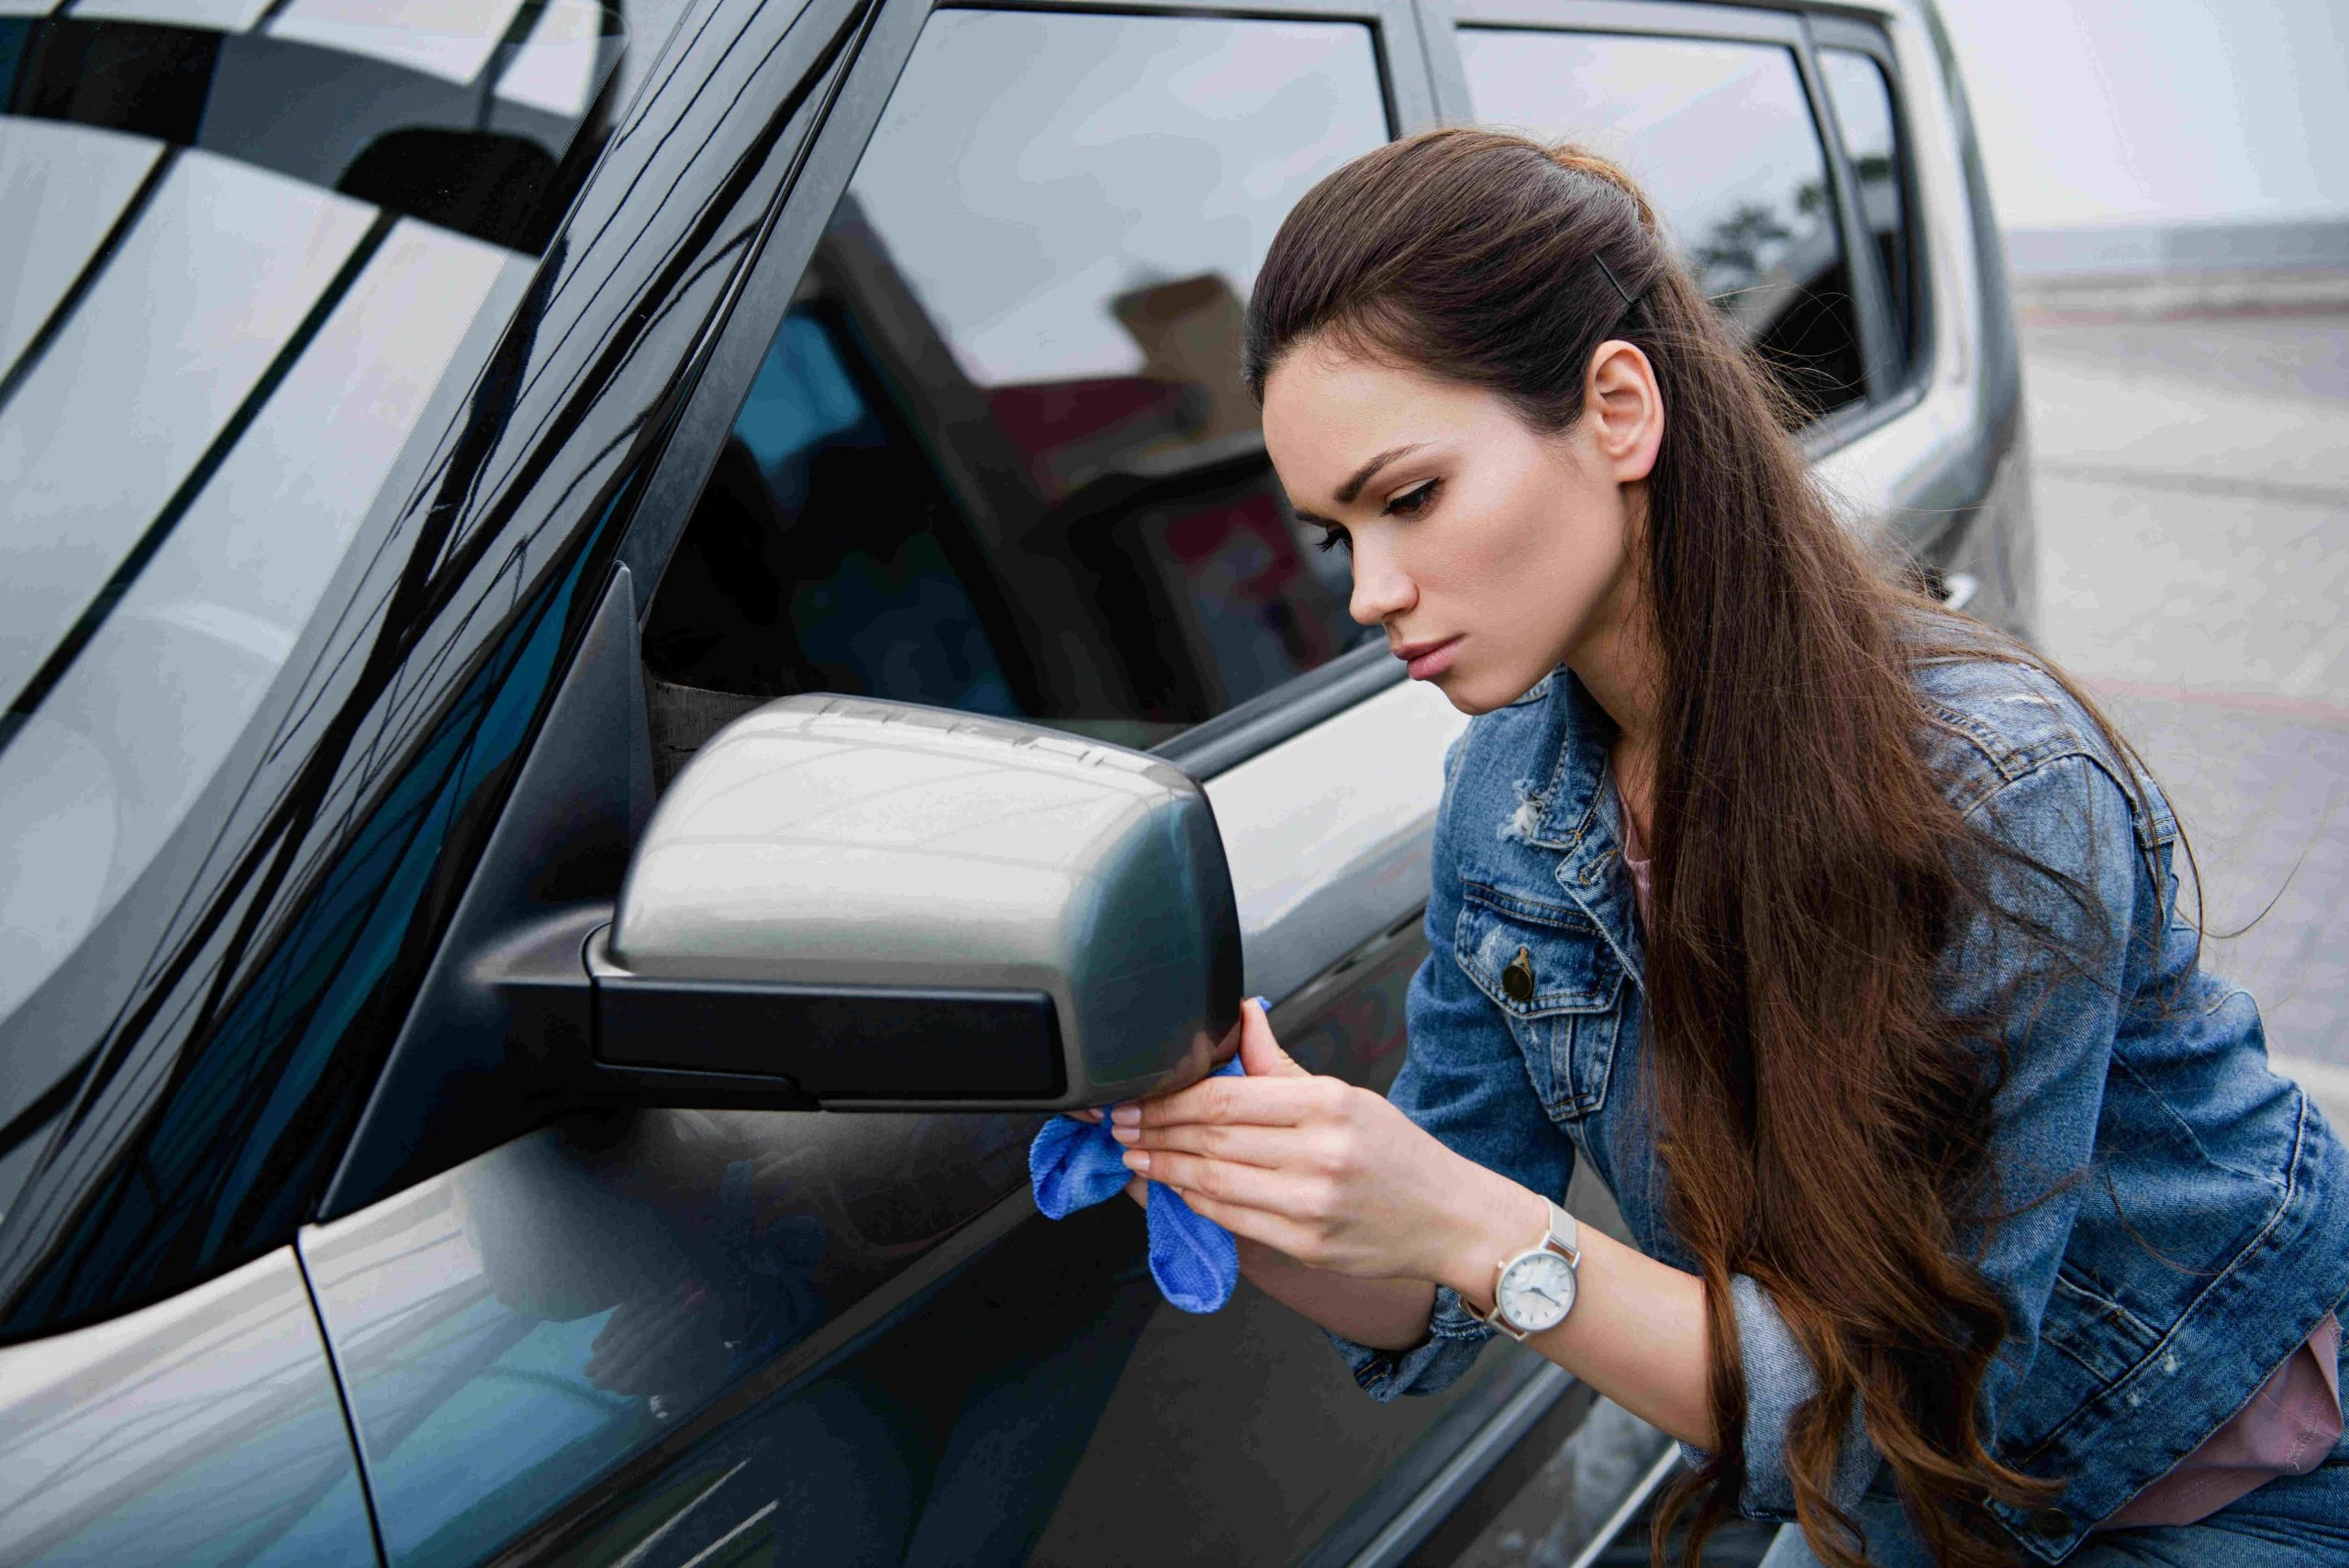
Maintaining a consistent cleaning schedule will keep your vehicle’s exterior looking beautiful and shiny. Regularly cleaning your car will also keep your car’s paint from fading and even reduce rust growth. Lastly, don’t forget to clean your undercarriage.

Keep an Eye on Wheel Alignment

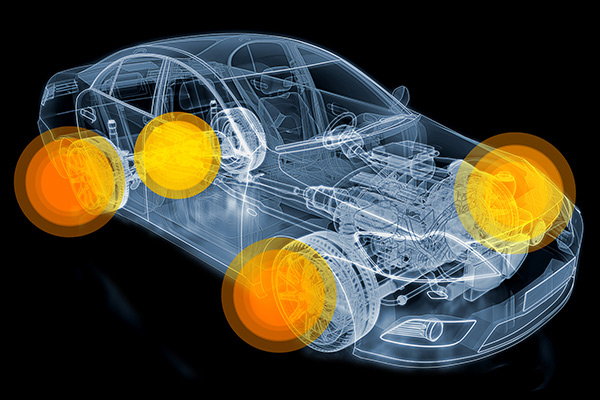
When you get your oil, it’s also essential to check your wheel alignment. Wheel misalignment can occur by driving through roads at high speeds and aggressive driving. It can easily throw your wheel alignment off and subsequently increase wear on your tires, worsen gas mileage, and affect hauling abilities. Make sure you maintain your wheel alignment through evenly inflated tires. Loading evenly into your truck bed to prevent vehicle pulling can also maintain the alignment.

Having a pickup truck brings plenty of benefits to your daily routine. Maintaining and caring for your truck is a regular investment of your time and energy, but it’s worthwhile.

10 Tips To Help Keep The Interior Of Your Car Clean

Keeping your Car’s interior clean is important for keeping its appearance, hygiene, and overall well-being. Here are some tips to help you keep the interior of your car looking spotless:

1) Your Car isn’t a Trash Can

Make it a habit to remove trash from your car daily. Try to avoid throwing trash and saying you’ll clean it up later because this will become a bad habit. To help with this, use a small trash bag or container to dispose of the garbage to make it easier to clean up.

2) Vacuum Regularly

Crumbs and dirt can be a tough thing to get out of your car. That dust can also seep into your seat covers and cracks in the car. It’s important to regularly vacuum the Car’s interior to keep it clean. Pay attention to the carpets, seats/seat covers, floor mats, and difficult to reach places.

3) Wipe Surfaces Frequently

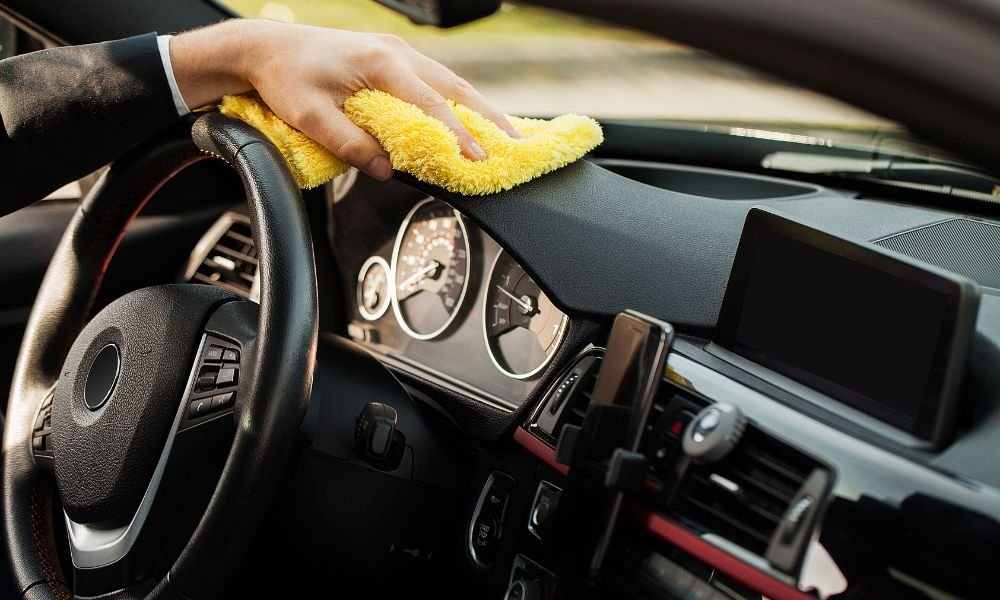
While vacuuming is a helpful tool, wipes can be even more helpful when it comes to smaller areas or areas that need more detailed cleaning. This includes the dashboard, steering wheel, and door handles. You can use a damp cloth or a cleaning solution to wipe these spots down.

4) Not All Seat Covers Are Ugly

Seat covers can help protect your car’s seats from spills and stains. Not every seat cover is ugly, you can find pretty, affordable ones right on amazon. This is a great way to maintain your vehicle from wear and tear. Make sure to clean these covers regularly as well or else you’re just creating more of a dirty mess.

5) Clean Upholstery and Carpets

Whenever you find stains on the upholstery or carpets, treat them with a suitable cleaner or stain remover as soon as possible. Follow the instructions on the product and use a clean brush or tool to scrub the dirty area.

6) Pay Attention to Glass and Mirrors

Clean the interior glass and mirrors regularly to guarantee good visibility. Use a glass cleaner and a lint-free cloth to remove smudges and fingerprints. Also keep the glass above your console and radio clean to help with visibility.

7) Organize Storage Compartments

Use organizers or storage bins to keep your belongings neatly in order. Find a good spot in the trunk or even the back seat where these bins can be stored. This will prevent messes and make it easier to keep your car clean.

8) Avoid Eating in the Car

Don’t eat or drink in your car, although this is a hard challenge for everyone, it will help in the long run. Eating in the car can lead to spills and crumbs, which can be challenging to clean.

9) Be Cautious With Liquids

When transporting liquids in your car, make sure they are secure and sealed to avoid spills. If a spill does occur, immediately clean it up to prevent stains or odors.

10) Regularly Maintain the Air Conditioning System

Clean or replace the cabin air filter as much as your Car’s manufacturer recommends. This will keep your car’s air fresh and reduce dust messes.

Remember that prevention and consistency is key to maintaining a clean car interior. By establishing good habits and planning out in advance, you can keep your car looking and smelling fresh for a very long time.

6 TIPS TO MAKE YOUR CAR TRAVEL READY THIS HOLIDAY SEASON

Here are a few easy ways you can prepare your car for a road trip:

  1. Check Tire Pressure – This step is essential because you can get better gas mileage when you drive on properly aired tires. Not only will you be able to save some money in doing this, but you’ll decrease your risk of a dangerous blowout as well.

  2. Have Any Warning Lights Diagnosed – If you have some warning lights on your dashboard that you’ve been ignoring up until now, you’ll want to have them diagnosed before a long-distance trip. .

  3. Look at Your Fluids – The fluids in your engine enable it to run correctly, so you don’t want to be without them! You’ll want to check your oil, antifreeze, power steering fluid, brake fluid, transmission fluid, and windshield washing fluid.

  4. Replace Old Windshield Wipers – Putting up with inefficient windshield wipers gets old after a while. Replace old ones before a trip, so you don’t end up frustrated, or unable to see, in the rain.

  5. Notice Unusual Brake Noises – If your brakes have been making a whining or grinding noise recently, it’s probably time to take your car in for brake service.

  6. Check Your Lights – If your headlights aren’t working, visibility while driving at night can be an issue. If your brake lights or turn lights are burnt out, you pose a danger to both yourself and other drivers. Have a spotter assist you in checking your headlights, taillights, brake lights, and turn lights.

8 Signs of Auto Transmission Failure

While an auto transmission failure isn’t a death sentence for your car, it can definitely be a major repair. It usually means a lot of downtime and a huge bill. Your transmission is an amazing work or art. Ok, you might not want to mount it over your fireplace, but you have to admit that it is rather fascinating how all these gears and bearings and interestingly shaped parts are put together to create a system that actually propels your vehicle from Point A to Point B. Some people say that the transmission is the second most important part of the car, next to the engine. But, I respectfully disagree. It’s really a team effort – you can’t have one without the other. While, I guess you can, but they are rather useless independently. They are like the heart and the brain of your car. They work together. So, a problem with your transmission can affect the operation of the engine. And if you don’t fix it, you could have even bigger issues to deal with.

But, contrary to popular belief, an auto transmission failure doesn’t always have to be scary (are you breathing a sigh of relief now?) While it can be a costly adventure, in a lot of cases, the problem is actually quite minor. And, as with anything mechanical, if you catch the problem early enough, you may be able to avoid more serious issues. But, you can’t always count on mechanics to offer you the easy way out. After all, they are in the business to make money. So, when they see a woman walk through their doors, they get dollar signs in their eyes.

Transmissions are complex and complicated systems so fixing them usually requires a professional. But, that doesn’t mean that you have to accept whatever diagnosis you are handed. If in doubt, get a second opinion. Or, better yet, learn how to recognize the most common signs of auto transmission failure and how to rule out simple fixes before you authorize an expensive auto transmission repair. Replacing or rebuilding may be necessary, but it is important to check out other possibilities first. You never know, some basic knowledge could save you thousands of dollars.

Signs Of Auto Transmission Failure

  • Slippage. This is when your motor is revving but your car isn’t responding. It’s similar to the way your vehicle would react if your tires were slipping on ice or stuck in the snow. You are pushing the gas pedal and you can hear the engine roaring, but you don’t seem to be getting anywhere. Slippage affects your transmission’s ability to propel the car forward and if it gets really bad, eventually you may not move at all.
  • Leaks. Check under your car on a regular basis to make sure there aren’t any leaks. In most automatic transmissions the fluid is red, so if you notice a colored puddle on the ground, you should probably have your car checked out. In fact, if you notice any puddle at all (except for the ones made from your AC) you should investigate further.
  • Smells. If your fluid level is low, your transmission can overheat. When your transmission or transmission fluid gets too hot, you may notice a burning odor. Check your fluid level and add if necessary. You may also want to find out why the level was low in the first place.
  • Sounds. Knocking, whining, humming, buzzing, clunking, and grating can all be signs of transmission problems. These sounds can be a result of wear and tear, but they also can mean a low fluid level.
  • Delayed Engagement/Lack of Response. Sometimes your transmission doesn’t want to do what you ask when you ask. Just like your kids, right? But, unlike your children, there are times when motherly negotiations (aka bribing) will not convince your vehicle to behave properly. There are varying degrees of delayed engagement, and sometimes we are in danger of letting things for too long.
  • Rough Shifting. Again, your car should transition between gears smoothly. If you notice shaking, jarring, bumping, clunking, or abrupt/hard shifting, this may be a sign of transmission problems.
  • Fluid Color. Transmission fluid is red, clear, and has a slightly sweet odor. Look at a sample of new, clean fluid so you know the correct color and smell. If the fluid in your vehicle is murky, dark, or dirty, this could be an indication of problems. Sometimes changing the oil or doing a transmission flush will fix the issue. In some cases, more serious repairs may be necessary.
  • Check Engine Light. Sensors in your car can pick up small vibrations or other problems even before you notice them. The check engine light could be a warning of transmission problems, especially if you are also experiencing any of the above signs.

10 Ways to Care for Your Automatic Transmission

Avoid costly transmission repairs. Here are 10 tips for keeping a car with an automatic transmission in good condition

Depending on the type of vehicle you drive and its age, transmission repairs can be costly. Sometimes it’s impossible to avoid having a transmission repair specialist service your vehicle particularly if you’re subjected to a total breakdown.

But there are things you can do to extend the life of your automatic transmission and prevent transmission failure. Read our checklist of top 10 transmission maintenance tips:

1. Check your transmission fluid periodically. On many cars, light trucks, and SUVs, checking the transmission fluid is as easy as checking the oil: with the engine idling, pull out the dipstick, wipe it off, insert it again, wait, then pull it out to get an accurate reading. If the fluid level is low, you may have a leak. The fluid itself should be a bright red color, clear, and it should smell sweet. If it’s murky, dark coloured, or smells like rotting fish take it to a transmission repair specialist to look things over.

2. Use the right type of transmission fluid. Always consult your vehicle’s owner’s manual to determine what type of transmission fluid you should use. If after doing so you’re still not sure, pop in to a Mister Transmission and ask a professional.

3. Have your engine’s cooling system serviced. Your vehicle’s cooling system helps prevent the engine from overheating. But did you know it also ensures the transmission fluid pumping through the gearbox is cooled too? It’s more likely you’ll need a transmission repair before your engine completely overheats. Make sure your cooling system is in optimal condition.

4. Get your transmission flushed regularly. Changing the transmission fluid in your car is best left to a professional. Consult your car’s owner’s manual, but in general, get your vehicle’s transmission flushed once a year. How long the transmission fluid in your car will last depends on the vehicle’s operating temperature and how much driving you do.

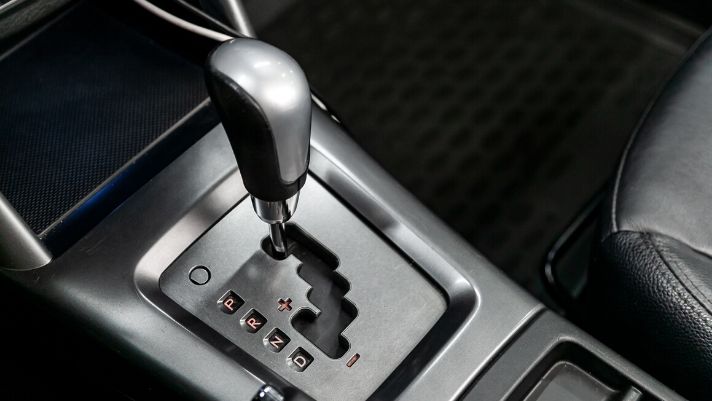
5. Don’t change gears while your car is moving. Bring your vehicle to a complete stop before changing gears from ‘drive’ to ‘reverse’ or vice-versa. Failing to do so simply puts strain on your transmission and after awhile it can lead to a serious problem.

6. Let your car warm up before you drive. Who among us has hopped into the driver’s seat, started the engine, put the car in drive and motored away? (Full disclosure: I’m as guilty as you are) Always allow your engine a few minutes to warm up before you begin to drive, especially during the winter months.

7. Don’t drive on a spare tire for an extended period of time. Mismatched tire sizes, or driving with a small spare tire over a long period of time is a no-no. Not only will it do damage to other parts of your vehicle such as ruin the wheel alignment, after a while it puts unnecessary strain on the transmission.

8. Regularly change the transmission filter. That’s right: your car’s automatic transmission may have a filter, and it needs to be changed from time to time. Whether or not you’re driving a car that has a transmission filter depends entirely on the make and model. Most newer vehicles don’t have a transmission filter but those that do should be changed each time you get your transmission flushed.

9. Avoid using your vehicle for towing. Using your car to tow heavy loads, particularly in hot temperatures, can cause the transmission fluid to oxidize or burn, and in turn, do a lot of damage to the transmission.

10. Have your transmission inspected annually. Having a certified transmission repair specialist conduct a diagnostic check of your transmission for leaks and other abnormalities at least once a year, as well as checking the transmission fluid’s level, color, and smell periodically is smart preventative maintenance.

Easy hacks to keep your car clean

Car cleaning and maintenance can sometimes get a bit difficult – but not for you! In this post, we’ve mentioned 10 easy hacks you can use to keep your car clean.

1. Use baby wipes to clean your windshield and windows  

Who knew baby wipes could also clean your car’s windshield and windows without any streak. Baby wipes are made of soft materials, and they won’t harm your car’s windshield. However, use it only when absolutely necessary and don’t have access to a dedicated glass cleaning product.  

2. Roll down your windows while cleaning them   

Most car owners simply spray the cleaning product onto the windows and wipe them. They tend to miss the dirt on top of the window. This dirt, if left uncleaned, can streak down on a rainy day. Make sure you roll down the window and clear off the dirt stuck on the top too.   

3. Use dryer sheets to remove bug splat  

Have you ever returned from a road trip with bug splats all over your car’s exterior? Use the dryer sheets to remove those bug splats without any hassle. However, if the stain is deeply embedded, we recommend you visit a car wash near you to clean it.

4. Leave the sponge – take the microfiber towel!  

Close your eyes. Imagine someone washing a car. What are they cleaning with? Do you see a sponge in their hand – if yes, we have a piece of news for you. You should never use a sponge to wash your car because dirt can get stuck on the pores, and when used on your car’s exterior, it can cause scratches. Even new sponges are abrasive. We’d highly recommend using a car-specific wash mitt or a microfiber towel while washing and detailing your car.   

5. Baking soda to remove odor   

All you need is a pinch of baking soda to remove any unpleasant odor from your car’s seats and doormats. Sprinkle the baking soda on the floor mats, seats, and other surfaces, wait for a little while and vacuum it.    

6. Use vinegar for odor removal  

Vinegar is also an excellent odor remover because it has the quality to neutralize foul smells. Pour white vinegar into a cup and leave it overnight in your car.  

7. Apply peanut butter to remove tar spots     

Apply peanut butter – not the crunchy ones – on the tar spot and wipe it with a towel. It may sound weird but, it does get the job done. Thanks to the peanut butter’s oil content, it can easily remove the tar from your car’s exterior.   


7 Car Noises You Should Never Ignore

Hmm. Purr. Vroom. Modern engineering has made driving a car easier on the ears than ever.

But there are some car noises you don’t want to hear, because they can signal trouble. Every once in a while, roll down the windows and start listening for “any sound that is odd,” says Mike Peth, director of technical training at Ohio Technical College in Cleveland. “You know your car, so you can often pick up something that may become a problem.”

1. A sound like a coin in a clothes dryer

What it means: If you hear something rattling around inside a wheel at low speeds (and then stops as you drive faster) it could be a loose lug nut inside a hub cap. That might mean your wheel wasn’t tightened properly the last time it was removed and replaced. Take your car to a mechanic ASAP.

2. Brakes squealing, grinding or growling

What it means: If you hear a squealing noise, your brake pads or shoes might be nearing the end of their service life and must be replaced. If they grind or growl, get your brakes checked out immediately. It could be a sign that pads are so worn that metal is touching metal—a serious problem that could affect braking efficiency.

3. A finger-snapping, popping or clicking sound when you turn

What it means: If you have a front-wheel-drive or all-wheel drive vehicle and hear this sound when you turn or corner (but the noise stops when you steer straight) one or both of the constant velocity (CV) joints on your front axle could need replacing.

4. A rhythmic squeak that speeds up as you accelerate

What it means: If you have rear-wheel or four-wheel drive and hear this sound, the culprit could be the universal joint (U-joint), which are found in pairs and are components of the driveshaft. Get it checked by a mechanic immediately.

5.  A howling, whining or even “singing”

What it means: This is usually a sign that your bearings—tiny metal balls that help parts rotate smoothly—aren’t doing their job. But which ones? If you have front-wheel drive, and the sound changes as you turn left, right and back again, it’s likely your front-wheel bearings; a gradually growing, steady howl signals rear-wheel bearings. If you have rear-wheel drive and the whine gets louder as you accelerate, your differential, which allows your wheels to spin at different rates when needed, could be leaking fluid. Get it fixed immediately.

6. Rhythmic clunking, tapping or banging from under the hood

What it means: There could be a serious problem with valves, connecting rods or pistons. Get to a mechanic ASAP.

7. Squealing under the hood at start-up or when accelerating

What it means: This could come from worn or loose accessory belts that drive things like your power steering pump, air conditioner compressor and alternator. With newer cars, it may point to the serpentine belt, which drives multiple accessories at once, and is relatively easy and cheap to fix.


SOURCE

Tips To Keep Your Car Sensors In Good Condition

The sensors in your car are a safety feature; they help you maintain good driving habits. By keeping your car sensors in good condition, you can avoid unnecessary damage to your vehicle and even to you and your passengers.

For example, if the airbag failed to deploy during an accident, this could cause serious injuries or even death. To prevent this situation, you have to keep your car sensors in top condition.

1.Diagnose Electrical Problems

The first thing you should do is to diagnose an electrical problem as soon as it occurs. If your car runs rough or doesn’t start or runs rough, the battery is likely weak and needs to be replaced.

If your vehicle starts but doesn’t run smoothly after that, the problem can be with the starter or alternator.

When diagnosing a loose battery connection or a faulty fuse, it is good to test each individually. You may use jumper cables to test for shorts between two points on the circuit board. If this doesn’t work, you have to go through more troubleshooting steps until you find out what’s wrong with your car.

2. Check The Battery Cable Connections

Next, you should check the battery cable connections on the ground and underbody of your vehicle. This will allow you to know if one of them is loose and causing issues with starting your car.

If you notice that they are all okay, replace them with new ones after checking out their condition to see if they are old or damaged.

3. Clean Regularly

Another thing you should do is to always clean your car sensors. Doing this can remove dust and dirt, which can cause issues with the sensor’s ability to function correctly.

You can use a soft cloth or cloth diaper to wipe down the surface where the sensor sits. You should also ensure that there are no dirt particles or oil on the surface. If any residue is left behind from previous cleaning attempts, you might want to do one more attempt before moving on to something else.

4. Not Leave The Sensor In Direct Sunlight

Sunlight is harsh on electronic devices, especially car sensors. If you leave your car outside for long periods, the ultraviolet rays will damage your car’s sensors. For example, it might cause an anti-lock braking system to stop working correctly or a cruise control system to slow down or stop altogether.

If you want to keep your car sensor in good condition, you should avoid leaving it in direct sunlight. Instead, park your car under a shady tree or inside a garage to prevent damage from occurring.

5. Keep An Eye On Your Car’s Oil Level

Keeping up with your car’s oil level is essential because it can affect how well your car sensors work. If there are too many contaminants in the oil, it can damage the sensors and make them less effective at detecting obstacles. The same is true if there isn’t enough oil in the engine. An overfilled machine can have the same effect on your car’s sensors as a small amount of contamination in the oil.

Thus, you must check your car’s oil level regularly and monitor how much it drops. If it keeps dropping, the sensor may be wrong, and you should take it to a mechanic immediately.

6. Adjust Sensor Alignment

If your car’s sensors are misaligned, it can cause issues with the system. Also, they will need more time to pick up on vibrations. This can affect the performance of the airbags and seat belt tensioners.

The sensors are aligned by adjusting the sensor bracket on each side of your car. To change the sensor brackets, you’ll need to remove them from the vehicle and rotate them in either direction until they are flush against each other. Once you have adjusted them, replace them into your car and then test drive to ensure that everything works correctly now that they’ve been aligned perfectly.


How to Clean Headlights

Headlights are an important safety feature on your car, whether you’re driving at night or in inclement weather. Unfortunately, headlights can become foggy and dirty, which dulls their brightness and makes them less effective at lighting the road. Plastic headlights can become foggy as a result of UV ray exposure and damage from the elements.

If your lights don’t appear as bright as usual, try one of these methods to clean them. There are several ways to restore clarity to your headlight lenses.

Use liquid soap, baking soda and vinegar

With liquid soap, baking soda and vinegar, you can restore your headlights in a few simple steps. Keep in mind that this method may not fully brighten very yellowed, foggy lights, and you may need to repeat the steps several times.

Begin by cleaning dust from the headlights with a microfiber cloth. Add a tablespoon or two of liquid soap to a bucket. Add enough water to thin the soap to a watery solution. Using another clean microfiber cloth, clean the headlight with the soap solution. The idea is to get the lens as clean as possible before using the baking soda and vinegar. Rinse the soap off the headlights using a spray bottle of water and use a towel to dry the headlights.

Mix 1 to 2 tablespoons of baking soda with enough white vinegar to form a thick paste. Using a dry-cleaning cloth, gently polish the headlamp with the paste. Rinse the paste off with the spray bottle of water and repeat until the lens is clean and clear.

How to clean car headlights with toothpaste

Before beginning, remove dust and grime from the headlight with a clean cloth. Then, spray the headlight with water using your spray bottle. Using an old toothbrush, apply toothpaste to the lens and gently scrub. Use regular white toothpaste, not the gel type. Rinse with water until toothpaste is gone and the headlight is clear.

How to clean foggy headlights using a headlight restoration kit

These kits can be expensive, but they’re effective and safe for restoring headlights. Use them as directed; typically, you’ll just need to apply the cleanser and rinse. A kit may also come with waxing compounds to protect the lights.With any method, use soft cleaning cloths made of microfiber. These are gentle and can help to prevent scratching. They also typically don’t leave stray fibers behind. Learn how to restore your headlights.

How to Clean Your Car Engine

Knowing how to clean your engine is an important part of vehicle maintenance, and it can save you money. Tidying up under the hood helps extend the life of belts, hoses and other components. Plus, it’s easier to spot leaks, tears and other damage on a clean engine. Check out the steps below to properly clean your car engine, and be sure to consult your car’s operation manual before you get started.

1. Eliminate any residue

Your car’s hood, grille and vents are prime areas for dirt buildup. Blow them out with compressed air or clean the areas with a wire hand brush.

2. Get the temperature just right

Next, let your engine warm up to a moderate temperature – not too hot. This will help soften grease buildup in the engine compartment.

3. Know what to cover when cleaning your engine

Plastic sandwich bags come in handy when it’s time to clean up your car. The parts to keep covered when cleaning your engine are:

  • Electrical wiring
  • Sensors
  • Spark plug openings
  • Alternator
  • Distributor

Secure the baggies with tape. To protect your battery, cover it or simply remove it.

4. Don’t forget the drip pan

Place old towels on an absorbent mat under the engine’s oil drip pan to catch any hazardous waste.

5. Give the engine a good spritz

Thoroughly spray the engine compartment with an engine cleaner, avoiding the wiring you bagged and taped. Since petroleum cleaners can damage rubber and vinyl components, consider a citrus or water-based degreaser. For parts that seem extremely oily or greasy, let the cleaner soak in for 15-30 minutes and repeat if necessary.

6. Rinse and unwrap

Once the engine cleaner has done its job, lightly rinse engine and components with water. Remove the bags you used to protect the wiring. Once the towel or mat is dry, dispose of it properly. And if you removed the battery, don’t forget to replace it.

7. Remove excess moisture

Blow away excess water in the engine compartment with compressed air.

8. Dry out the interior

Lastly, turn on your engine and let it run until warm. The heat will help dry the hard-to-reach areas.