Here’s a list of things you can do to remove bird guano stains from your car.
1) Clean Early:
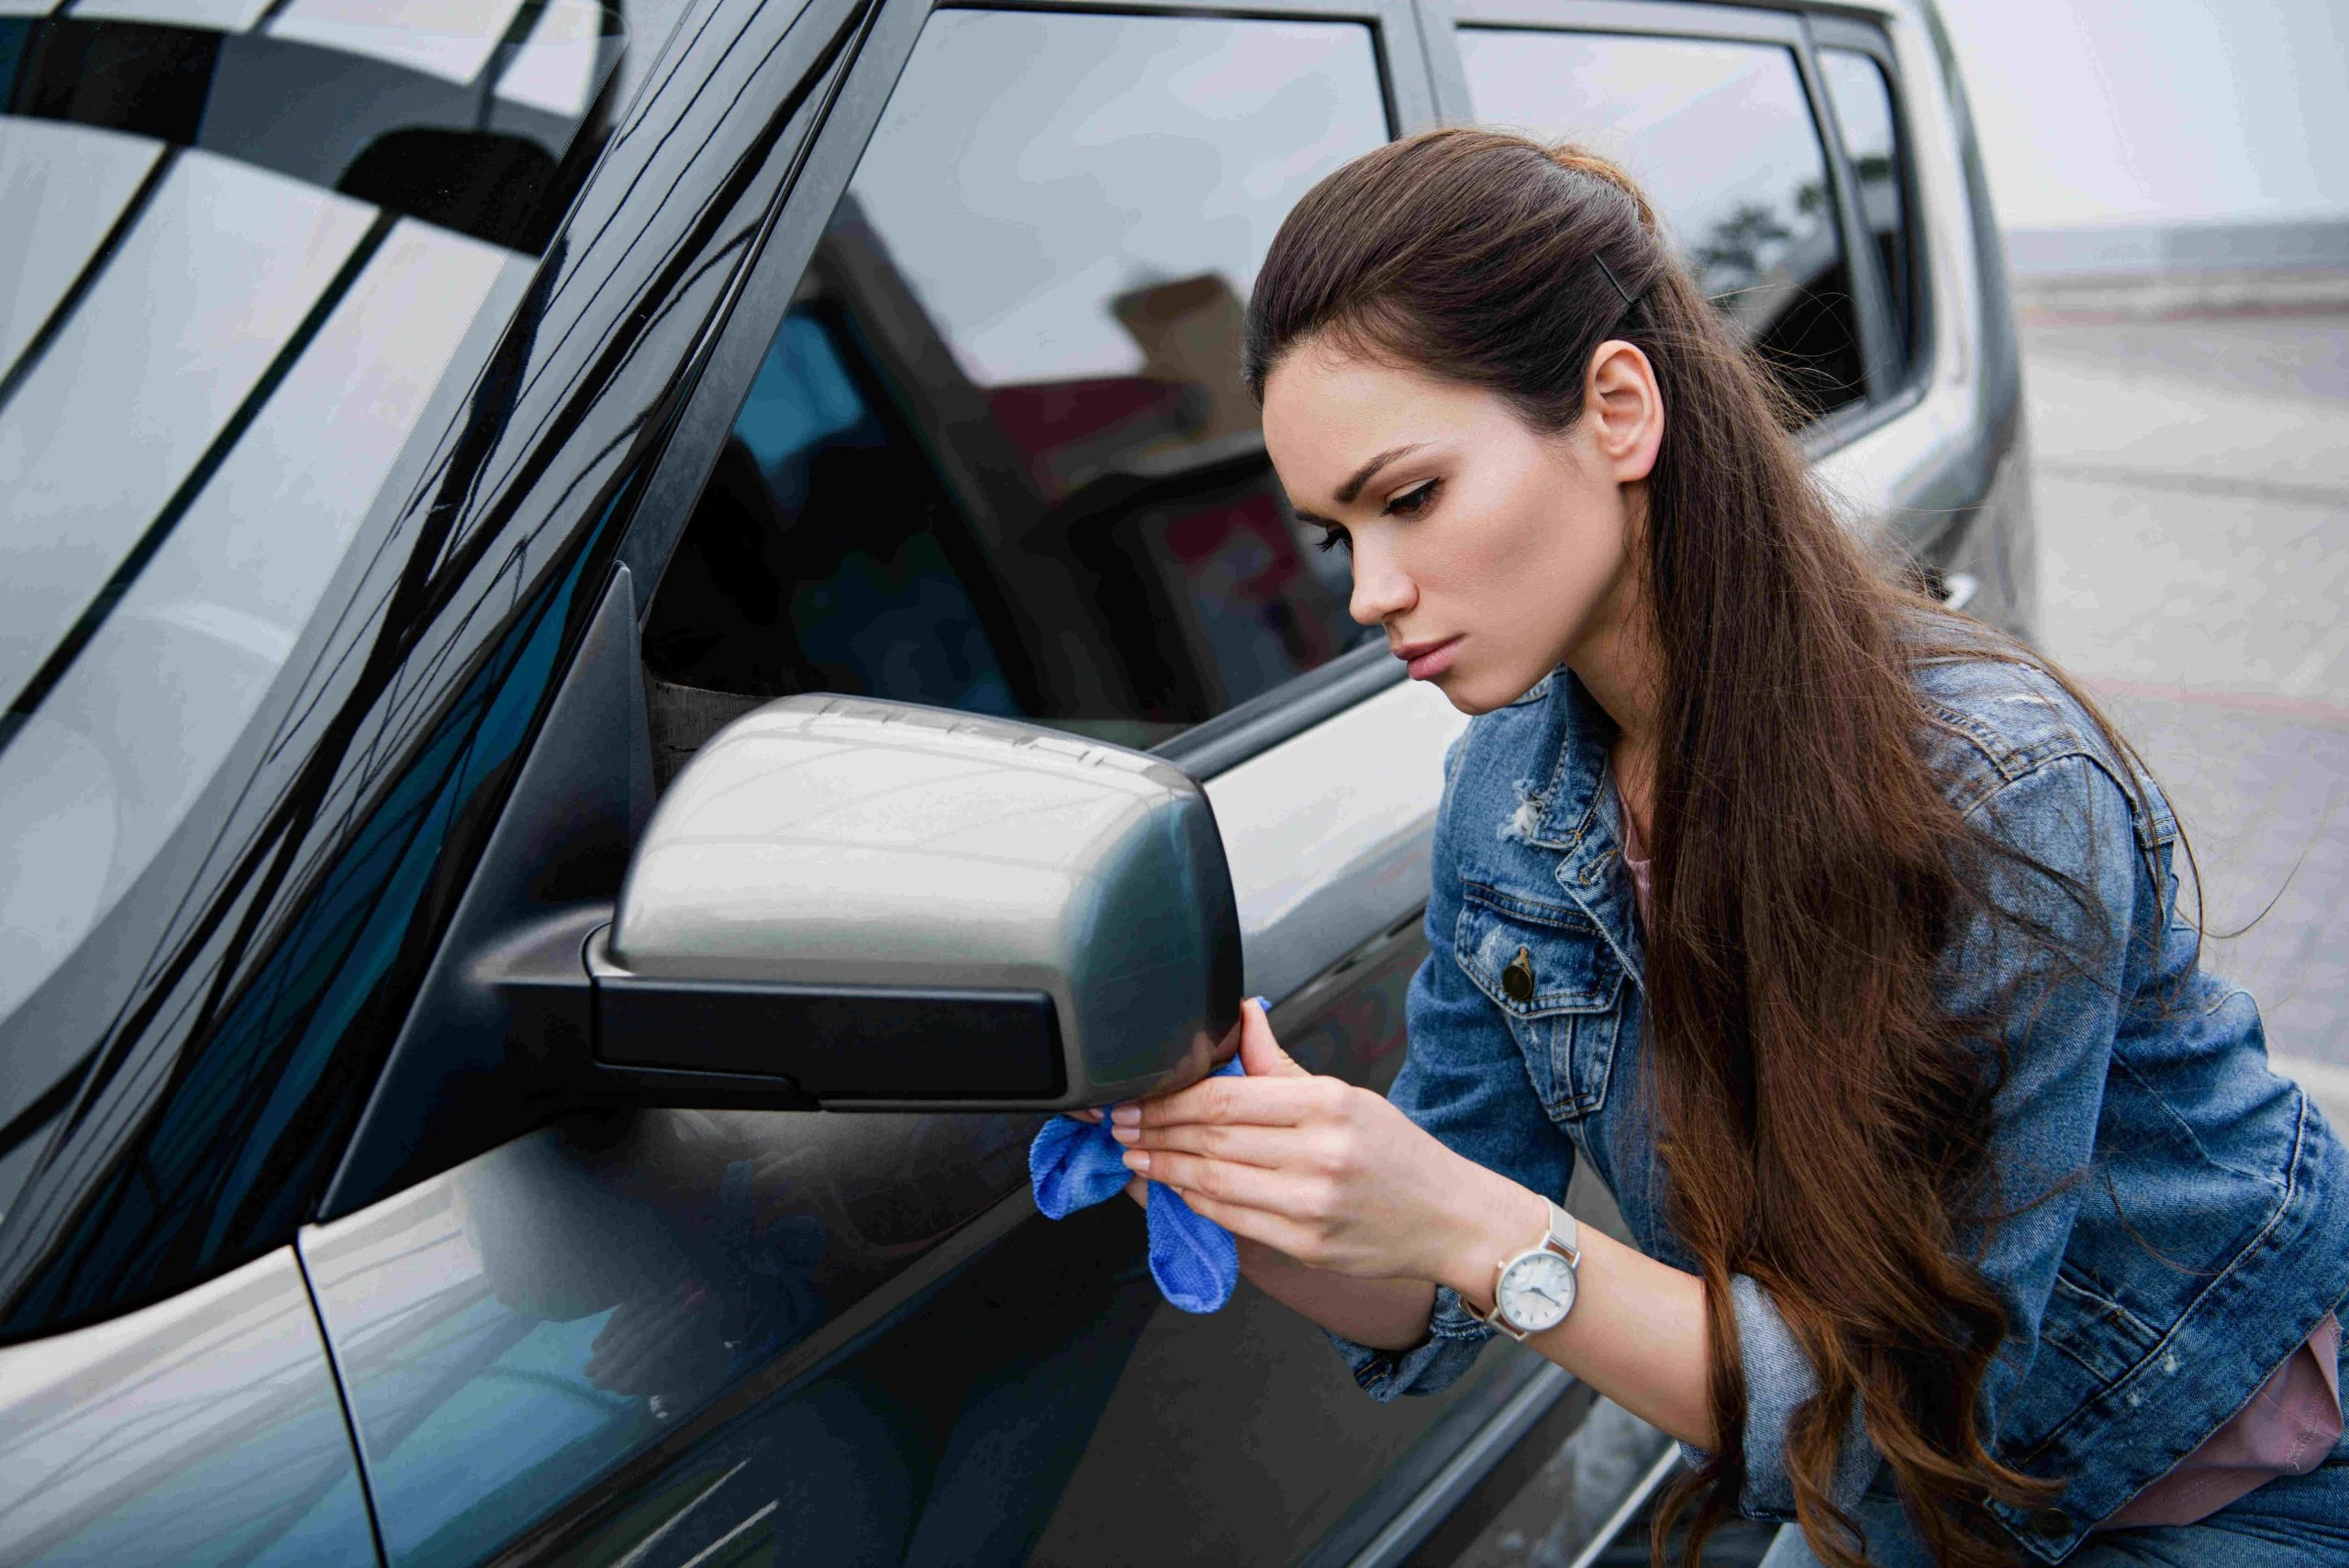
Clean the stains at the earliest. Do not wait to do it during the regular car wash. It is necessary to clean the stains early otherwise the Uric Acid in the bird droppings will damage the car’s paint. If the dropping is not dry, you can clean it with a microfiber towel. If it is dry, place a wet cloth over it, pour some water, and then try to clean it after a while.
2) Cleaning Solution:
If you are finding it difficult to clean the bird guano stain with a cloth, you can try using a vehicle-safe cleaning solution. Use a wet cloth and the solution to clean the stains. You can leave the cloth on the stain for a while and then gently rub the area to clean the stain.
3) Club Soda:
You can also use club soda to remove the stains. The soda’s carbonation will break the acidic quality present in the stain. Pour some club soda on the stain, let it stay for a while, and then wash it off with a cloth in one clean swipe. Do not use carbonated cola or sugary sodas instead of the club soda.
4) Special Wipes:
It is said that necessity is the mother of invention. Someone might have felt the need to clean bird guano stains on the go and that probably led to the idea of speciality wipes designed to clean bird guano stains. You can keep a pack of these wipes in your car’s dashboard.
5) Detailer Spray:
You can use a car detailer spray to clean those stubborn wrinkled etching stains on your car. Simply spray once or twice on the stained area and clean it with a moist cloth.
6) Baking Soda:
You can use baking soda to create your own bird guano stain cleaning solution. Take two tablespoons of baking soda and mix with dish soap. Add hot water to it. Spray this mixture on the stain, let it soak for ten minutes and then clean it.
7) WD-40:
The WD-40 spray can be used to help you to keep your car free of bird guano stains. Spraying WD-40 on the affected area of the vehicle will loosen the bird droppings and enable quick cleaning of stains.
8) Unscented Laundry Detergent:
In an unfortunate scenario of bird guano on car seats or the upholstery, let it dry and then use unscented laundry detergent to clean it. Cleaning the bird guano stain while it is still wet might spread and smear it making the stain difficult to clean.