What to do When Your Brakes Fail While Driving

For better or worse, driving a car is a hypnotic activity for many people. We’ve become so used to commanding our fast, two-ton, metal vehicles every day on the way to and from work, errands, etc. that we often forget just how dangerous it can be. But nothing snaps you back into cold, hard reality like pressing your brake pedal only to find that it doesn’t work. Here we’ll go over what to do when brakes fail and you’re in a moving vehicle.

Keep in Mind What NOT to do

Safely stopping a car without working brakes requires staying calm pressure in order to maintain full control over the vehicle. Keep in mind the following factors.

    1. Do not panic. The next few moments are crucial to your safety and the safety of those around you, so breathe deeply and try to stay clear-headed.
    2. Don’t downshift too quickly. While you will want to downshift, you shouldn’t go from 4th gear to 1st in an instant. This could cause you to skid out of control.
    3. Do not turn off the car. Again, this could cause skidding. It also disables power steering or locks the steering wheel entirely, giving you less control over the situation.
    4. Do not apply the emergency brake too quickly. You will want to apply the emergency brake, but not before downshifting and pumping the brake pedal. Aggressively pulling the emergency brake could cause you to skid and lose control of the vehicle.

      What to do When Brakes Fail

      1. Take your foot off the gas.
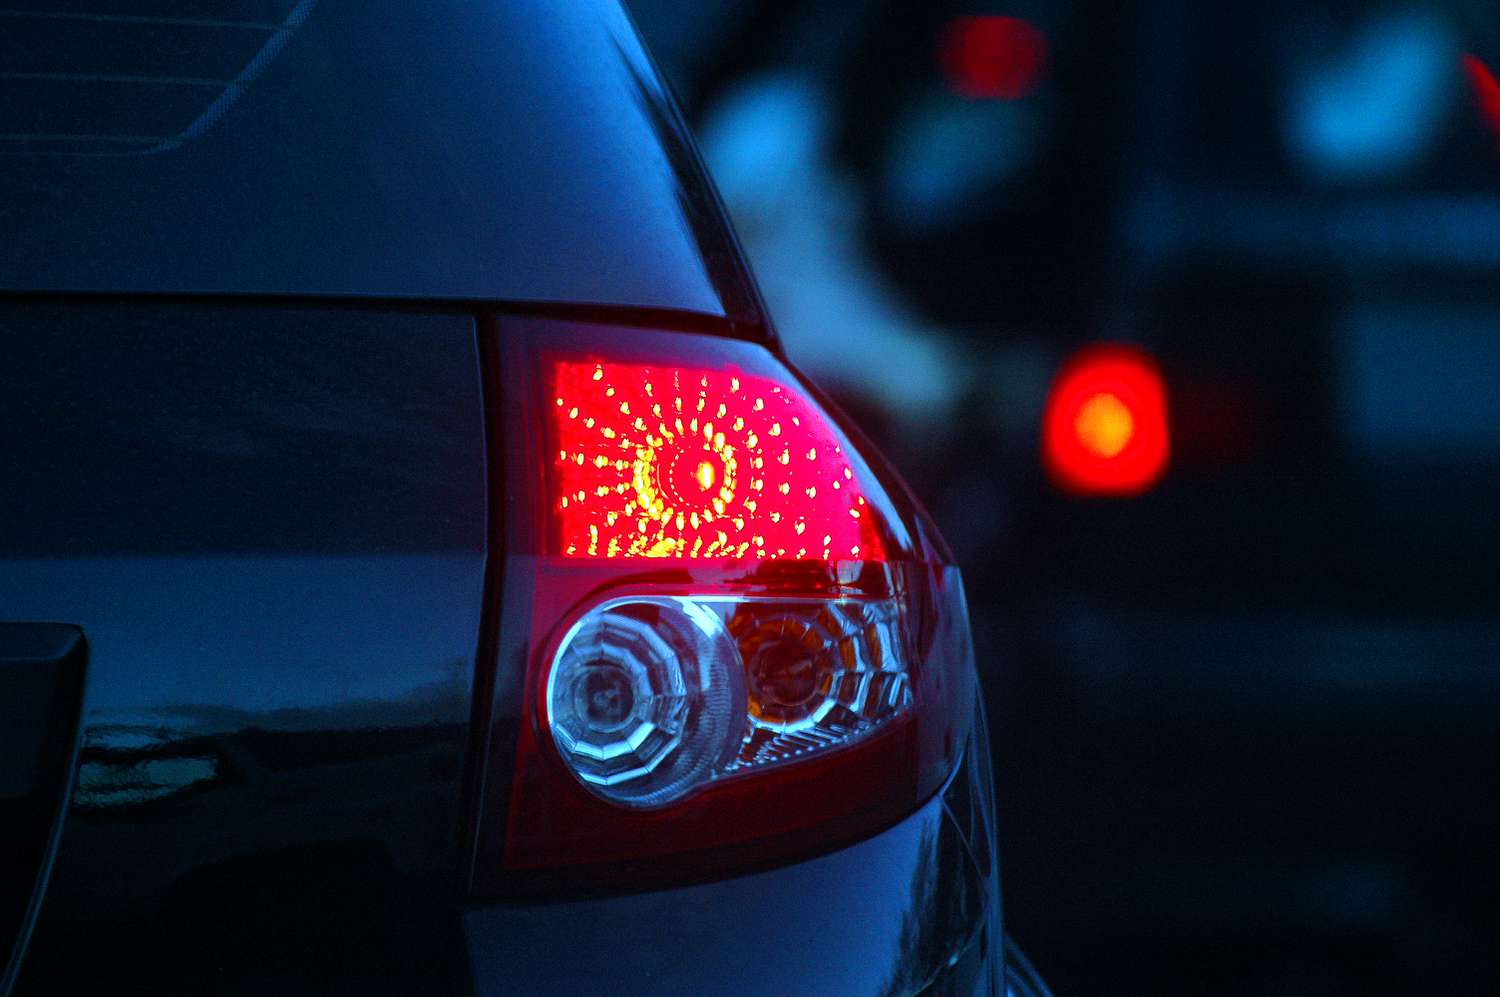
      2. Turn on hazard lights (if you have time). If the roadway is relatively clear and you’re still in full control of the vehicle, turn on your hazard lights and honk your horn to warn others around you. Even if they don’t fully understand your predicament, they will be aware to steer clear of you.
      3. Downshift SLOWLY. Turn off cruise control (if applicable) and slowly downshift to decrease momentum.
      4. Pump the brake pedal hard and fast. Most modern vehicles have dual braking systems that independently control the front and back brakes. Pumping the brakes aggressively may be enough to engage half of the brakes to slow you to a halt. This will not work if both halves of the dual system fail.
      5. Cautiously apply emergency brake. The emergency brake system won’t bring you to a halt, but it will slow you down significantly. Be sure to engage it carefully to ensure you stay in full control.
      6. (Optional) Use guard rails. If your brakes fail while moving at highway speeds toward unavoidable obstacles, it may be necessary to use the divider or guard rail to scrape the side of your car in order to slow down. When it comes down to it, your life is more important than your car.
      7. Steer yourself to safety. As the car begins to slow, steer yourself to the side of the road. Coming to a complete stop will be a relief, but you’re putting yourself and others in danger if it’s in the middle of the highway.


How to Make Your Tires Last Longer

After making the big purchase of new tires, you may be interested in knowing how you can make them last as long as possible. Here are our top 8 tips to help make your tires last:

1. Maintain and monitor pressure

If the pressure is wrong in your tires, it can lead to increased stopping distance, increased wear and tear, and increased risk of a blowout. This is why it’s important to check your tire pressure every month, especially during the winter and summer when colder and warmer temperatures can lower and increase the air pressure.

2. Align tires

If you’re noticing your car drifting or pulling to one side while you’re driving, this could mean it’s time to get your tires aligned. This means correcting the subtle tilt in your car’s chamber. It’s recommended to take your car to a professional so they can use specialized equipment to adjust the alignment, often to fractions of an inch.

3. Be cautious while driving

When you’re on the road, make sure to watch out for potholes as they might have sharp rims that can damage your tires. Try also to avoid skidding or peeling out. Speeding up or slowing down very quickly can damage the tread in your tires. Lastly, avoid driving on gravel roads because the sharpness of the gravel can damage your tires.

4. Balance tires

Tires can become unbalanced from typical wear and tear and when driving on uneven roads. If you notice your steering wheel vibrating or shaking when your car gets up to 60 or 70 mph, you may need to take your car in and have your tire balance checked.

5. Rotate tires

It’s recommended to rotate your tires about every 6,000 to 8,000 miles,  depending on your car, to increase their lifespan. Cars wear tires unevenly over time based on numerous factors. You can combat that uneven wearing by rotating the tires as recommended by the manufacturer.

6. Check the tire tread

Unsure of when to replace your tires? Here’s a tip: Stick a penny (Lincoln’s head side down) into the tread groove of the tire. If the top of Lincoln’s head is visible, it’s time to take your car in and replace the tires. It’s recommended to check this at least once every 2 months.

7. Park the car with care

Scraping the sides of your tires on a curb while parking shortens their life drastically. If you continually bump into curbs while driving or parking, this can wear the sidewalls and shoulders of your tire quickly.

8. Protect and clean tires properly

Cleaning your tires helps prevent the buildup of dirt and grime, which can cause the finish of your wheels to peel or even make the rims more porous. Try and clean your tires twice a month to keep them lasting for years to come.

6 Tips for Cracked Windshield Prevention and Repair

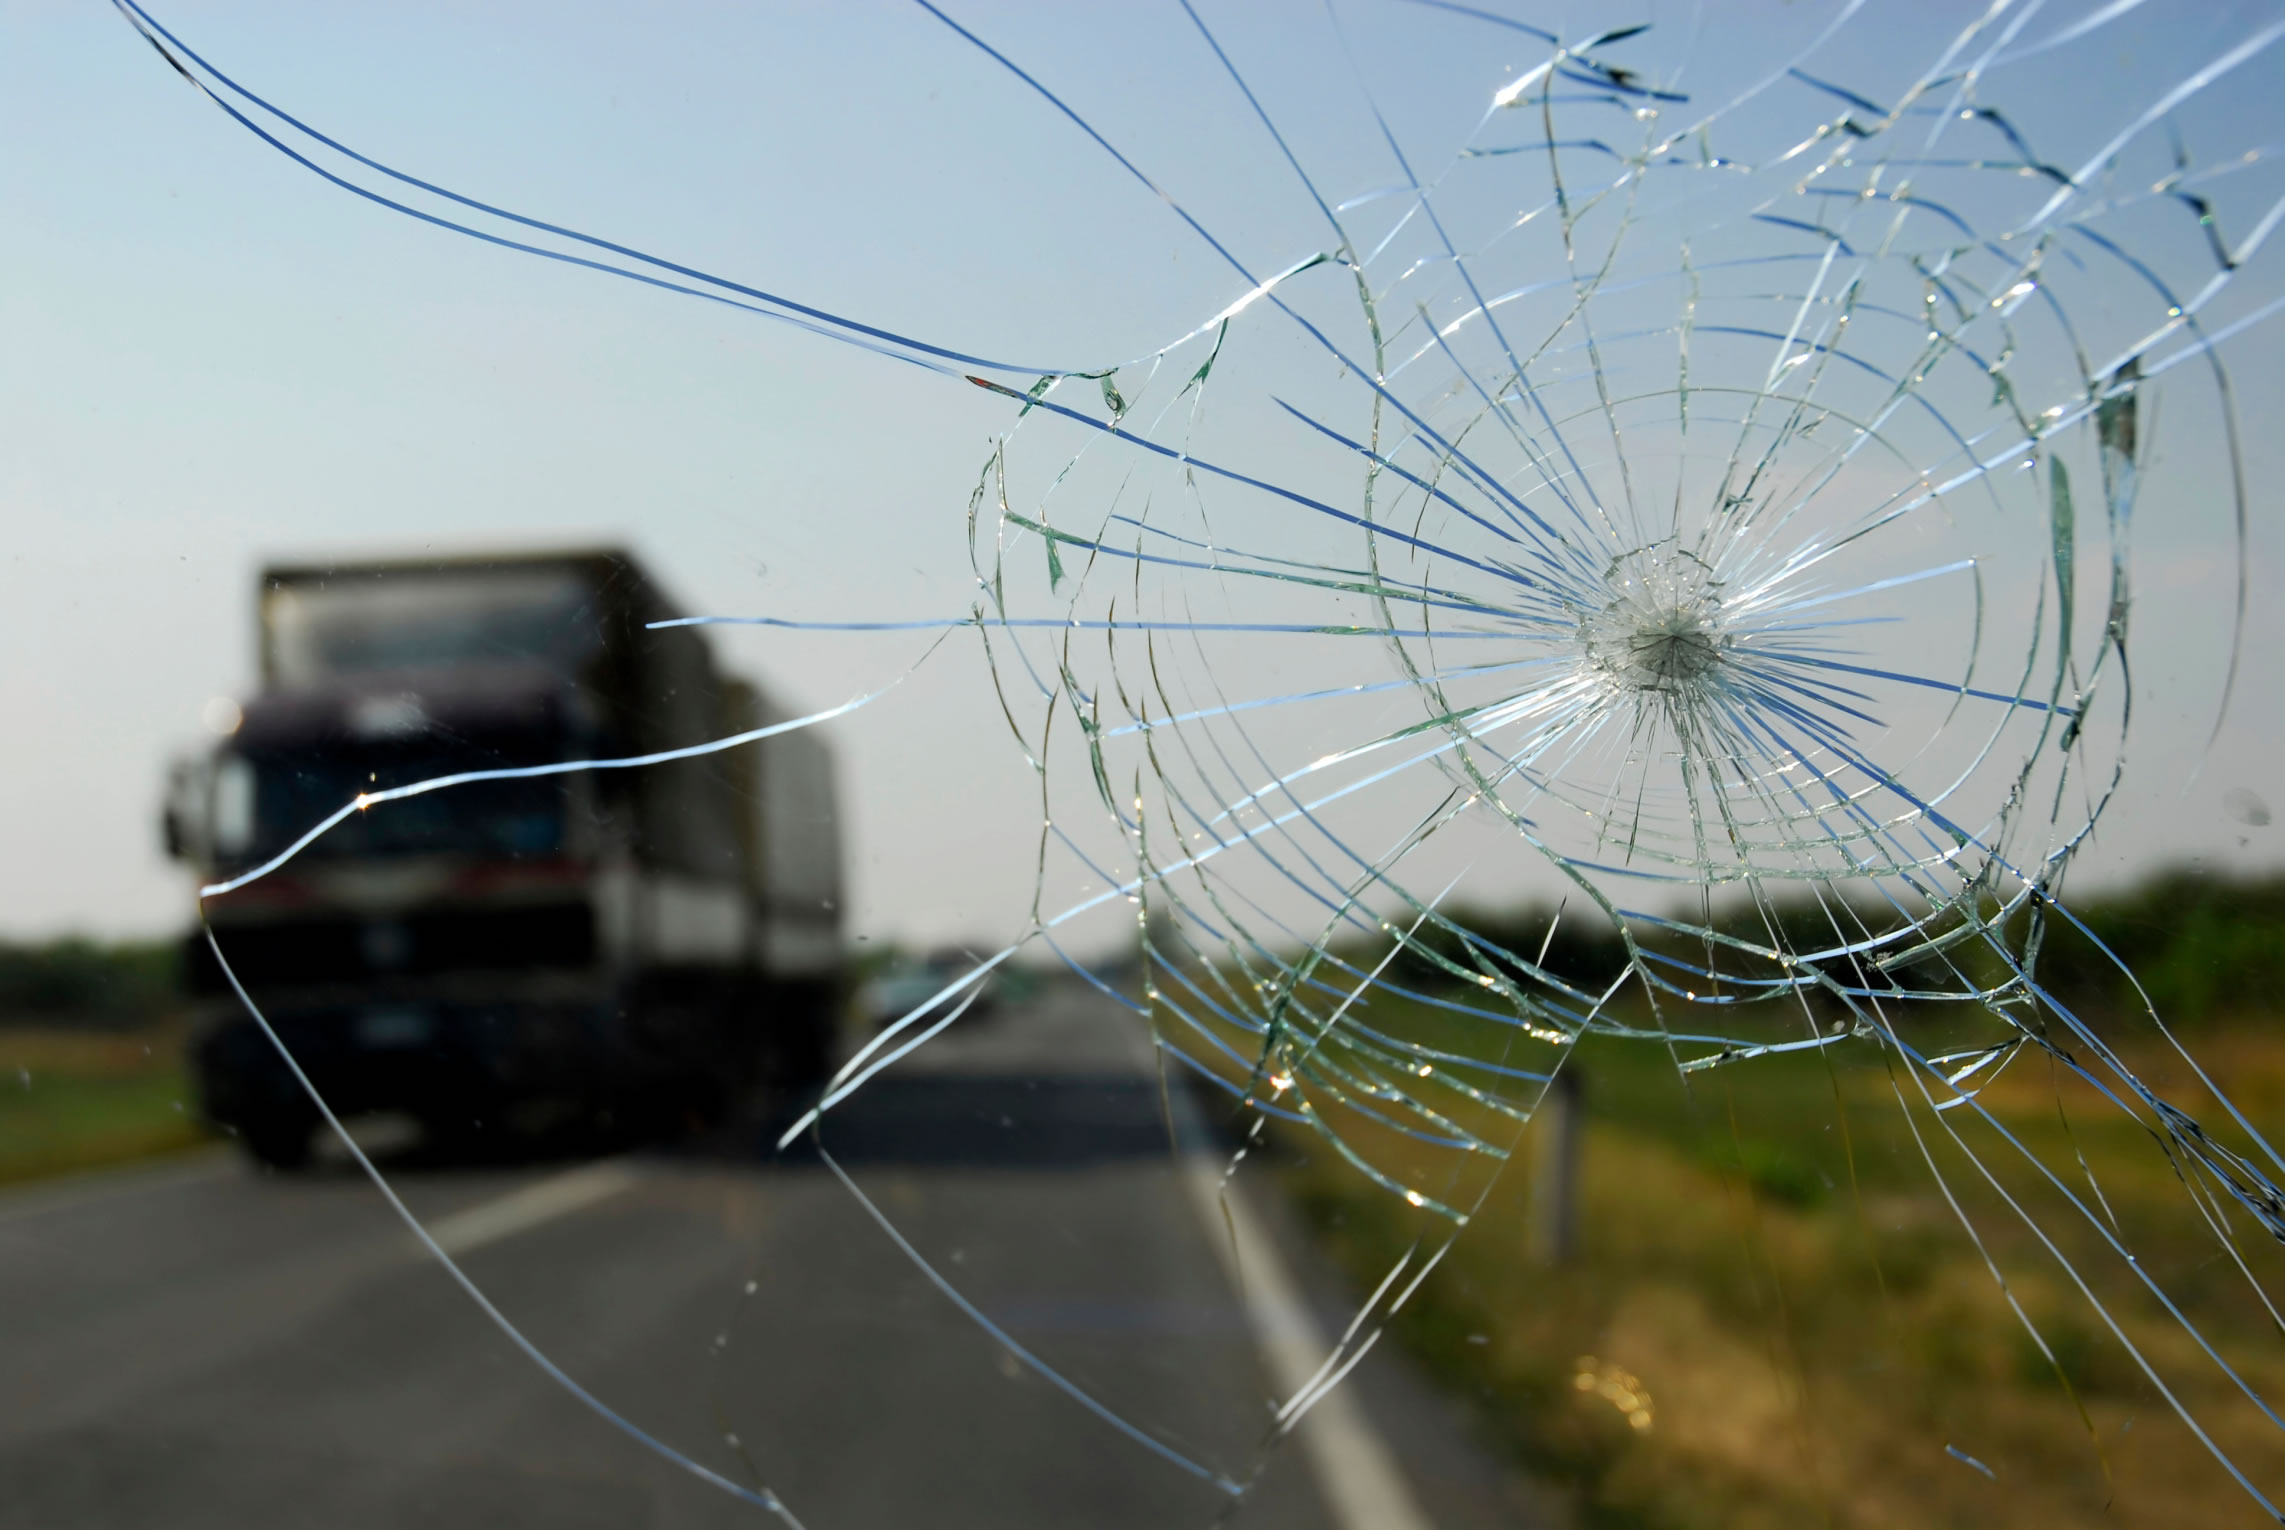
All it takes is one small chip in the windshield before it becomes a full-fledged crack. Even though a chip may appear small, it can quickly become a more serious issue. Here’s how to prevent a windshield crack from escalating into a more serious safety concern.

1. Decide whether it needs immediate attention

First, where’s the crack located? Is it off to the side, or is it obscuring your view? If it interferes with your ability to see the road, you should deal with even a tiny crack immediately.  However, if it’s not impairing your ability to see the road, grab a ruler and measure the length of the chip or crack. This can help determine whether you can repair the windshield or need professional repair or replacement.

2. Determine whether it needs to be repaired or replaced

If the chip is smaller than the size of a quarter or up to 2 inches in length, it can often be repaired. However, the shape of the chip or crack, such as bullseye, star, or half-moon, can limit the type of repair. Every crack or chip is unique, and consulting an expert is important. The goal is to prevent a crack from getting bigger or in any way compromising safety.

3. Avoid dirt and debris

One of the most important things to guard against is dirt. If dirt gets into the crack, it can complicate a simple repair. But that doesn’t mean you should head for the car wash or reach for a bucket. If water seeps into the crack, what began as a small repair can easily become a complete replacement. Instead, you can temporarily keep dirt and moisture away from the crack by cleaning the damaged area and applying a piece of clear packing tape, which is strong but won’t obscure your view. Another short-term solution for protecting the chip from dirt is to apply super glue evenly throughout the crack and wipe off any excess.

4. Park indoors to avoid the elements

Sun, snow, and rain all have the potential to cause the chip or crack on your windshield to grow. If possible, park your car inside, where it will be protected against the elements, especially the sun, which can cause the windshield to heat up and allow the crack to expand. If you don’t have a garage, try parking in a shaded spot.

5. Avoid temperature cold extremes

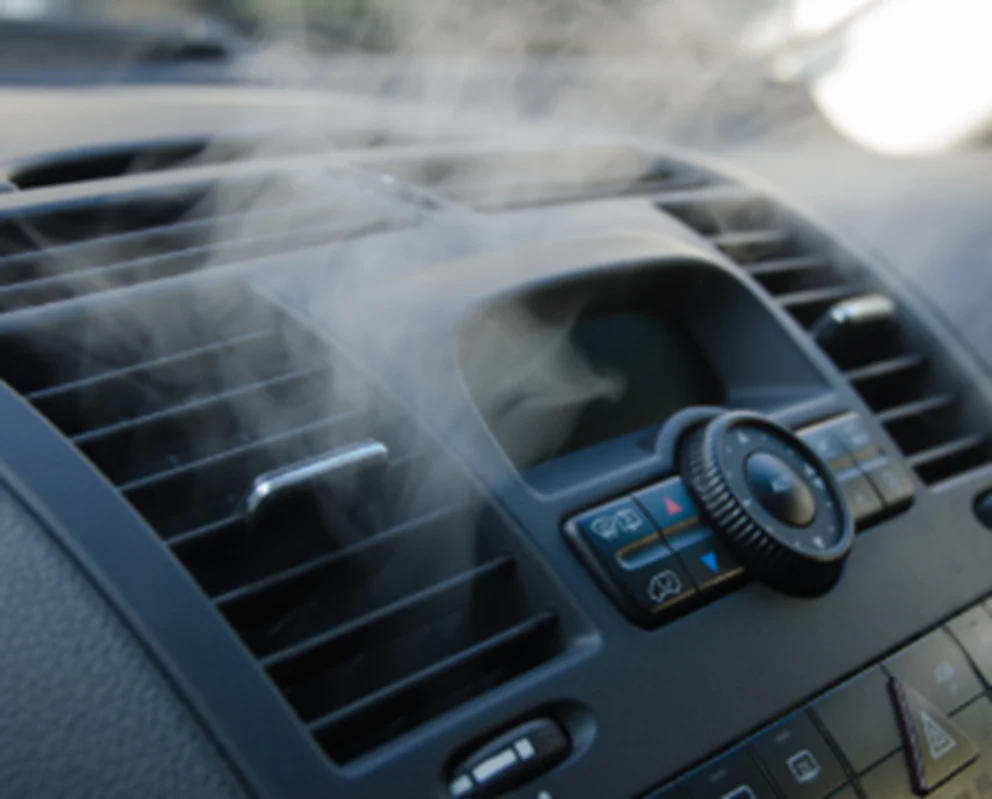
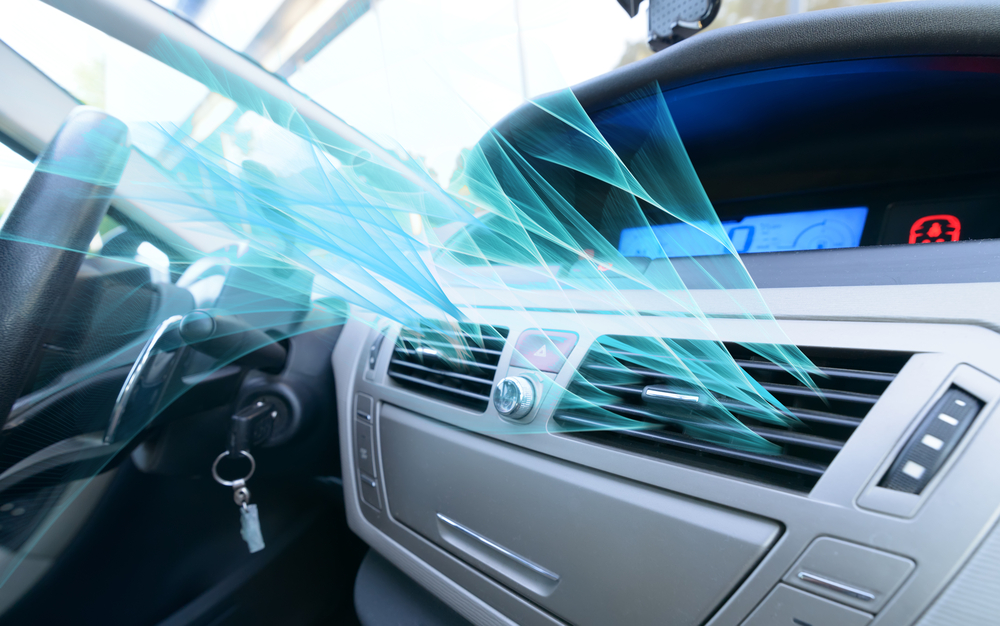
Likewise, extremely cold weather is not good for a cracked windshield because glass contracts when it gets cold. Refrain from putting your air conditioner or defroster on high. If necessary, use the heater moderately to defrost the windows gradually.

6. Drive carefully

Another way to keep the crack from getting larger is to drive with extra caution. That means safely avoiding potholes and staying away from rough roads. Jostling the car is the last thing you should do when driving with a cracked windshield, and you also want to avoid slamming the doors or the trunk.

Above all, keep safety in mind at all times. The sooner you get the windshield in for replacement or repair, the better.

Five Ways To Keep Your Vehicle From Being Stolen

According to a study by the National Insurance Crime Bureau, vehicle thefts between 2021 and 2022 increased by a whopping 7 percent — more than one million vehicles, with a combined estimated value of $8.9 billion, were stolen last year alone.

Sadly, most of the vehicle thefts would have been prevented had drivers followed five simple steps:

1. Lock your doors

As unbelievable as it may sound, most vehicle break-ins occur when owners leave their vehicles unlocked — thieves walk up to the vehicle and open the door with any resistance. Not only do the burglars get easy access inside the vehicle, but they also have unlimited time to work and zero worries about passers-by noticing as the vehicle’s anti-theft alarm is not activated. Simply locking all the vehicle’s doors is the best way to prevent vehicle theft — it’s the first and most effective line of defense.

2. Remove the keys and close the windows

Before you shut off your vehicle, take a brief moment to close all of the windows. An open window is an invitation for a thief to reach in and unlock the door from the inside. Even a small gap, as narrow as an inch, gives professionals plenty of space to insert a tool to open the door in seconds. Roll the windows up each time your park. And don’t ever leave keys in the vehicle — put them in your pocket or purse and take them with you.

3. Park in a well-lit and visible location

Bad guys prefer to do their work in secrecy, without anyone observing them. Park your vehicle in a well-lit location free of shadows or big trees that may obstruct the view. Also, consider parking on a main street instead of behind a building, as the patrons in a crowded restaurant — dozens of additional eyes — may make a car thief uncomfortable. While parking at the extreme end of the parking lot around a hidden will keep your vehicle free of door dings, it makes theft much easier — park where your vehicle is seen.

4. Don’t leave valuables in view

Make your vehicle less attractive to thieves by keeping valuables out of view. Never leave mobile phones, other electronics (e.g., iPad), keys, or packages in plain view. Most experts suggest that these items are carried with you or locked out of sight in the truck. Hatchbacks, which don’t have separate trunks, will have cargo covers — make sure to use them. If your vehicle doesn’t have an opaque solid cover, improvise — use a large blanket or towel to cover items such as suitcases or bags.

5. Use anti-theft devices, alarms, and tracking devices

Car thieves are lazy. Make their job challenging or risky, and they will move to a more accessible or less risky target. Steering wheel locks, essentially strong steel bars that lock between the steering wheel’s spokes, make it impossible for the thief to drive the vehicle — they are inexpensive (most are about $50) and a very visible deterrent. Alarms, which trigger a loud siren when a car is entered forcefully, will cause most criminals to quit and run. And suppose a criminal manages to drive your vehicle away. In that case, GPS- and Bluetooth-based tracking devices (e.g., LoJack and Apple AirTags) are very effective in discreetly tracking your fleeing vehicle and alerting authorities to its position.

10 Ways to Get Better Gas Mileage

There are a lot of ways to reduce your fuel consumption, even if your car has been in the driveway for a few years. Planning for a more efficient road trip, no matter how short, can save you money with fewer stops at the gas station. Here are our top 10 tips to improve your vehicle’s fuel efficiency and ultimately save you money:

1. Schedule regular car maintenance

Regular oil changes and tune-ups will help keep your car running at peak performance.  Regularly servicing your car can help the engine run smoothly and use less fuel. If you can’t remember the last time you took your car in, it might be time to get it serviced.

2. Get your wheels aligned

If your wheels get misaligned by even a fraction of an inch, it is comparable to dragging your tires sideways for 102 miles every 20,000 you drive. Misaligned wheels can impact gas mileage, cause wear and tear, and reduce drivability. Want to check your tire alignment before taking it into the shop? Buy a tread depth gauge and measure.  If one tire is more worn than the others, it’s likely time to get your car’s wheels aligned.

3. Drive conservatively and accelerate more slowly

Accelerating and braking quickly can make your engine work harder and burn more fuel. Avoid slamming on the brakes or accelerating rapidly, except in emergency situations.

4. Clean out your car

Extra junk in your trunk weighs down your vehicle, which means you use more gas to get around. As little as 100 pounds can reduce your fuel economy. Make sure to keep an emergency kit in your car, but remove heavy items that you don’t regularly use. Check the outside of your car for extra items that you aren’t regularly using, such as roof racks and bike racks.

5. Carpool

Not only does carpooling help save you money, but it reduces the wear and tear on your vehicle, helps reduce stress, and typically leads to increased fuel efficiency. Starting a carpool with friends or neighbors helps reduce the number of vehicles on the road and the amount of emissions.

6. Use the recommended tire pressure

If your tires are consistently underinflated, you could be wasting a lot of money on fuel. Underinflation also leads to premature tire wear and can shorten the life of your tires. Make sure to check the air pressure of your tires with a digital pressure gauge and fill your tires to the recommended pressure.

7. Limit how long your car idles

When your engine is running, your car is burning fuel. If you don’t have a newer car that automatically shuts your engine off at a stop, and if you are idling for a few minutes, consider shutting off your car to save fuel and limit emissions.

8. Replace your car air filters

A dirty air filter in your vehicle can increase fuel usage by nearly 10 percent. Make sure to check the filter when you change your oil and replace it at least once a year, or more often if you frequently drive in dirty, dusty conditions.

9. Drive within the speed limit

When you speed, your vehicle tends to consume more fuel. According to the U.S. Department of Energy, a vehicle’s gas mileage generally decreases rapidly at speeds exceeding 50 mph.  Keep that in mind when driving on the highway. Driving 5 to 10 mph slower can help your car use 7%–14% less fuel.  But just as highways have speed limits, nearly all localities have speed minimums for highways.  Driving very fast or very slowly on the highway can be dangerous to you and the other drivers.

10. When possible, use cruise control

Try to use cruise control as much as is safely possible. This keeps your speed constant and helps reduce your fuel consumption by avoiding harsh stops and accelerations.


5 reasons why your car remote is not working

All modern cars come with sophisticated remote key fobs these days which are much more convenient to use than a key – when they work that is. But when things go wrong, not only is it inconvenient, but it can cause your stress levels to go through the roof.

But don’t worry, sometimes fixing a remote is as easy as changing the battery. And even if it turns out to be something more serious.

So let’s look at the 5 most common reasons why car remotes fail and what you can do about it.

1. No power

Most remotes are powered by lithium batteries which last a long time. But at some point, the battery is going to need replacing. So if your remote becomes unresponsive, the battery is the first thing to check.

2. Needs reprogramming

To work properly, your remote needs to be paired with the receiver on the vehicle. If this becomes corrupted, the key fob will fail to operate as normal. This usually happens because of low batteries, but shock can also cause the fob to lose its pairing.

Most remotes can be reset, so check your car’s user manual for the resetting sequence. If resetting fails to solve the problem, the fob will need to be reprogrammed. This will need to be done by an automotive locksmith or main dealer.

3. Damaged transmitter or receiver

As mentioned above, your remote works by exchanging signals with a paired receiver. So if either the transmitter or receiver are damaged, your remote won’t be able to pair. This usually happens after some form of trauma such as shock or water exposure.

This can be a difficult problem to diagnose, however, since the symptoms are similar to a loss of pairing (see above). Try resetting the remote – if this fails to solve the issue, contact your local automotive locksmith.

4. Damaged components

Most remotes are designed to be shockproof, but in extreme circumstances, the components inside may be damaged. So if your remote stops working after some form of trauma, the chances are that the internal components are damaged.

In this case, it is usually more cost-effective to purchase a replacement remote from your automotive locksmith or main dealer. The replacement remote will then need to be paired with the transmitter on the vehicle.

5. Intermittent fault

Sometimes your remote only works intermittently. This is usually a sign the battery is running low and needs to be replaced, so start by replacing the battery. It is always easier to do this while the remote is still working.

If this doesn’t solve the problem, it may be due to interference with another vehicle or a faulty transmitter. Either way, you will need to contact your local automotive locksmith who should be able to diagnose and fix the problem quickly.

5 COMMON CAUSES OF ENGINE OIL LEAKS

Your engine oil is essential to the life of your vehicle, and one of the last things you want is an oil leak. Not only can oil leaks lead to low oil pressure, but they can also cause unnecessary wear and tear to your engine. If you’re noticing common signs of an oil leak, such as dark puddles under your vehicle or an illuminated dashboard oil light, don’t wait to fix the issue. Learn what causes engine oil leaks and how to resolve the problem with this guide.

1. LEAKING OIL FILTER

The filter is one of the most common causes of an oil leak. Ideally, the oil filter should be replaced with every oil change. If you change your oil at home, you may forget this important step or the new filter may not be installed properly. If you’re wondering how to find an oil leak, start by checking the oil filter’s seal. Make sure the oil filter is tight and ensure that the gasket or O-ring is not protruding out of place.

2. BAD GASKET

Gaskets act as seals between different vehicle components, so it’s no surprise they offer plenty of possible engine oil leak locations. Your engine has many gaskets, and many of them can wear out over time and lead to an oil leak. If you suspect your vehicle is leaking oil, either internally or externally, one of the following gaskets could be to blame:

  • Valve cover gasket
  • Cylinder head gasket
  • Timing cover gasket
  • Oil pan gasket

Without the right knowledge and experience, locating a damaged or worn gasket can be difficult. Be sure to have a Tires Plus professional take a look to diagnose the issue.

3. WORN SEAL

In addition to gaskets, your vehicle also has multiple seals that keep the oil where it should be—inside your engine! If you notice an oil leak, a crankshaft or camshaft seal could be the cause.

Crankshaft seals can be found at both ends of the crankshaft. If these seals dry out, crack, or get damaged, they can lead to leaks. A small leak usually results in oil on the underside of your engine, and a larger leak could cause an oil drip at the front or rear of your engine.

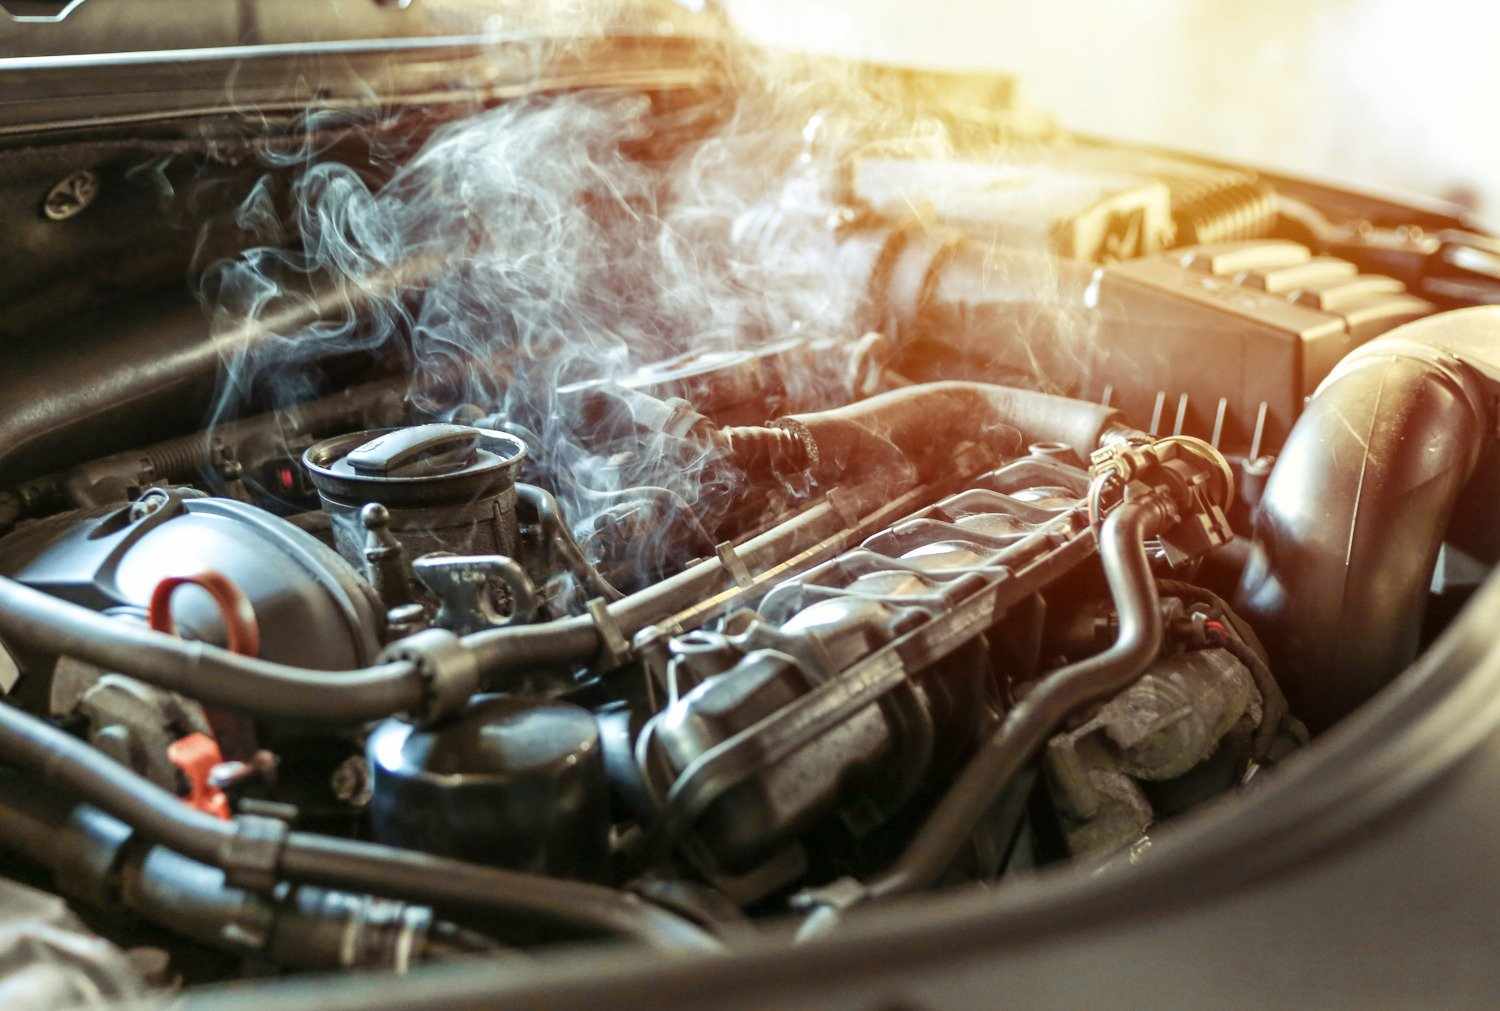
Engines with timing belts can experience camshaft seal leaks. These leaks can lead to oil pooling under your vehicle or smoke coming from the engine. Both camshaft seal and crankshaft seal leaks can be hard to diagnose at home, so you’ll want to take your vehicle to a professional for diagnostics and repairs.

4. LOOSE DRAIN PLUG

During every oil change, the drain plug is removed to empty the old oil from your engine. Since this component is messed with so often, it can become loose. Many drain plugs also have a gasket or seal that eventually wears out. Luckily, this is a super easy fix. If the plug wasn’t tightened all the way after your last oil change, all you need to do is tighten it. If that still doesn’t work, you’ll just have to swap it out with a new one.

5. DAMAGED OIL PAN

If you have a major oil leak that’s leaving big puddles under your vehicle, it might be the oil pan. Because the oil pan sits beneath your vehicle, it’s more susceptible to damage from road debris and large rocks. A cracked or punctured oil pan will leave holes for the oil to escape, and a dented pan can compromise the seal the drain plug creates.


10 TIPS FOR CHANGING SPARK PLUGS

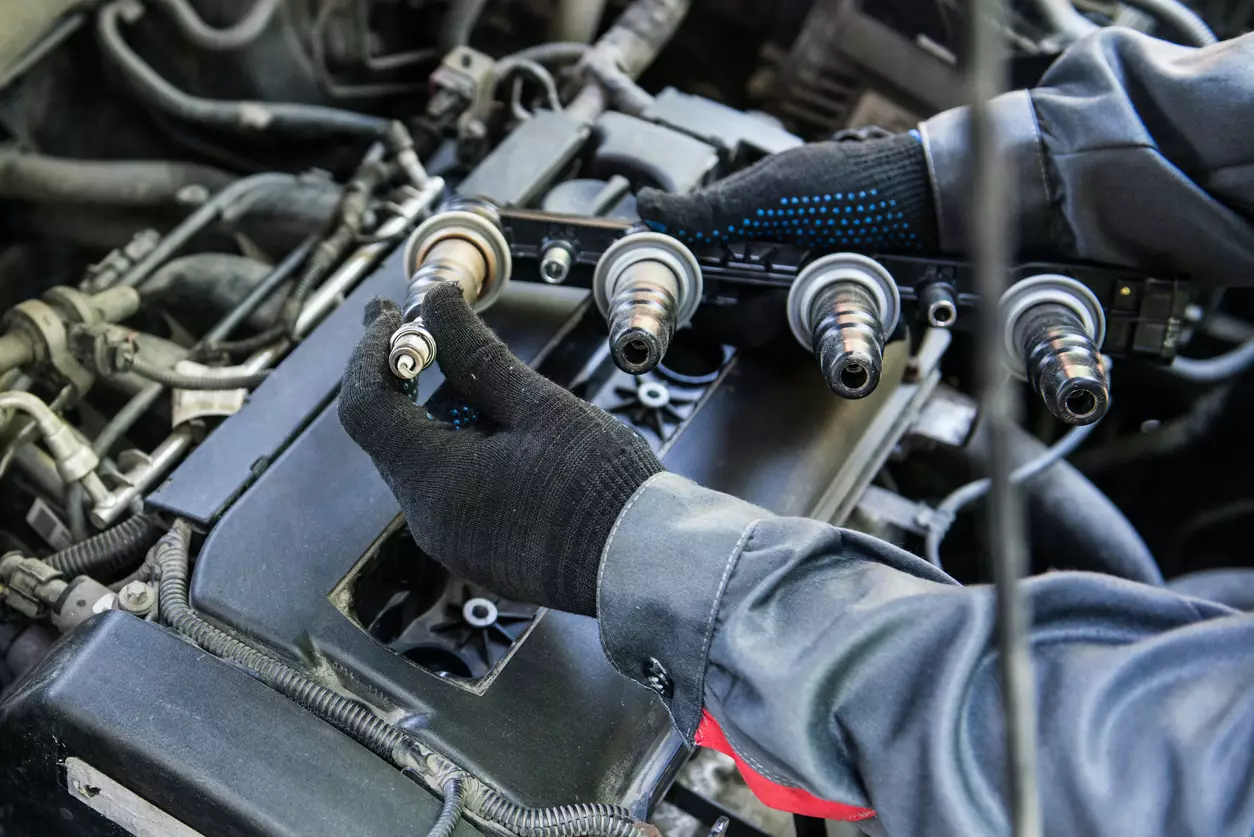
Old and failing spark plugs can cause a host of problems in your engine, and it should be expected that you’ll have to change them at least a few times during the life of a vehicle. Luckily, it’s a pretty straightforward DIY that requires close attention, but not many tools. With the right know-how and a few tricks up your sleeve, changing spark plugs is a simple job with big payoffs in fuel economy and performance.

1. SOLID PREP

Get all your tools together so you don’t have to search for them in the middle of the job. This includes a few specialty tools such as a spark plug puller that will make your life easier. Also, though it is tempting to use a regular socket to remove plugs, a specialized spark plug socket (of the correct size) is the way to go because it has an interior rubber component to protect the delicate ceramic housing.

2. KEEP YOUR COOL

Always let your engine cool down completely before starting work or be prepared to get burned

3. KEEP IT CLEAN

Before removing any plugs, take a vacuum and remove any dirt or debris in the area around the spark plug. The goal is to keep dirt from falling into the combustion chambers when the plugs are out. You might also take a bit of carb cleaner just for a really nice work area that isn’t going to drop grime in if you bump it while working.

4. GO TO YOUR HOME

If you have to remove anything such as vacuum hoses, coils, or other components that might easily get confused, make sure you label before disconnecting so they can be easily reinstalled.

5. ONE BY ONE

Remove and replace plugs one at a time. This will save you the frustration of having to figure out where each wire goes later.

6. GADGET INSPECTOR

Inspect each plug as it is removed. Look for excessive carbon buildup, oil, unburned fuel, or damage to diagnose unseen engine problems. Any of these indicate a bigger problem you’ll want to figure out ASAP.

7. MIND THE GAP

Most plugs these days come pre-gapped, but you’ll want to check to make sure the gap is correct with a gauge (carefully, especially if it’s iridium) and that there is no preexisting damage.

8. KEEPING THE SPARK ALIVE

There is much debate as to the use of anti-seize coating on spark plug threads. The decision mostly comes down to the manufacturer and type of spark plug, so consult with your local store before dabbing it on. Also, throw a dab of dielectric grease at the end of the plug wires.

9. SPARKING JOY

Start each plug into the engine by hand to avoid cross-threading at all costs. Once you get it in securely by hand, use a torque wrench to torque precisely as indicated by your owner’s manual.

10. WELL ADJUSTED

Make sure when the wires are installed on the new plugs that they seat fully. You’ll feel a small pop to know that they’re in.


Everything You Need To Know About Your Car’s Radiator

Engines often tend to heat after a prolonged use of the car. Every time you go on a long ride, you would notice the engine becomes heated, isn’t it? It is the radiator which controls the heating of the engine with the help of coolant. It can be concluded that the radiator is one of the critical components of the engine as it performs a crucial role of controlling the heat inside the engine box. Let’s understand more about it and its functions!

What Is A Radiator In A Car?

Radiator’s main job is to cool down the engine and thus it becomes critical to keep the radiator in good condition. Generally, the coolant is inside the tank of the radiator and from there it travels through the core. With the help of the fan, it further flows through tubes to cool the engine down.

How Does A Radiator Work?

Radiators in the car work primarily to eliminate heat from the engine and its chamber. The process starts as soon as the thermostat detects excess heat. That’s when the coolant and water get released automatically from the radiator and flow towards the engine to absorb this excess heat and to cool the engine down.

Radiators work on the heat transfer principle called convection. So when the water inside the radiator chamber is heated, the surrounding air also heats and further flows around the pipes as the air circulates.

Signs You Have A Bad Or Failing Radiator

There are plenty of tell tale signs to know if you are a failing or under performing radiator. Some of the crucial signs are as follows:

Vehicle Is Overheating

One of the first and the foremost signs of a malfunctioning radiator is the overheating of the engine. Every time the engine gets heated, it should ring a bell that there may be something wrong with the radiator.

Vehicle Is Leaking Coolant

Another crucial sign behind a failing or poor radiator is the leaking of coolant. Functioning of coolants is directly linked with the radiator. Hence if there is anything wrong with the radiator, coolant may not flow through the pipes of the engine box.

Sludge Build Up In Radiator

With regular use, there is likelihood of sludge build up in the radiator or its passage. You should get the car regularly serviced to ensure all the components are working smoothly. Any such build is an indicator that there is something not right with the radiator.

Low Coolant Levels

Check the level of the coolant after a regular interval. Low coolant level can be a sign that the radiator is not functioning well and it could result in overheating of the engine.

5 Tips To Maintain Your Car’s Radiator

You can always follow some best practice and expert recommended tips to keep your car’s radiator healthy and running.

Perform Regular Radiator Checks

You should get your car regularly serviced as recommended by the auto expert. Make sure you perform regular radiator checks to see if it is working effectively or not. You can then take necessary actions to replace or repair the components. This would ensure there are no last-minute hiccups and you can enjoy your ride seamlessly.

Avoid Overloading Car

We often make the mistake of overloading the car which can cause problems when it comes to the performance of the radiator and the engine. Make sure you avoid overloading it as much as possible.

Top Up With Engine Coolant

Top up the coolant after every 20000 to 25000 miles or as recommended by the service engineer. It varies from car to car depending upon the use and driving habits.

Check Your Fluids

Regularly check the fluid levels and take corrective actions. Make sure the level of coolant is appropriate and check the oil levels too. Low levels of fluid can create problems in the long term and impact the performance of your car.

Maintain The Hoses And Check For Leaks

Keep an eye on all the key components of the engine including the hoses and pipes. Look for any potential leaks from the pipe and engine box. Get the car serviced and checked by an expert as soon as you find any unusual sign.


HOW TO STAY SAFE WHEN YOUR CAR FISHTAILS

WHAT CAUSES FISHTAILING IN A CAR

When your rear tires lose traction—or grip—on the road, your car begins to slide on the road’s surface rather than move in the direction you’re steering. This is “fishtailing,” which is also called acceleration skidding or over-steering.

Fishtailing happens most often on slick, icy, or snowy roads, but it’s also likely in heavy rain when the road begins to flood. It doesn’t just happen when making a turn, either. Your car can easily start skidding if you’re driving too fast in less-than-ideal road conditions.

IF YOUR CAR STARTS TO FISHTAIL

When the rear of your car starts skidding on the road, remember these simple strategies to stop fishtailing:

DON’T PANIC.

As scary as it is when your car starts to slide in a direction you don’t want to go, it’s important to remain calm. Give yourself the best chance you can to handle the situation effectively and keep yourself, your passengers, and other drivers safe.

TURN THE STEERING WHEEL IN THE DIRECTION OF THE SKID.

As soon as you feel your rear wheels skidding, begin turning the steering wheel in the same direction that the rear wheels are moving. So, if the back end of the car is sliding toward the driver’s side, turn the steering wheel to the left. The rear is skidding toward the passenger side? Steer right. This will help your wheels turn back to the direction you want to travel and help you regain control of your vehicle.

TAKE YOUR FOOT OFF THE GAS AND GENTLY BRAKE.

When you lose control of your car, your first gut reaction may be to slam on the brakes to stop your vehicle from moving. Resist this urge. Instead, take your foot off of the accelerator and pump your brakes if they’re standard. If you have anti-lock brakes (ABS) apply steady pressure instead of pumping