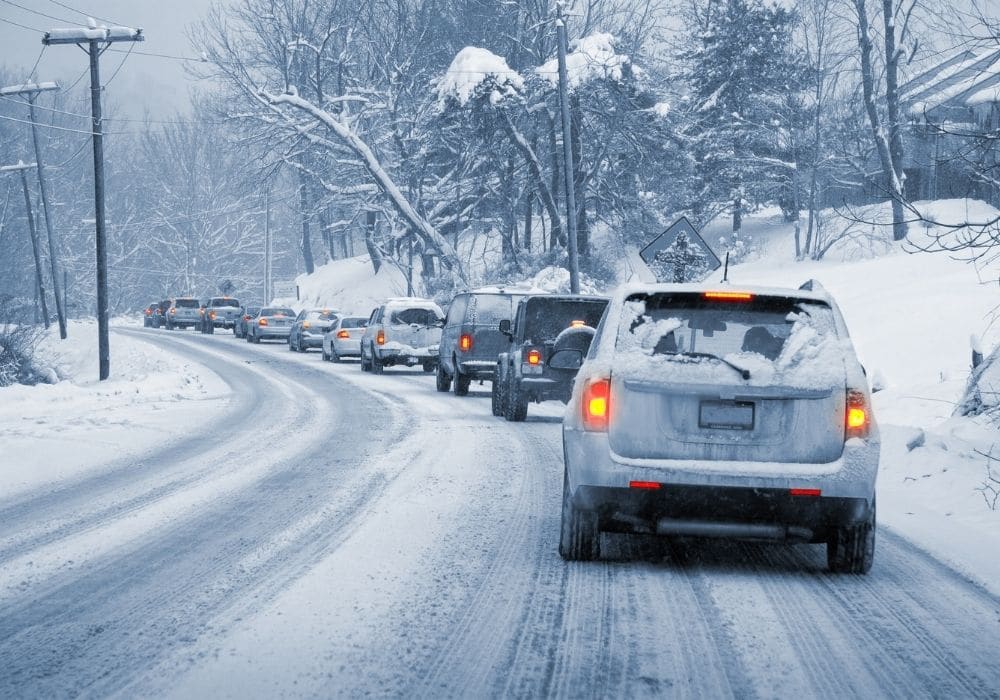
There’s no time of year that’s more dangerous to drive or even walk than winter, And there’s no risk factor during winter more dangerous than black ice, which is a factor in countless winter auto and even pedestrian accidents. You’ve undoubtedly heard about black ice, but what exactly is it—and is it possible to reduce the risks it poses to you?
Black Ice Explained
Although it’s called “black” ice, this dangerous hazard is just normal ice that forms on asphalt. But because it’s a thin layer of transparent ice, it blends in with the color of the dark asphalt below, giving it a black appearance when viewed up close.
Black ice most commonly forms when it rains and temperatures are at or below freezing. It can also form when snow melts, leaving large puddles of water, and then temperatures drop below freezing again before the water evaporates.
Another potential cause of black ice is simply humidity or high levels of moisture in the air. This moisture can collect on the road and sidewalks and eventually freeze, putting both drivers and pedestrians at risk of serious accidents and injuries.
Where Is Black Ice Most Common?
Black ice can form on any roadway and walkway, but it happens fastest on roads that are elevated or that see frequent/constant shade. You may have seen signs warning that bridges ice during the winter. That’s because bridges are exposed to airflow from underneath, which causes ice to form even when temperatures haven’t quite reached 32 degrees F or below.
Shady areas and areas of high elevation can also lead to the formation of black ice. That’s because temperatures can be lower in those areas than surrounding areas, which means any accumulation of water can quickly freeze and cause ice to form.
Why Is Black Ice So Dangerous to Drivers?
Black ice is dangerous because drivers can’t see it, their tires can’t grip it, and their brakes can’t work properly on it. When drivers can’t see it, they can’t prepare themselves.
When their tires can’t find traction on it, drivers can immediately lose control of their vehicles. And the larger the patch of black ice, the less control they have. Black ice can cause vehicles to spin 180 or even 360 degrees or more, which is an extreme risk factor for a crash.
Finally, when their brakes can’t work properly on it, they can’t stop or slow down. Many drivers instinctively mash their brakes when they hit black ice and feel the telltale slipping and sliding, but doing so can be a mistake. Braking hard on black ice can cause vehicles to slide, resulting in even less control.
What Should You Do if You Drive Over Black Ice?
Because black ice is practically invisible from the vantage point of the driver’s seat, it can be difficult to avoid. If you hit black ice, keep these tips in mind:
- Take your foot off the gas immediately—Accelerating will only further decrease your control over your vehicle. Taking your foot off the gas allows your vehicle to begin decelerating naturally.
- Don’t over-brake—Resist the temptation to brake hard or at all. Even anti-lock brakes are less effective on ice, and braking too hard can cause you to enter a tailspin.
- Keep your steering wheel straight—Don’t try to “turn out of” black ice or its induced loss of control. Instead, focus on traveling in a straight line while coasting away from the ice and any potential hazards.
Tips for Preparing Your Vehicle for the Possibility of Slick Roads
Although black ice is extremely slick, driving over it doesn’t always result in a loss of control. The difference between a moment of reduced traction and a total loss of control often comes down to vehicle preparation:
- Ensure your tires are properly inflated with the recommended PSI. Under or overinflated tires don’t perform the way they’re supposed to, and that can often result in less traction.
- Check your tire tread and the type of tires you have on your vehicle. If their tread is worn, or if they are high-performance summer tires, replace them with winter tires.
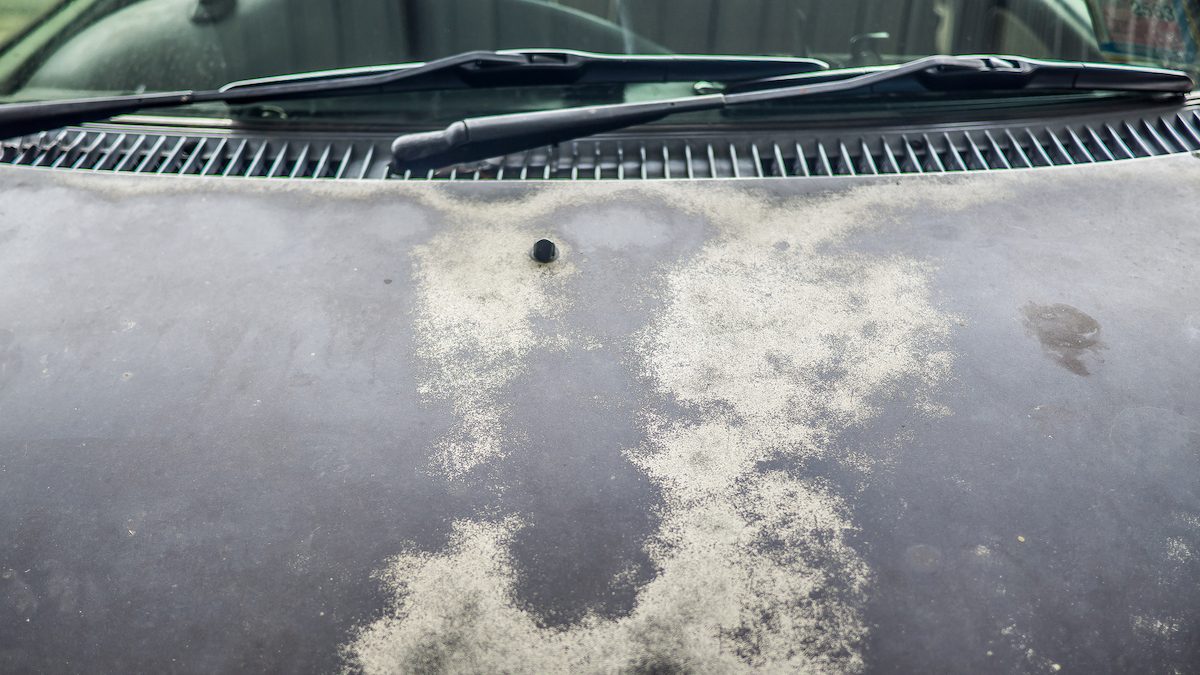
- Replace broken or ineffective wipers and ensure your wiper fluid is always topped off. Your wipers are your biggest defense against falling snow, and wiper fluid can help clear the mixture of snow, dirt, and freezing rain that can accumulate when driving during winter.