5 Tips on How to De-Ice Your Windshield & Keep Ice Off of It

Winters are unkind to drivers. Slick roads, waiting several minutes for your car to warm up in the frigid weather, and trying to keep snow, sleet, and freezing rain off your windshield.

Today’s blog showcases how to de-ice your windshield and keep the ice off as you drive to your destination.

Ice Scraper

Your primary tool is an ice scraper for removing ice on your windshield. Purchase a plastic and not a metal one because metal can scratch the glass and damage the wiper blades.

Start with the edges of your windshield rather than the middle. If you start in the middle, you may be tempted to pound your way to the windshield to get an edge underneath the ice. Rather than using force, use heat to loosen the ice.

Car Defroster

The key to heating your windshield comes from your vehicle’s defroster. Before you lift your scraper, start your car’s engine, set the air conditioning to defrost, and set it to recirculate. Set the controls to full heat. As your engine warms up, the heat will get more intense.

Eventually, the ice against your windshield will soften. Then you can get your scraper’s edge against your windshield and remove the ice. Go slowly and smoothly to prevent ice chips from spraying around your eyes and face.

Patience

The key to this process is patience. It may take 10 to 15 minutes for your vehicle’s heater to get warm enough to start melting the ice. Then, it could take another few minutes for the ice against the windshield to become soft enough to scrape the ice off.

However, this method will reduce the physical effort required to de-ice your windshield. It might even take more time to exert yourself while trying to get through the ice on your windshield than waiting for your heater to get warm. The trick is to leave enough time (maybe an extra 20 to 30 minutes) to de-ice your windshield before starting out on your trip.

Once you clear your windshield of ice, you need to keep it clear.

De-Icing Fluid or Spray

You can purchase de-icing fluid that goes in your windshield wiper fluid reservoir under the hood. However, that doesn’t work if your windshield has ice on it. Set some aside, fill up a spray bottle, and spray it on your windshield to loosen some of the ice. This method works because the de-icing fluid has a lower freezing point than water. Once the ice is loose, scrape it away.

Rock Salt Spray

Although not as effective as commercially available de-icing fluid, you can fill a spray bottle with water and add a few scoops of rock salt. The rock salt will lower the freezing point of the ice, allowing you to get under the ice more easily than without it.

Keeping Ice Off Your Windshield Once It’s Gone

There are two keys to keeping ice off of your windshield while driving. First, keep your defroster on hot, even at a low setting. This will keep your windshield from fogging up. Second, use your windshield wipers to keep snow, sleet, or freezing rain from cluttering your view and covering the glass.

If your car is parked outside, use a windshield cover to protect your wiper blades. They range in price from $10 to $30. If not, cover your windshield with a large towel or tarp. Before putting it on your windshield, soak the cover in diluted saltwater to prevent the cloth from freezing to the windshield if the precipitation starts as a liquid and then freezes.

How NOT to De-Ice Your Windshield

There are some ways not to de-ice your windshield, even though you may think they are convenient. Do not use hot or boiling water to de-ice your windshield. Not only will the water refreeze and make the icy windshield worse, but the sudden hot temperatures could crack your windshield due to thermal shock.

One DIY remedy includes a mix of vinegar and water. But this doesn’t work well since vinegar can corrode chrome and your vehicle’s paint job. Worse, vinegar may cause micro-pitting on the windshield glass, meaning very small holes could form. Over time, as more debris lands on the windshield at high speed, cracks could form more readily.

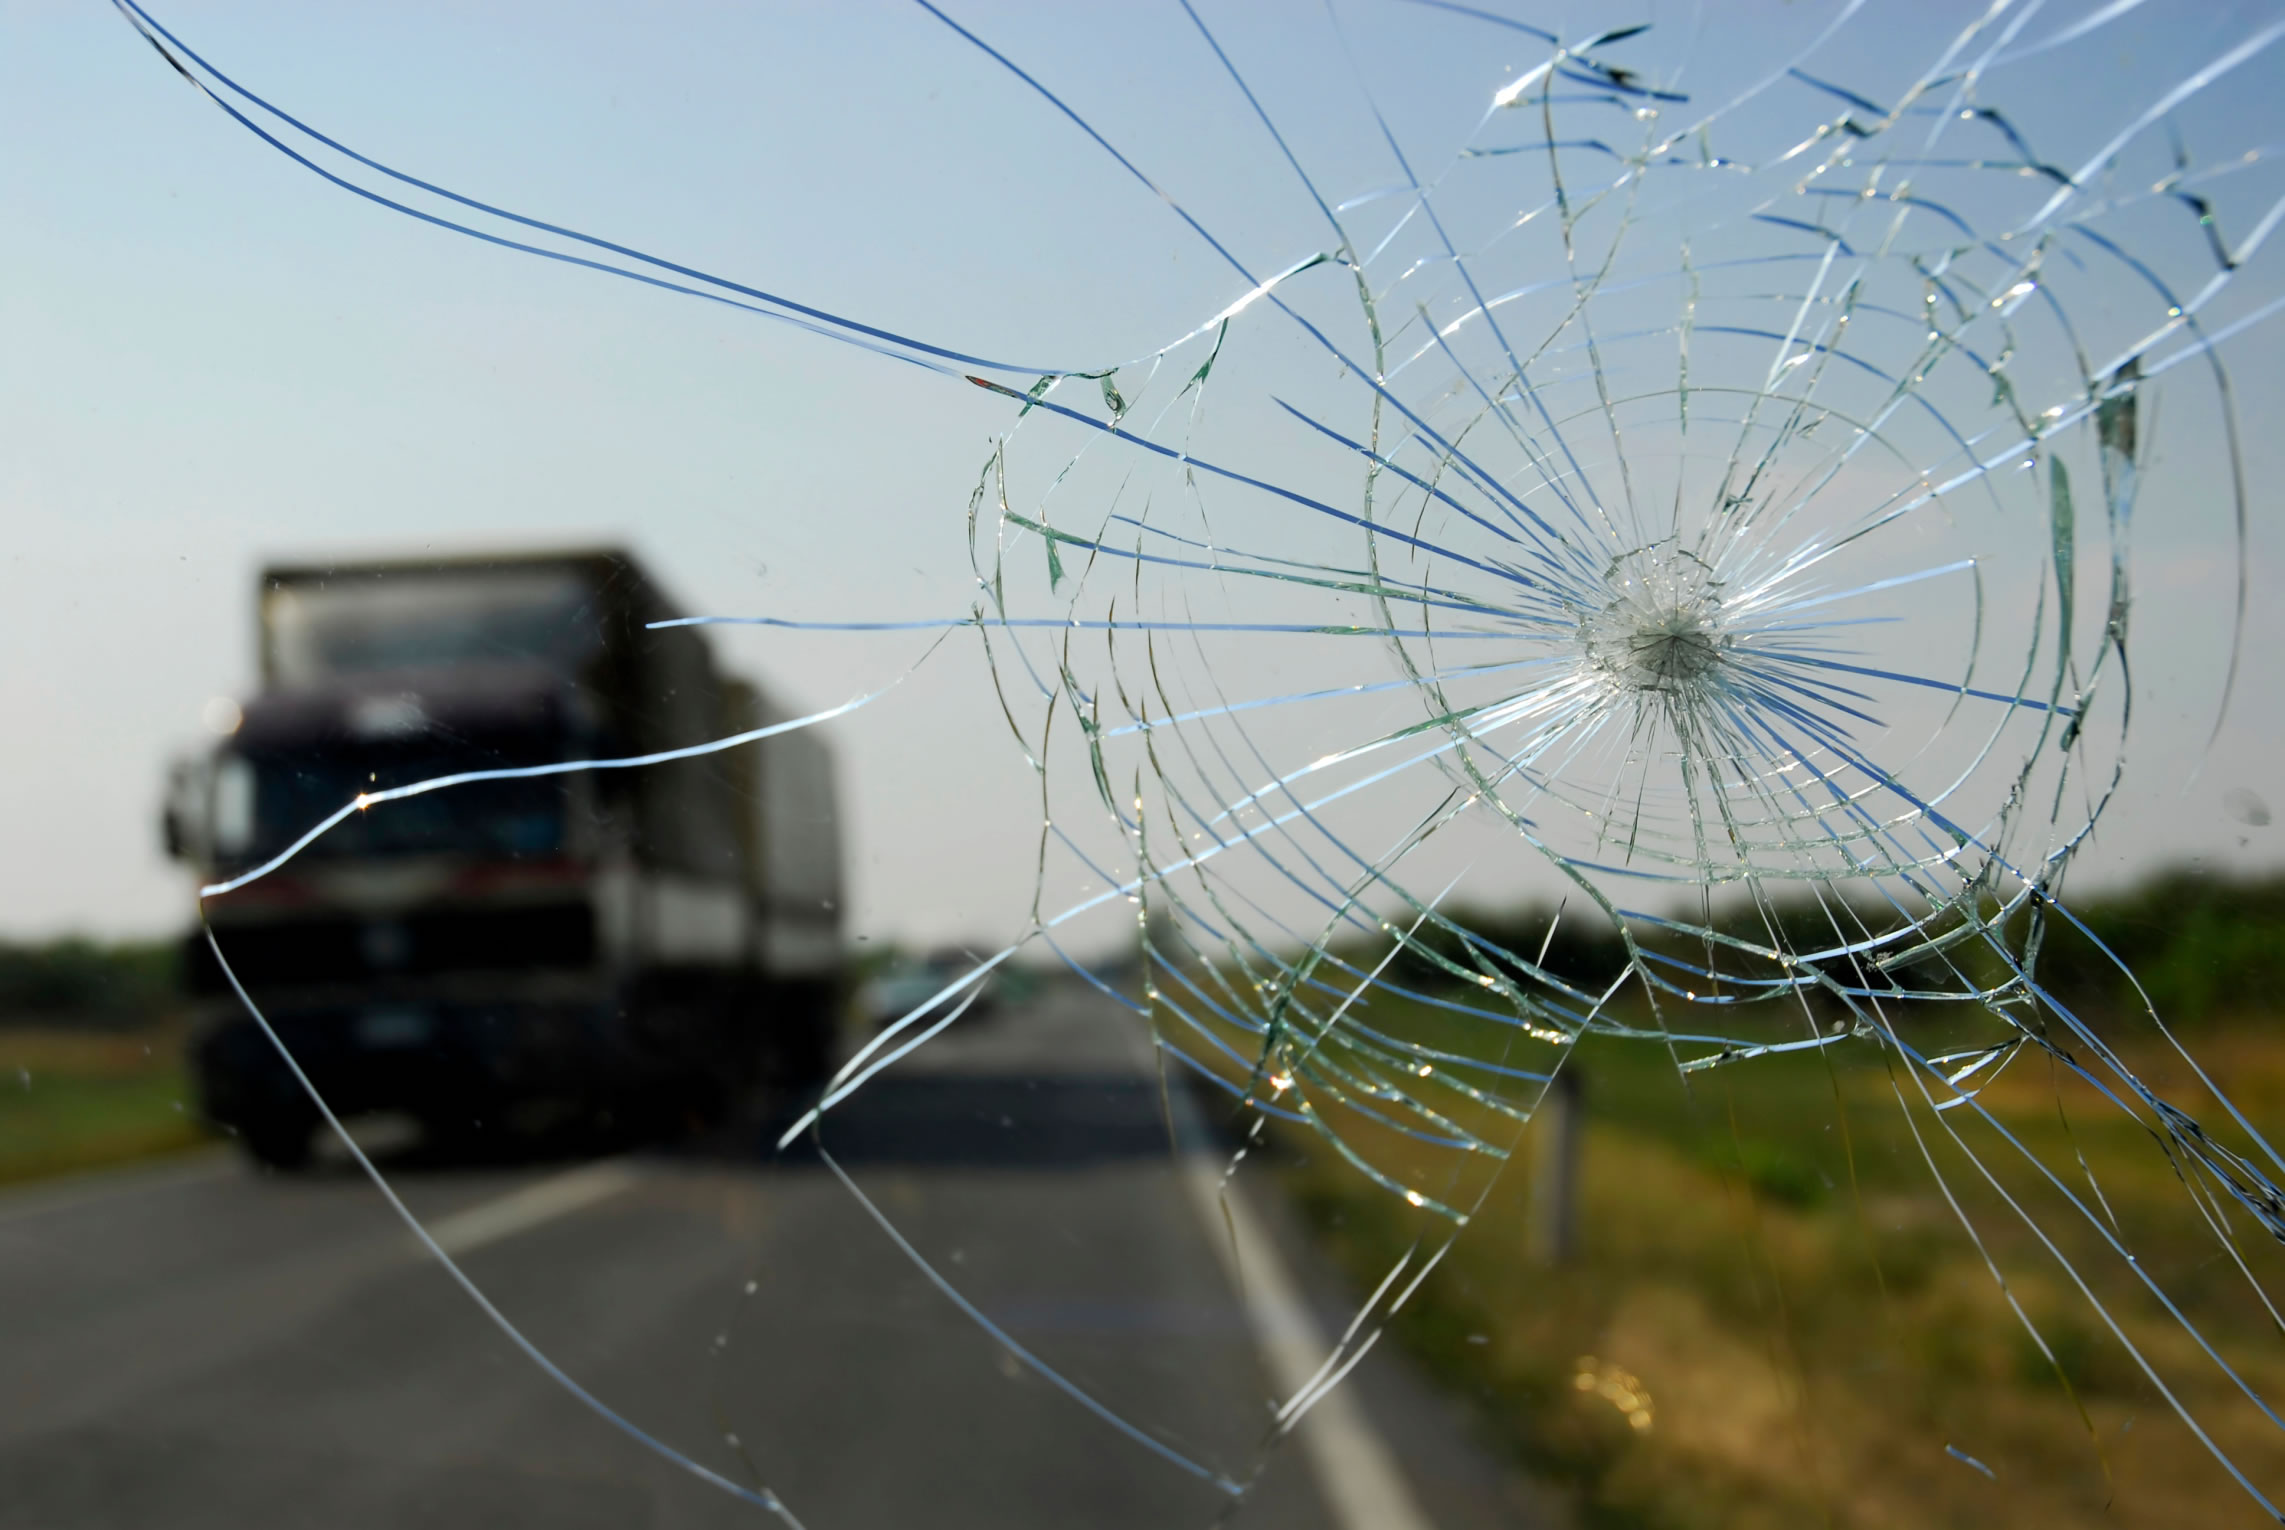
6 Tips for Cracked Windshield Prevention and Repair

All it takes is one small chip in the windshield before it becomes a full-fledged crack. Even though a chip may appear small, it can quickly become a more serious issue. Here’s how to prevent a windshield crack from escalating into a more serious safety concern.

1. Decide whether it needs immediate attention

First, where’s the crack located? Is it off to the side, or is it obscuring your view? If it interferes with your ability to see the road, you should deal with even a tiny crack immediately.  However, if it’s not impairing your ability to see the road, grab a ruler and measure the length of the chip or crack. This can help determine whether you can repair the windshield or need professional repair or replacement.

2. Determine whether it needs to be repaired or replaced

If the chip is smaller than the size of a quarter or up to 2 inches in length, it can often be repaired. However, the shape of the chip or crack, such as bullseye, star, or half-moon, can limit the type of repair. Every crack or chip is unique, and consulting an expert is important. The goal is to prevent a crack from getting bigger or in any way compromising safety.

3. Avoid dirt and debris

One of the most important things to guard against is dirt. If dirt gets into the crack, it can complicate a simple repair. But that doesn’t mean you should head for the car wash or reach for a bucket. If water seeps into the crack, what began as a small repair can easily become a complete replacement. Instead, you can temporarily keep dirt and moisture away from the crack by cleaning the damaged area and applying a piece of clear packing tape, which is strong but won’t obscure your view. Another short-term solution for protecting the chip from dirt is to apply super glue evenly throughout the crack and wipe off any excess.

4. Park indoors to avoid the elements

Sun, snow, and rain all have the potential to cause the chip or crack on your windshield to grow. If possible, park your car inside, where it will be protected against the elements, especially the sun, which can cause the windshield to heat up and allow the crack to expand. If you don’t have a garage, try parking in a shaded spot.

5. Avoid temperature cold extremes

Likewise, extremely cold weather is not good for a cracked windshield because glass contracts when it gets cold. Refrain from putting your air conditioner or defroster on high. If necessary, use the heater moderately to defrost the windows gradually.

6. Drive carefully

Another way to keep the crack from getting larger is to drive with extra caution. That means safely avoiding potholes and staying away from rough roads. Jostling the car is the last thing you should do when driving with a cracked windshield, and you also want to avoid slamming the doors or the trunk.

Above all, keep safety in mind at all times. The sooner you get the windshield in for replacement or repair, the better.

Instructions for cleaning the inside of your windshield

Washing the inside of your car windshield is crucial to preserve your unobstructed view of the road.

Materials needed:

  • Lint-free microfiber rags or spray bottle
  • Glass cleaner
  • Distilled white vinegar
  • Rubbing alcohol

Instructions for cleaning the inside of your windshield:

  1. Mix solution in a spray bottle of ONE of the following popular and effective options:
    • 50% rubbing alcohol, 50% water, and a capful of white vinegar
    • 70% water, 15% glass cleaner, and 15% alcohol
  2. Gather your materials then hop in your passenger seat for easier access to windshield glass.
  3. Use a clean, dry microfiber towel to wipe down the glass first.
  4. Next, use a different cloth and rubbing alcohol to degrease the glass. If you live near the coast, you can also clean the glass with vinegar to dissolve sea salt.
  5. Using a different side of the rag or a clean one, spray glass cleaner onto the rag (not the windshield) and clean the glass in circular motions. Use an auto-specific glass cleaner, avoiding ammonia-based cleaners, which can damage vinyl, leather, and tint.
  6. Swap out towels as soon as they get dirty.
  7. Use up-and-down wiping motions to finish off the glass, making sure windows are completely dry for a streak-free shine.