Avoid the dangers of spring driving with these tips

Spring is just around the corner, and that means longer days and warmer weather. Spring also means no more snow- and ice-covered roads (hurrah!).

Since we don’t have to worry about sliding on slick roads or getting stuck in snowstorms, most drivers assume that better weather makes for safer driving conditions.

Spring brings a number of new hazards to the road that drivers need to pay attention to, and this article will address some of the most important points to remember to ensure you and your family arrive safely, including:

  1. Potholes that form during winter months can damage your vehicle and cause accidents. We will look at how to identify and minimize damage during your drive.
  2. Sun glare is a serious concern for many drivers. We will look at how to maintain your car to minimize sun glare and other items to help keep you safe.
  3. Increased motorcycles and bicyclists with warmer weather could mean more risk of injury. We will discuss several simple and effective tips to keep everyone safer on the roads.
  4. Careful driving in neighborhoods is necessary as more children will be out playing and could dart into the roads without warning.
  5. More wildlife activity, especially in rural areas, means that you need to pay more attention to the road to avoid hitting animals while driving.
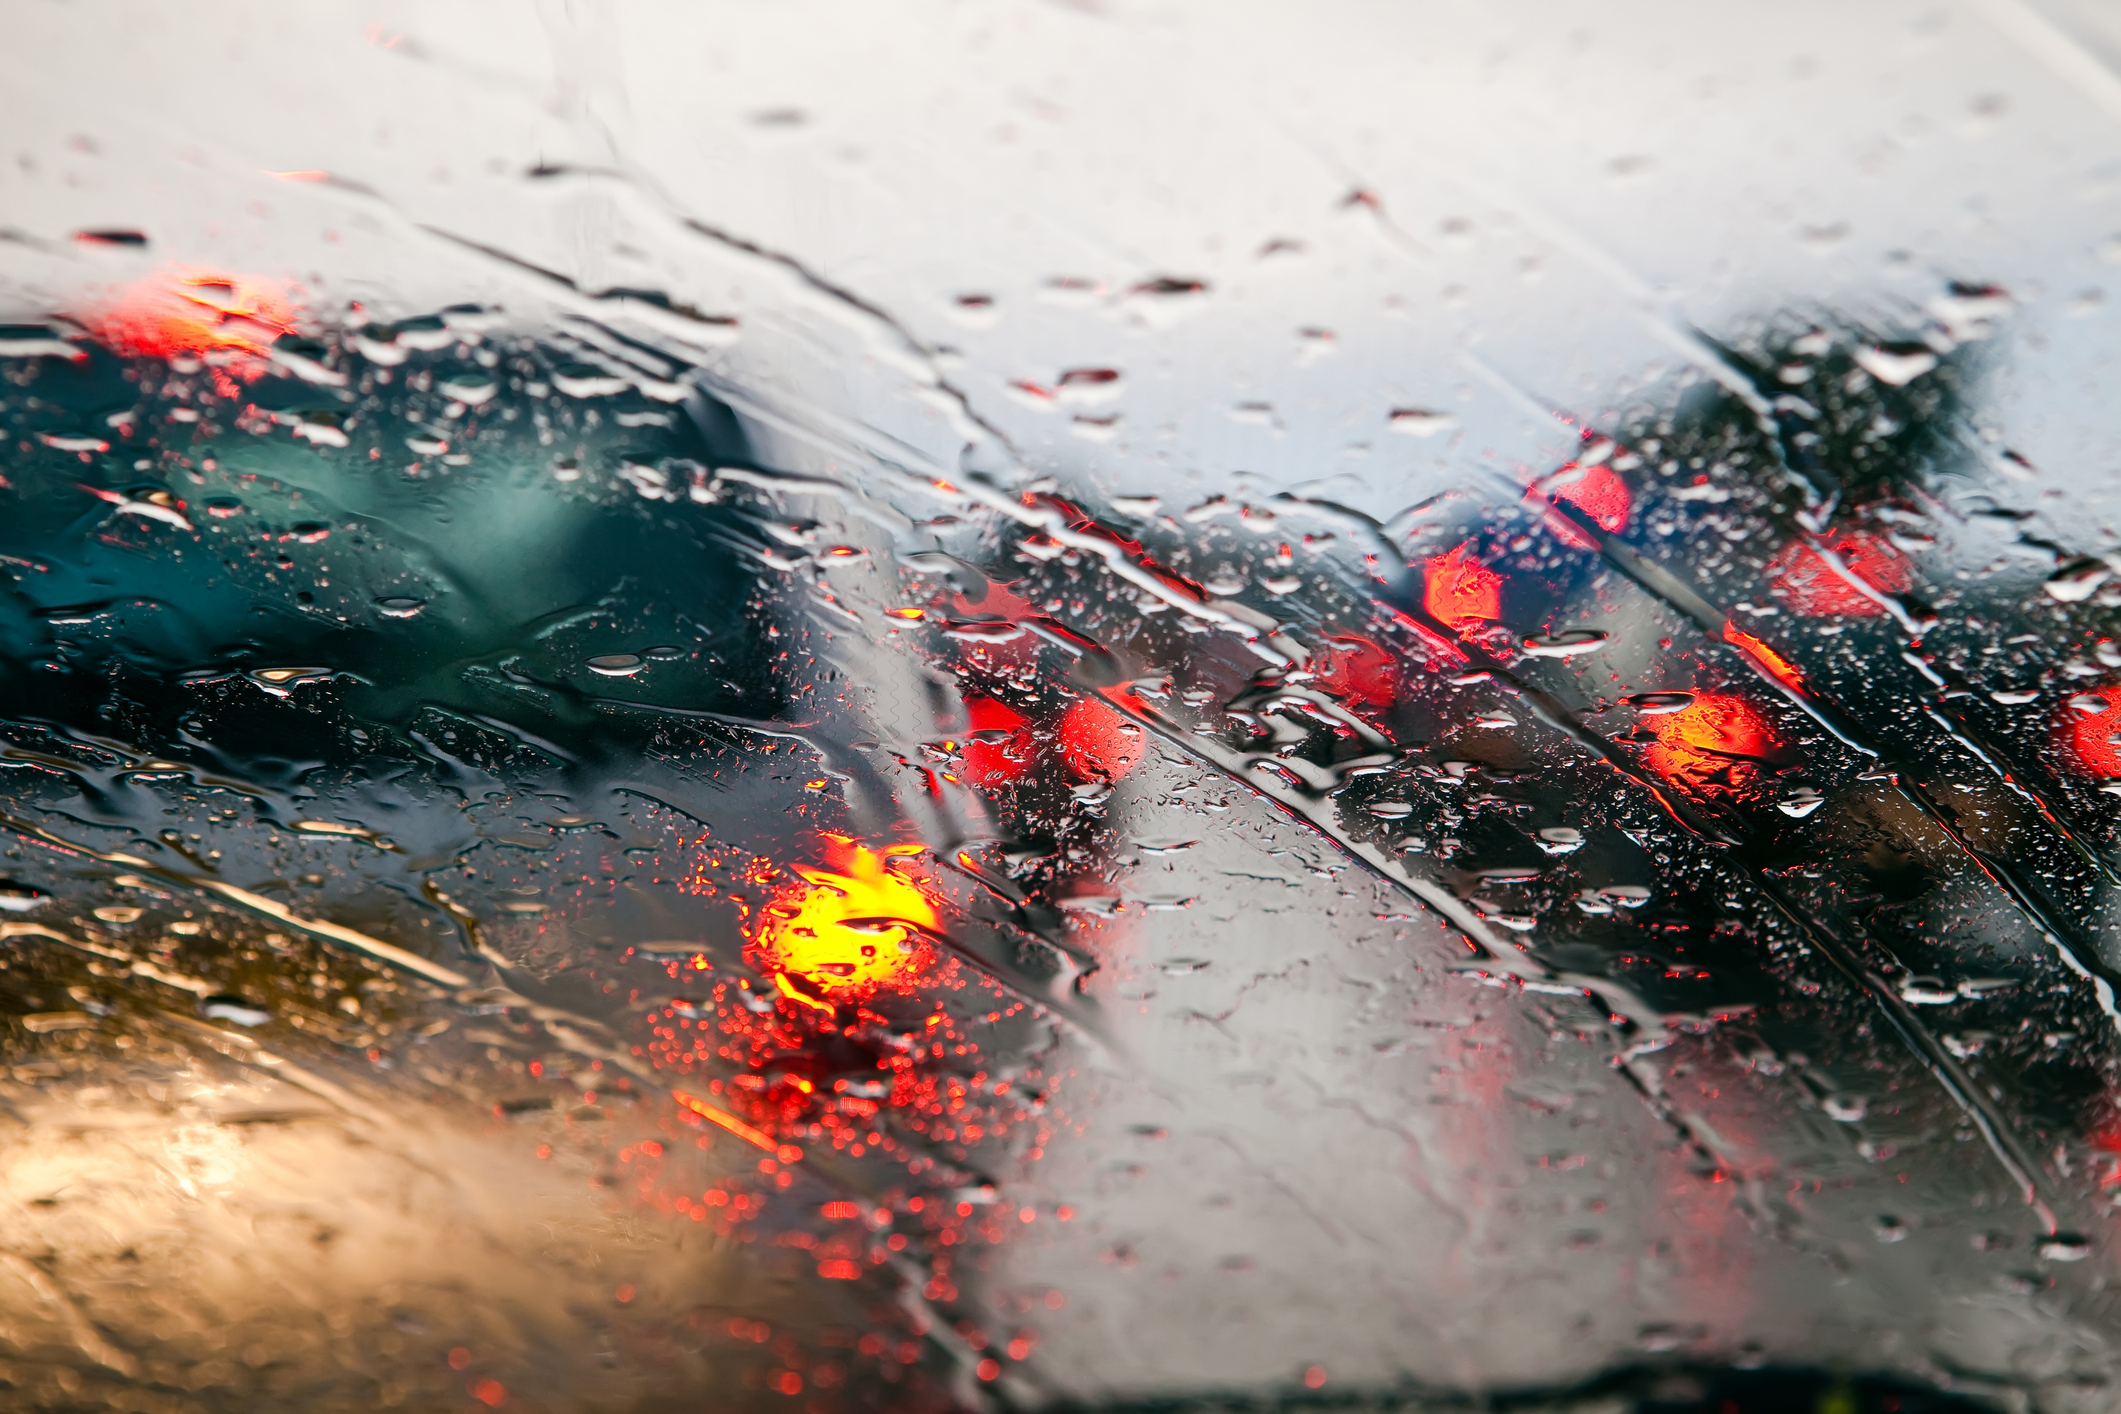
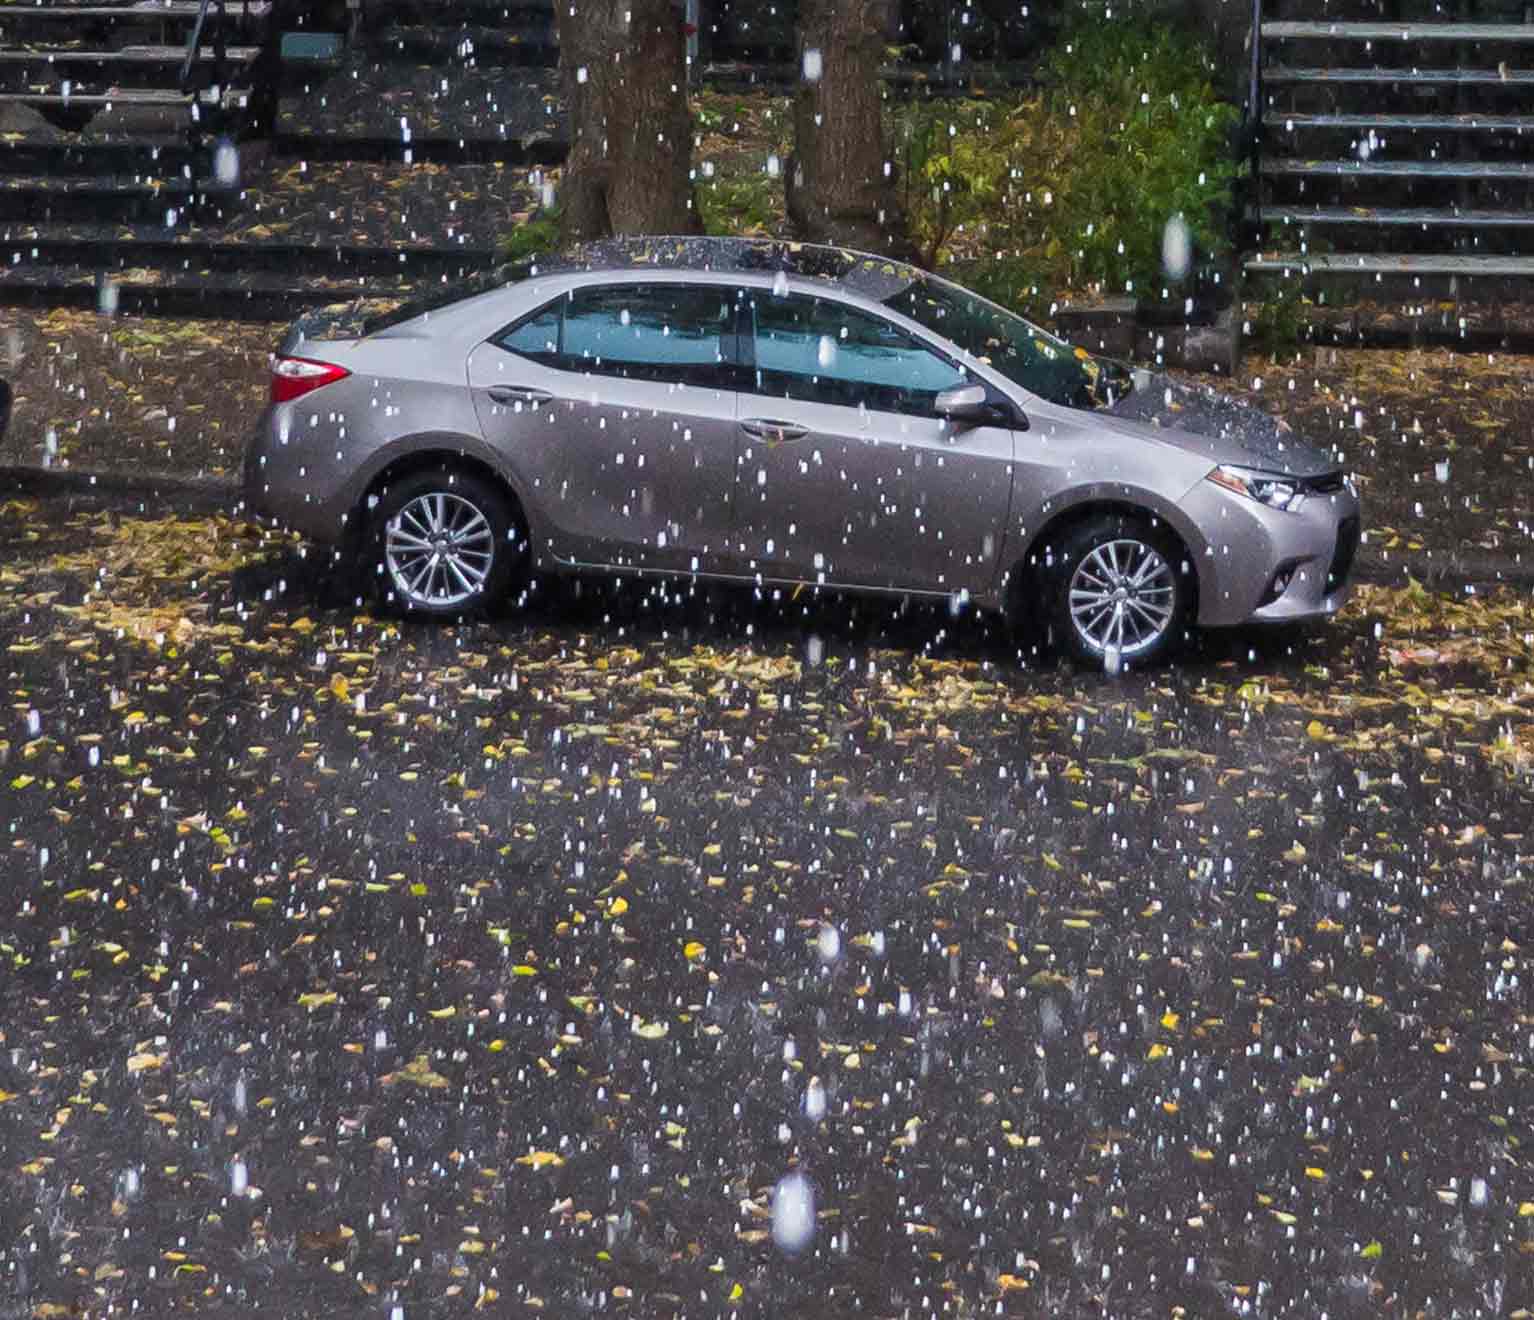
  6. Frequent rainstorms bring beautiful flowers but standing water also makes the roads slick and could hurt your eyes. We will discuss several ways to drive safer and reduce eye strain while driving.

10 Things You Should Never Do While Pumping Gas

Whether you fill up your gas tank just once a month or several times a week, safety should be top of mind when you’re at the gas pump. While static electricity-related incidents at the gas pump are uncommon, there are some things you can do to stay safe when filling up. Here are 10 things to keep in mind when pumping gas.

Don’t Leave the Engine Running

Make sure you put your vehicle in park and turn the engine off before pumping gas. You should also switch off any auxiliary 12-volt power sources such as phone chargers and cigarette lighters because, while rare, they can be a potential igniter of a fuel fire.

Don’t Get Back in Your Vehicle

Don’t get back in your vehicle when re-fueling. A small amount of static electricity can build up and cause a spark when you touch the metal, which could be dangerous when mixed with gasoline vapors.

Don’t Use Your Cellphone

Gas stations are busy places. While you probably won’t cause an electrical spark when using your cellphone around a gas tank, you should avoid using your phone so you stay more alert and focused on what you are doing.

Don’t Overfill

Stay alert and be sure not to overfill your gas tank. Most fuel tanks shut off automatically when the tank is full, so trust the tank so you don’t end up spilling gasoline everywhere.

Keep Gas Off Skin, Eyes

If you do get gasoline on your skin, wash the affected area in lukewarm water and soap. If you get gas in your eyes, according to the Mayo Clinic, you should flush them with tap water for at least 15 minutes and remove contact lenses. Avoid rubbing your eyes.

Keep Children in the Car

While you should stay outside the vehicle when pumping gas, children should be left inside the car. Not only will this help them stay away from toxic fumes, but it will help you keep your attention focused on what you’re doing.

Of course, never leave children alone in the car if you have to walk away from the pump.

Don’t Smoke

Never smoke around the gas pump. And this should be obvious, but never ignite lighters or light matches anywhere near a gas pump.

In Case of Fire

If you do experience a fire when refueling, back away from the vehicle. Leave the nozzle in place and notify a gas station employee right away.

Use the Right Container

If you are filling a container with gas, make sure it is an approved portable container. Leave it on the ground when filling and then place it in the vehicle. Make sure the cap is tightly closed and remove the container from your car as soon as you reach your destination.

Transport Gas Safely

If you are transporting gasoline in a portable container, make sure it is secure in the vehicle so it doesn’t tip over and spill. You should also never leave gasoline in sunlight or in the trunk of a vehicle.

WHAT CAN CAUSE HEAVY STEERING?

Heavy steering can be an irritation. But not only can it require more strength to turn your wheel, the causes behind heavy steering mean it could be impacting the safety and performance of your vehicle, too. Learn what can cause heavy steering and solutions to avoid it from our detailed guide.

What is heavy steering?

Heavy steering refers to when the steering wheel of your vehicle becomes stiff, making it difficult to turn. This can be caused by a number of things, such as tyre pressure, lack of fluid oil and tyre alignment. Heavy steering means that it is more difficult to steer your vehicle, and the performance of the car can be compromised by a stiff, unreactive steering wheel.

Steering wheel hard to turn? Learn why

So, what causes heavy steering? Some of the most common reasons behind why your steering feels heavy can include:

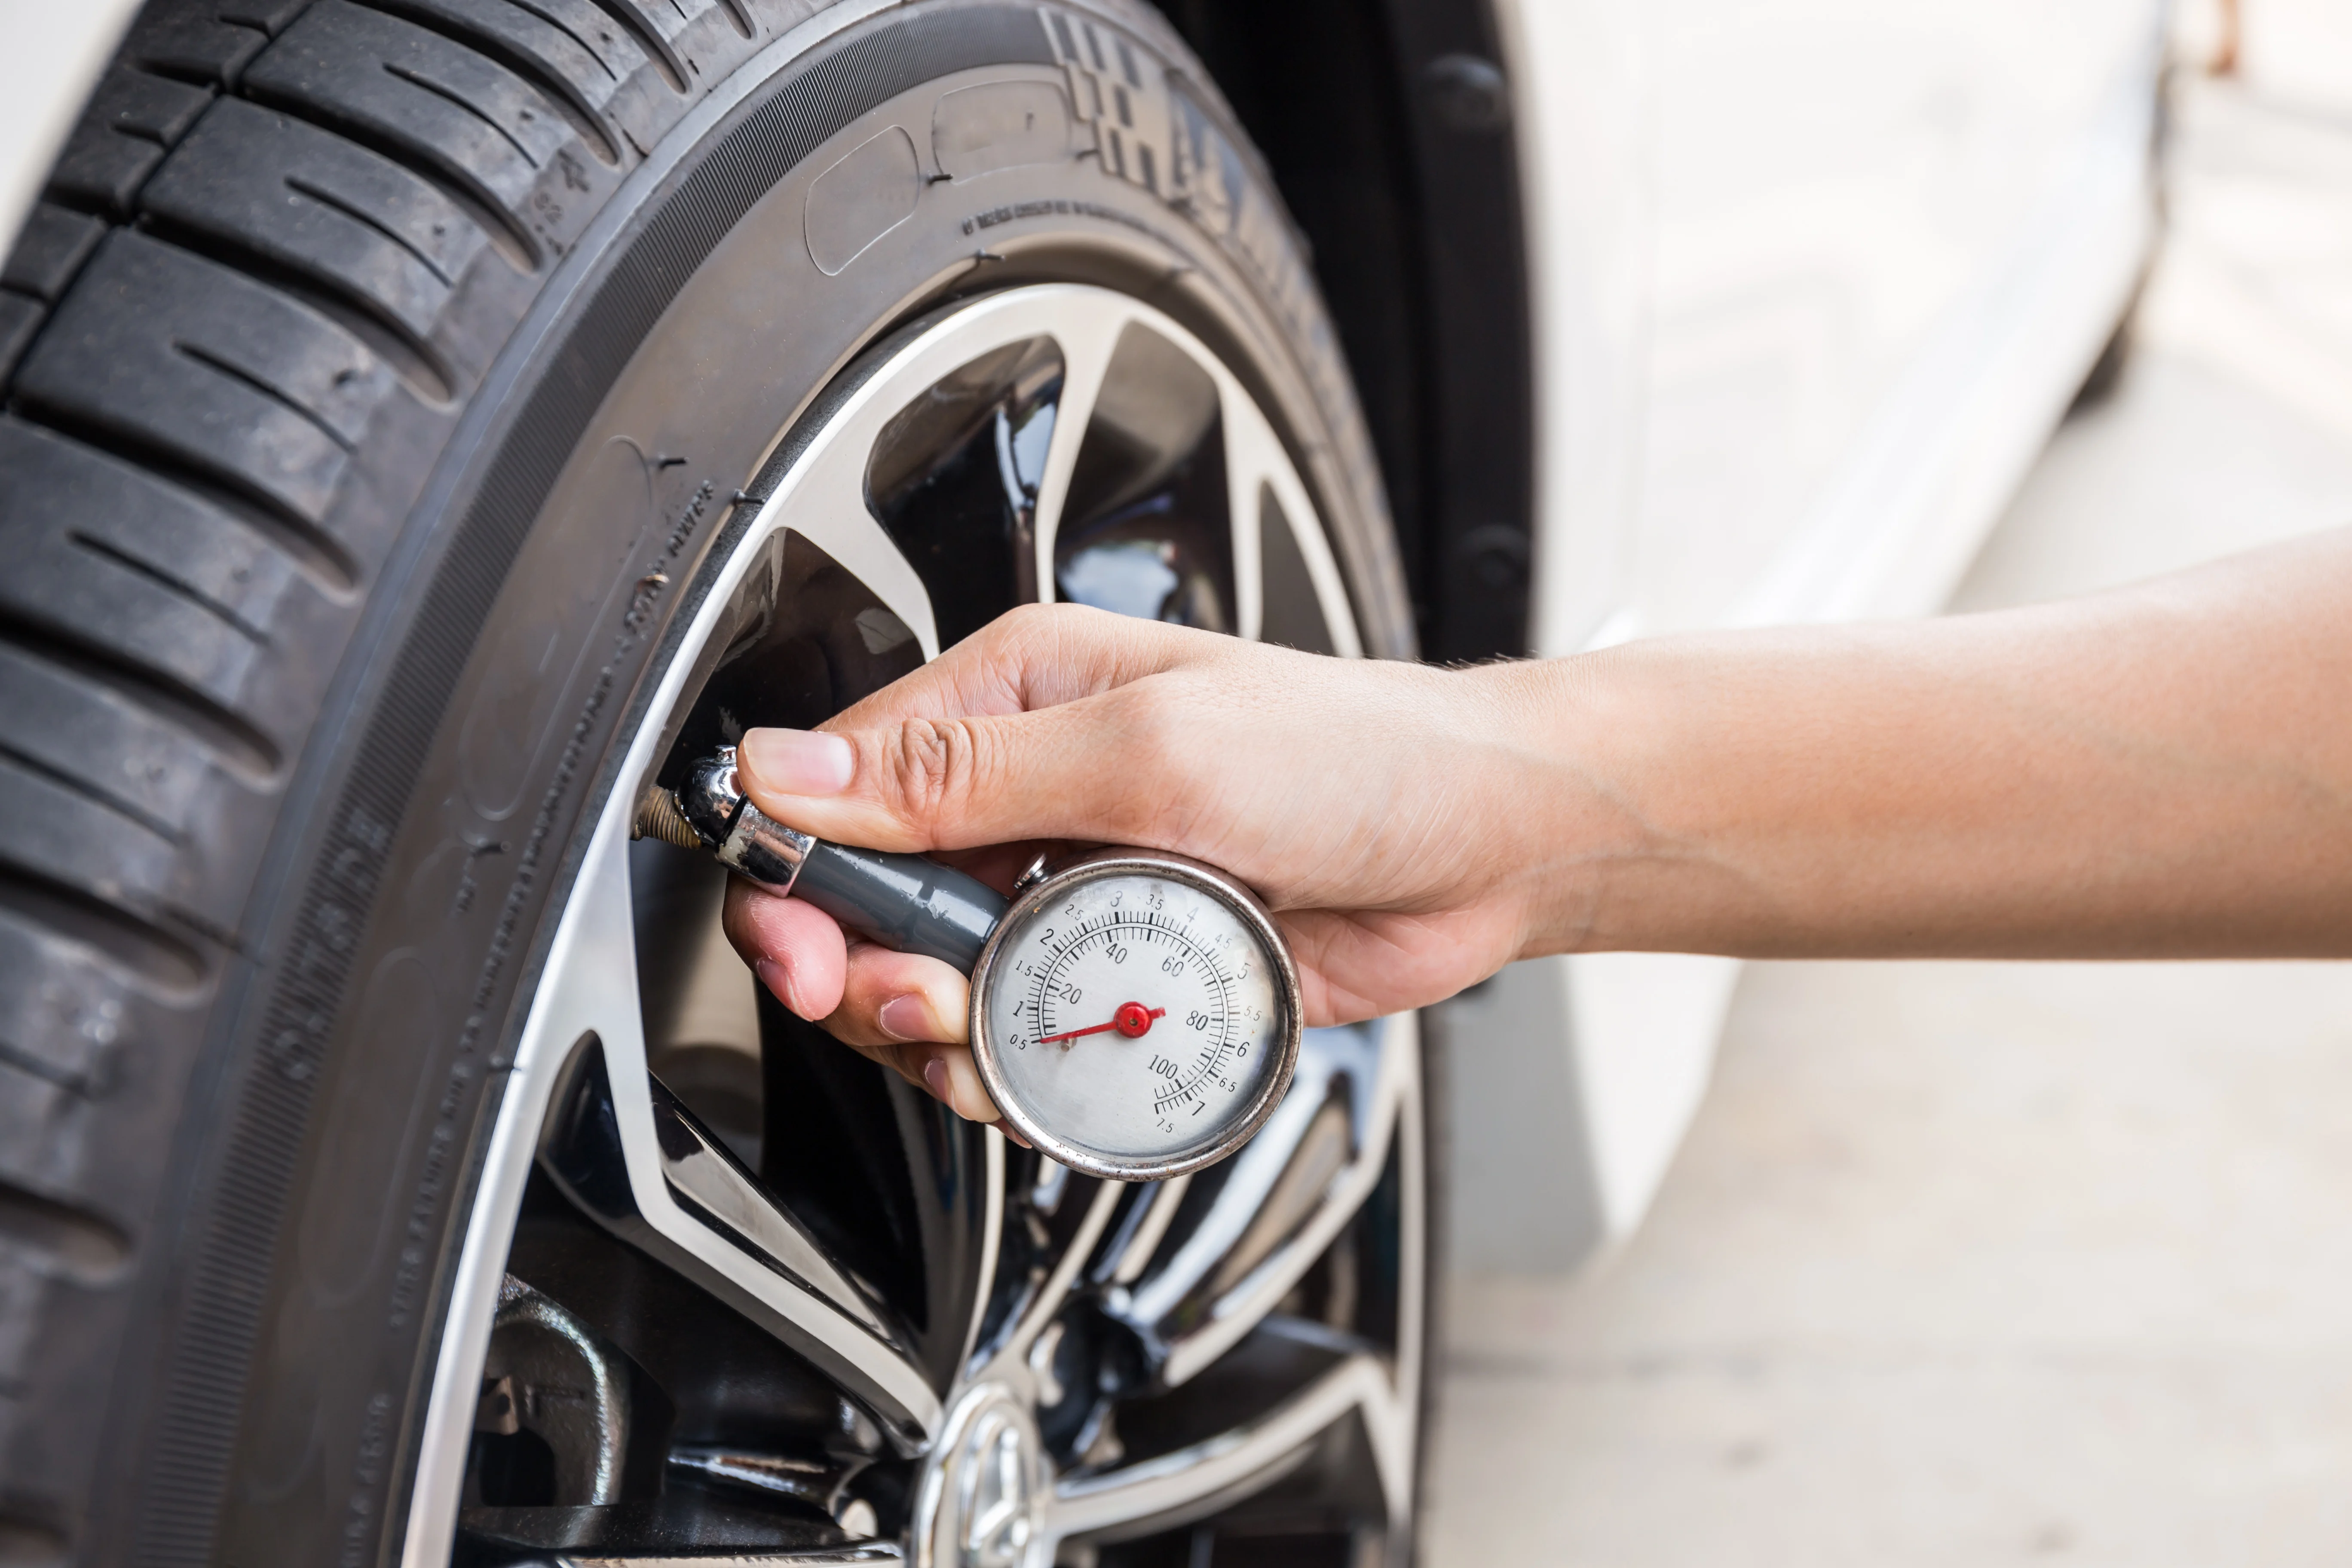
  • Tyre pressure – often, if your tyres are not pumped up to the recommended air pressure, this can cause heavy steering. This is especially common in underinflated tyres, as it can mean the grip between the tyre and the road surface is compromised due to incorrect tyre pressure, and steering becomes more difficult.
  • Wheel alignment – if your wheels are not aligned properly, this can also affect steering. If the front-end alignment is out of place, this can lead to uneven tyre wear on the front tyres – making the vehicle pull to the side, which can create heavy steering.
  • Lack of fluid oil – lack of fluid oil in your vehicle, or a fluid leakage, can lead to heavy steering. If there is a lack of fluid oil, or a leak, this can reduce the pressure in the system, meaning the steering wheel does not receive enough supply of fluid to perform freely.
  • Thick fluid oil – on the other hand, thick fluid oil can lead to problems, too. Powering steering fluid can collect debris and dirt over time, which can mean it becomes too thick to flow freely and lubricate all parts of the system. This is a common cause for heavy steering at low speeds.
  • Irregular servicing – when was the last time you booked in for a car service? Without having your vehicle regularly serviced, it means important checks, like the above, will get missed, and you’ll be unaware that you have a problem.

How to avoid heavy steering wheels

However, heavy steering is preventable in some cases. A few of the ways to avoid issues with your steering can include:

  • Checking your tyre pressure
  • Identifying any tyre damage that could be affecting steering
  • Checking wheel alignment
  • Checking the fluid level of your vehicle
  • Booking in for your car service

What the Color in Your Exhaust Means

If you own a car with a modern diesel engine dated 2008 or newer, your vehicle shouldn’t emit any smoke while your vehicle is running. Modern diesel engines have exhaust after-treatment systems that prevent this from happening. Even older car engines dated pre-2008, which do not have exhaust after-treatment systems, should emit only a small amount of smoke. 

A little white smoke isn’t anything to be worried about. You’ll likely see white smoke shortly after you start your engine during colder temperatures. After a few minutes, your engine will reach its average running temperature, and the smoke should dissipate. Other than this scenario, you shouldn’t see any other smoke come from your exhaust. If you notice smoke of any color coming from your car’s exhaust, take your vehicle in to see a mechanic who specializes in diesel and auto repairs.

Different colors of exhaust smoke are indicative of different issues. Learning what different smoke colors mean will help you better identify your engine’s problem. Let’s take a look at the most common smoke colors and the issues they represent. 

Black Smoke

If your car emits smoke that is black or dark grey, there is partly-burned fuel blowing out of your car’s combustion chamber. If your car’s fuel is only burning partially, you may have overloaded fuel into your vehicle. Black smoke is also a sign that your car engine doesn’t have enough air for proper combustion. This may also mean that there isn’t enough time given to burn the fuel.

When your car emits black smoke, you may notice that your car is lacking power or that you’re having problems with fuel economy. Taking your car in for repairs will help to alleviate these issues and improve your engine’s performance.

White Smoke

White smoke is a result of unburned fuel particles passing through your car’s combustion chamber and out of the exhaust pipe. As previously mentioned, white smoke is related to lower temperatures in the combustion chamber. When the chamber isn’t hot enough, some fuel particles fail to ignite. Don’t worry too much if you see white smoke in colder climates. Your car’s engine will warm up as you drive, and your combustion chamber will begin to burn all of the passing fuel particles. 

Blue Smoke

If your car emits blue smoke, there is engine oil burning in your combustion chamber. This could be due to worn out piston rings, broken valve sleeves, or failed turbocharger seals. In cases of blue smoke, auto repair professionals usually opt to run a compression test on the car’s cylinders. If the car passes the test, they then look into the car’s turbo intake piping to check for oil. 

THE TOP SEVEN BENEFITS OF WEARING A SEAT BELT

Depending on when you were born, you might remember from your childhood not being required to wear a seat belt or even having to be confined to the back seat. Even though seat belts were made mandatory equipment in vehicles in the late 1960s, there were no seat belt laws that required drivers and passengers to wear them. Those laws did not come into effect until the late 1980s and 1990s.

Today, wearing your seat belt should be second nature and a natural driving habit whenever you get into your vehicle. Even still, there are still some people who do not see the benefits of wearing their seat belts. Rather, they are placing themselves in greater danger because the vehicle’s safety systems will not protect them in the event of an accident.

What are the benefits of wearing a seat belt? It:

  1. It provides safety to everyone in the vehicle and other motorists. Seat belts save lives, and this is a fact that has been proven through countless studies and research, even if you have an older model vehicle without airbags.
  2. Keeps you in place during impacts. The seat belt keeps you in your seat, not thrown through the windshield, or thrown loose in the vehicle. Most people do not realize the G-forces created during impacts place great strain on the body and result in more serious injuries when seat belts are not worn.
  3. It is designed to work with your airbags. Airbags are designed to help keep you in place, along with your seat belt. If you are not wearing it, then the airbag system is ineffective.
  4. Keeps you from receiving a fine for not wearing one. As already mentioned, there are seat belt laws and, if you are caught not wearing one, you could be issued a traffic ticket, be required to pay a fine, and end up with the violation on your driving record.
  5. Reduces the risks of serious injuries and death. There are people who have survived major accidents where their cars have been totaled, yet they survived with minor injuries because they were wearing their seat belt. If they had not, they could have been seriously injured or, worse, died.
  6. Affects auto insurance rates. If you refuse to wear your seat belt and are getting traffic tickets for it, come renewal time your auto insurance rates could skyrocket because you are considered a high-risk driver—or your policy could even be canceled.
  7. Prevents your auto insurance from declining to cover damages in an accident for not wearing a seat belt. If you are in an accident, regardless of fault, your insurance policy may have a clause that states you will not be reimbursed for any damages, both personal injury, and vehicle damage, if you were not wearing your seat belt.

How Far Can You Drive on a Flat Tire

Have you ever encountered a case of a punctured tire and there is no place around to pull over and change the tire? How far can you drive on a flat tire? Fortunately, you can still drive a short distance before you cannot go any further.

Although driving with a flat tire is dangerous because it can cause damage to the wheel, there are still cases of force majeure. According to experienced car drivers, it is vital to go slowly, try to drive on flat roads, and come to a complete stop somewhere safe as soon as possible.

How Far Can You Drive on a Flat Tire

Never try to go more than a few miles with a puncture, even if the tire is not completely flat. You may need to go further than that to get to the tire changer. But at least, you can stay away from the dangers of the big road. Remember to slow down and pull over to a safe place as soon as possible.

  • You can change your tires almost anywhere. So, do not find a private parking spot for your car.
  • Make sure your safety before worrying about car repair.

Driving a Car with a Flat Tire

1. Drive slowly

Do not try to go faster than 15 mph to 20 mph with flat tires. Going fast can cause permanent damage to the wheels and can cause you to lose control of the wheel. Gently press the accelerator pedal and go slowly until you find a suitable place to change the tire.

  • Driving at high speeds will only damage the wheels faster because high speeds can expose the wheels to greater forces without the tires protecting them from rough patches or road debris.
  • If you are going downhill, let the vehicle go down gently by inertia with one foot ready to brake.\

    2. Choose the terrain when driving with flat tires

    Stay away from potholes, slippery slopes, or rough, cracked roads. Bad pavement can damage the rims, bending and deflecting the rims. Pay attention to wet or sandy terrain that can cause the vehicle to slip, sink or get stuck. Asphalt roads, parking lots, or highways are the best terrain options for cars with a flat tire.

    3. Going straight is best

    Do not take zigzag or winding roads when looking for a place to change tires. Instead, go slow, straight, and turn gently. Remember to find the straightest path to take.

    • Keeping the wheels running can help combat wheel traction. But do not push too hard if it could interfere with your ability to drive.
    • Fast and sharp turns can put pressure on the rims.

      4. Quickly to a safe place

      When you have the opportunity, get off the main road and head to a place with less traffic. Make sure the vehicle comes to a complete stop. Then, pull the handbrake and turn on the emergency lights to alert other drivers that your vehicle is in trouble.

      • Park the vehicle on a level surface in case that your vehicle will need to use a lift rack.
      • Do not get out of your vehicle if you are unsure of the traffic conditions on the road.

HOW TO REMOVE CAR DECALS WITHOUT DAMAGING PAINT

s there a bumper sticker or decal on your car that you wish to remove as though it was never there? Luckily, stickers and decals don’t last forever, even if they’re placed on your car’s paint. Eventually, whether you still like the sticker or not, it starts to fade and wear down.

If you take the right steps, you can carefully remove the sticker from your car without causing damage to your car’s paint. While there are a variety of products that can remove the adhesive and make the decal vanish, not all of them will leave your car’s paint unscathed. So, follow these steps closely to make sure your paint job stays protected.

1. Clean It With Soapy Water

Dirt and debris on and around the decal can scratch your car’s paint when you start rubbing off the adhesive residue, so you’ll want to clean it beforehand. Get a cloth or a sponge and some soapy water, and wash the decal and the surrounding area. Or, you can plan to remove the decal after you run through a car wash.

2. Heat It Up

The next step is to heat up the car sticker or decal to weaken and loosen the adhesive. The best tool for the job is a hair blow dryer, as a heat gun is too powerful and could damage your paint job. Find a heavy-duty extension cord if you need to, and set the hair blow dryer to its highest heat setting. Distribute the heat evenly throughout the sticker and be sure to heat the edges of it. Give it a good two minutes of heating before you stop.

Your next best bet is to pour boiling water over the decal to heat the adhesive, but this is a little messy (and hot), and you may need to do it several times to get the job done. However, it will work if you don’t have a hair blow dryer on hand.

3. Peel It Off

You’ll want to do this step immediately after heating up the decal. Have a plastic card on hand, like a rewards card or an old debit or credit card. Whatever you use, it should be plastic, as knives and razor blades can easily scratch the paint. A plastic card is strong enough to release the decal from the paint if you’ve heated it up sufficiently. Use it around all the edges of the decal with the card to try and release it from the car. Once you’ve used the card to release the edges of the decal, you should be able to peel it off using your hand.

4. Use A Glue Removal Product Or Vinegar

Most likely, once the car sticker or decal is off, you’ll still have some adhesive residue on your car. This is perfectly fine because there are plenty of products at your disposal that can get rid of it without hurting your paint. If you have some white distilled vinegar in your kitchen, grab that and apply it to a cloth to rub off the adhesive residue. Or, use an adhesive remover product like Goo Gone, which is a little more heavy-duty. Apply the product to a cloth and rub it onto the area, or follow the instructions on the product label.

5. Wash And Dry The Area

Wash the area with soapy water to remove any residue from the adhesive remover product and to ensure the area is ready to be waxed. Before waxing, make sure the area is completely dry.

6. Wax It

Waxing the area will protect the paint now that the decal is removed and the paint is exposed. Apply a layer of car wax by following the instructions on the product label.

Car Stickers & Decals Done Easier

While it can be done without damaging your paint, there are a lot of steps involved in removing a bumper sticker or car decal. Next time you want to apply something adhesive to your car, there are some tricks you can use that will make the removal process a lot easier in the future.

First of all, if you place the sticker on your rear window instead of on the bumper, you’ll be able to get it off more easily and won’t have to worry about damaging the paint behind it. If you’d rather have the decal positioned on your bumper, you can affix it to a bumper magnet, which can then be put on your vehicle’s bumper. Instead of having to remove adhesive, you can simply remove the magnet whenever you want. If you do place a sticker or decal directly on your car’s paint, be sure to wash, dry and wax the surface before applying it, so that the paint is protected and the removal is easier.


(https://accuratesigns.net/)

Tips for Driving on the Highway for the First Time

Driving on the highway for the first time can be nerve racking, which is why it’s common for new drivers to only navigate local roads until they gain enough real-world experience to venture onto the interstate. Once a new driver is ready to take on a highway, being fully prepared can help a beginner make a smooth and safe transition from local roads to the interstate.

Here are some highway driving tips that new drivers should consider before driving on the highway for the first time.

1. Pick the right time to start driving on the highway

If you’re planning your first highway drive, you want to pick the right time and place. Consider starting off on a highway that isn’t too busy, or during a time of day when less drivers are on the road. You also want to drive on a bright, clear day without any rain, snow or fog that could decrease visibility.

2. Start off driving in the right lane

When you’re driving on the highway for the first time, you should only drive in the right lane. Young drivers really have no business heading into the left lane, which is intended for passing. “Staying in the right lane will help them interact with traffic coming onto the freeway, and they’ll maintain their speed easier there,” says Maria A. Wojtczak, who owns and operates DrivingMBA, a driver’s-ed business in Arizona.

3. Leave enough space to change lanes

Establishing proper speed and distance remains key to managing a lane change on an interstate. Drivers should leave four to six seconds-worth of space between their car and the vehicle in front of them as they maneuver. You should also routinely check the rear-view, side-view mirror and blind spot before switching over. More space means you have more time to avoid a collision or react to debris on the highway.

4. Use turn signals when merging and changing lanes

Young drivers must get in the habit of using their blinkers constantly, even if they believe their intentions are obvious. “Blinkers are the only way we have to communicate with other drivers,” says Chris Duquin, owner of Stevens Driving School, which has several locations in the state of New York. “It’s amazing how often drivers cause problems by not using them on highways.”

5. Keep a wide viewpoint

Newer drivers tend to stare at what’s right in front of them. But highway speeds and unpredictability demand a wider viewpoint. “They need to look closely in front of their vehicle, but also farther down the road and into the rear-view,” Duquin says. “Good drivers continuously adjust their observation points.”

6. Keep your cool while driving

Learning to drive on the highway is about more than proper driving—it’s also about making sure a young driver’s maturity level is up to the task. “They must understand never to take anything personally, especially on a highway,” says Michael Soubirous, a retired California Highway Patrol lieutenant who now writes a local newspaper column in Riverside, Calif., called “On the Road.” “If someone cuts you off, let it go. You never know the mental state of the other party and maybe they simply made a mistake. Drivers are not perfect, after all.”

7. Stay focused on the road

According to the CDC, drivers under the age of 20 have the highest proportion of distraction-related fatal crashes. That’s why it’s crucial to stay focused on the highway. Don’t text on your phone, try to change music or be distracted by talking to friends while driving on the highway.

What to do if your accelerator sticks

It doesn’t happen often, but when a gas pedal sticks or malfunctions, the situation is frightening and extremely dangerous. In an instant, the vehicle can accelerate to full speed and become unresponsive to braking efforts.

Mechanical malfunctions — such as a faulty throttle, external interferences, a floor mat that wedges under the pedal — can contribute to this type of unintended acceleration.

What to do if your accelerator sticks

Below are some ways that may correct the stuck accelerator and help you to remain safe.

  1. Stay calm and try not to panic.
  2. Push the brake firmly with both feet and hold it down. Don’t pump the brake pedal or release it because you will lose all your vacuum power assist, causing your brakes to become stiff and very hard.
  3. Shift the car into neutral. If the car has a manual transmission, remember to depress the clutch to shift gears.
  4. Steadily hold the brake and look for an escape route, like a hard shoulder on the highway. Avoid quick lane changes, which could cause you to swerve and lose control of the vehicle. If possible, steer in a straight line.
  5. Do not turn off the engine unless shifting into neutral is unsuccessful. Turning off the engine will turn off the power-assist brake functions, making it harder to maneuver the car.
  6. When you have come to a controlled stop out of the way of traffic, turn the engine off (if you have not already done so). If you use a key, keep it in the ignition when you turn off the engine so the steering wheel doesn’t lock.
  7. If your vehicle has a start on/off button, hold the button down for at least three seconds to disable the vehicle. Do not tap repeatedly.
  8. Call for assistance. Do not drive the vehicle until it has been professionally serviced.

Common Car Dashboard Symbols

Today’s cars have many different dashboard lights designed to alert drivers to possible problems and to make sure you can take care of those problems quickly.

Here’s a quick guide to common car dashboard icons and what they mean.

1. Check engine light

In newer cars, the lit icon will look like an engine. It means the vehicle’s computer has triggered a diagnostic trouble code indicating there’s an issue. If it occasionally turns on and off, it’s an intermittent problem and you’ll just want to have it checked next time you take it in for maintenance.

However, if it stays on, it means there’s an ongoing problem – though it could be as simple as the gas cap not being closed tightly. If the problem continues, get the engine checked out. If the light flashes rapidly, the problem may be serious and you should get to a repair shop immediately.

2. Tire pressure warning light

This dashboard light looks like a tire with an exclamation point in it and means that the tire pressure in at least one of your tires is low and underinflated. You’ll want to check your tire’s air pressure immediately. You still should check your tire pressure once a month.

3. TPMS light

This dashboard light stands for Tire Pressure Monitoring System and when it comes on, there’s a problem with the monitoring system – probably a failed sensor in one of the wheels. Some people mistakenly believe this means the air pressure is low in the tires, but the TPMS is responsible for keeping track of air pressure in the tires; when it notices a tire is low, it triggers the low tire pressure light. If the TPMS light remains on, have the sensors checked during regular maintenance – and never rely solely on warning signals.

4. Oil pressure warning light

If you see a dashboard light that looks like an oil can, you need to pull over at the nearest gas station. This light signals the loss of oil pressure, and you need to check to make sure you aren’t losing oil.

5. Engine temperature warning light

A warning dashboard light that looks like a thermometer means the engine’s temperature is beyond the normal limits, and it should be checked immediately to keep your car from overheating. You’ll want to check the coolant level and make sure the radiator cap is properly sealed as well as look for coolant leaks. Always allow time for the engine to cool down before checking the coolant level, however, to avoid getting burned.

6. Battery charge warning light

When the dashboard light that looks like a battery comes on, your voltage level is below normal. It means the vehicle’s charging system isn’t functioning properly, so you need to have the battery terminals and alternator checked. If it’s an older battery, you may need to replace it. Learn more about when to change your car battery.

7. Brake system warning light

The dashboard light that looks like a circle inside a set of parenthesis with an exclamation point in the middle represents your brake system – and if it comes on while driving, you need to pay immediate attention to it. It could be triggered by driving with the parking brake on, but it can also mean you’re losing brake fluid.

If it comes on and off intermittently, and you don’t notice a change in braking ability, you should get it to a repair shop as soon as possible. But if it stays on there’s a problem that needs to be taken care of immediately, and you should have it towed to a repair shop.