There’s just no way around it — summer is hot! And with this seasonal heatwave comes the risk of an overheated engine. Luckily, your vehicle’s cooling system helps combat Mother Nature by keeping your engine at a cool, optimal temperature. One key component of the cooling system is radiator fluid. But what is it, and how do you check it? Let’s dive a little deeper into this important fluid.
Radiator Fluid Explained
So, what exactly is radiator fluid? Radiator fluid — also known as coolant or antifreeze — is usually a mixture of water and glycol. Water serves as the base, while glycol provides anti-freezing and anti-overheating properties. Radiator fluid can also include additives, such as corrosion inhibitors and lubricants, to help maintain the cooling system’s integrity and improve its overall performance.
Ultimately, the radiator fluid primarily regulates the engine’s temperature by transferring heat away from the combustion chamber. Here’s a quick rundown of how it works within the cooling system:
- A water pump circulates radiator fluid through the engine, absorbing excess heat.
- The radiator fluid then travels through hoses to the radiator, dissipating it into the surrounding air via the cooling fan.
- Then, the thermostat regulates the radiator fluid’s temperature to keep it consistent for efficient engine performance.
If your radiator fluid is low or contaminated, your engine may overheat or seize up, causing serious damage to your vehicle and possibly leaving you on the side of the road!
How to Check Radiator Fluid: 9 Steps
An overheated engine doesn’t sound like fun, right? Regularly checking your coolant level can help prevent severe engine damage and save you quite a bit of cash down the road. If you want to tap into your DIY spirit, here are the steps for checking radiator fluid:
1. Wear Appropriate PPE
While checking radiator fluid doesn’t require any special tools, wearing gloves, safety glasses, and other Personal Protection Equipment (PPE) is highly recommended because the fluid can cause mild to severe irritation or burns if left on your skin.
2. Park Vehicle on a Level Surface
For accurate readings, park your vehicle on level ground. Also, wait for your engine to completely cool down — at least 30 minutes — since your radiator and fluid can get extremely hot.
3. Find Hood Release
After your engine is cool, locate your hood release and pull it to unlock your hood. It’s typically where your left knee is when sitting in the driver’s seat, but if you can’t find it, refer to your owner’s manual.
4. Locate the Radiator Reservoir
After you’ve opened the hood, locate the radiator reservoir, typically a white plastic tank near the radiator. Again, refer to your owner’s manual if you can’t find it.
5. Check the Coolant Level in the Reservoir
Look at the high and low (MAX and MIN) indicators on the side of the reservoir and check if the radiator fluid is between those two marks.
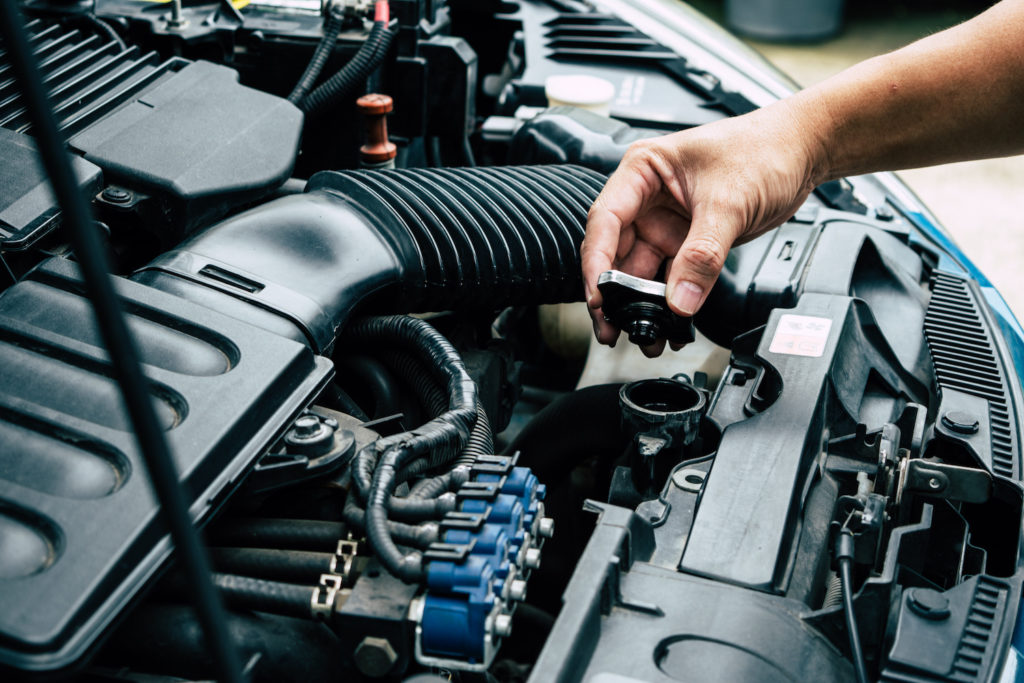
6. Inspect the Radiator Fluid
You should also open the radiator cap and inspect the fluid itself for contaminants and sediments. The fluid should be visible and have a bright color — e.g., red, yellow, green, blue, etc. However, if it’s dark, murky, or full of debris, you may need a radiator fluid exchange.
7. Top Off Radiator Fluid (If Necessary)
If your fluid level is low, top it off with more fluid. Check your owner’s manual for the correct fluid specifications, then use a funnel to pour the fluid slowly into the radiator or reservoir until it reaches low (MIN) indicator.
8. Close the Radiator Cap
After you’re done inspecting and/or topping off the fluid, close the radiator cap and ensure that it is secure enough to prevent leaks.
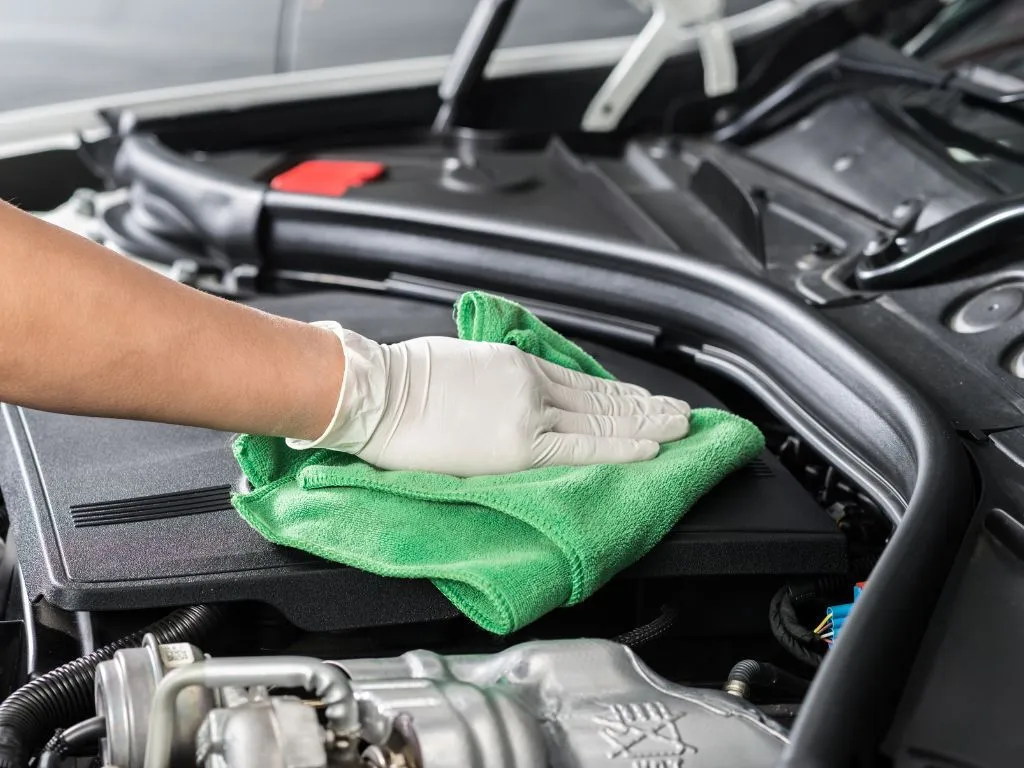
9. Clean Up
Check the area for any spills and clean it up. Radiator fluid is toxic when ingested, so it’s important not to let your children or pets access it.