The purpose of engine oil pressure oil is to measure the amount of oil pressure in your car to optimize fuel injection, ignition timing, and other critical engine parameters. This sensor plays a crucial role in your engine, so what are the common signs of a bad engine oil pressure sensor? Let’s find out the potential causes behind its failure and the implications it can have on the vehicle’s operation.
What Does The Oil Pressure Sensor Do In Your Car?
The oil pressure sensor also known as the oil pressure switch has the primary function of controlling the oil pressure within the car engine and sends data to the ECU or instrument cluster. From that, the driver can easily know the amount of fluid being pumped into the system. If the oil is pumped adequately, it will provide a good lubrication effect, reduce friction, and dissipate heat. Depending on the pressure level, the ECU will send a signal to turn on the warning light on the dashboard so that the driver knows and takes timely measures.
It’s clear that the oil pressure sensor has two obvious functions:
- Make sure the engine gets adequate oil pressure for proper lubrication.
- This sensor serves as a safety feature by warning the driver If the oil pressure drops below a certain threshold.
So, where is the oil pressure sensor located in your car? The oil pressure sensor is typically located near the engine’s oil pump or on the engine block, and it is connected to the engine control unit (ECU) or the instrument cluster.
3 Symptoms Of A Bad Oil Pressure Sensor You Should Know
As an important part of the car sensor system, directly affecting the starting and acceleration process of your car, the oil pressure sensor is required to operate correctly. If any problem occurs with this sensor, the ECU cannot do a good job of controlling the engine. A malfunctioning oil pressure can manifest in various signs. Here are the oil pressure sensor symptoms:
-
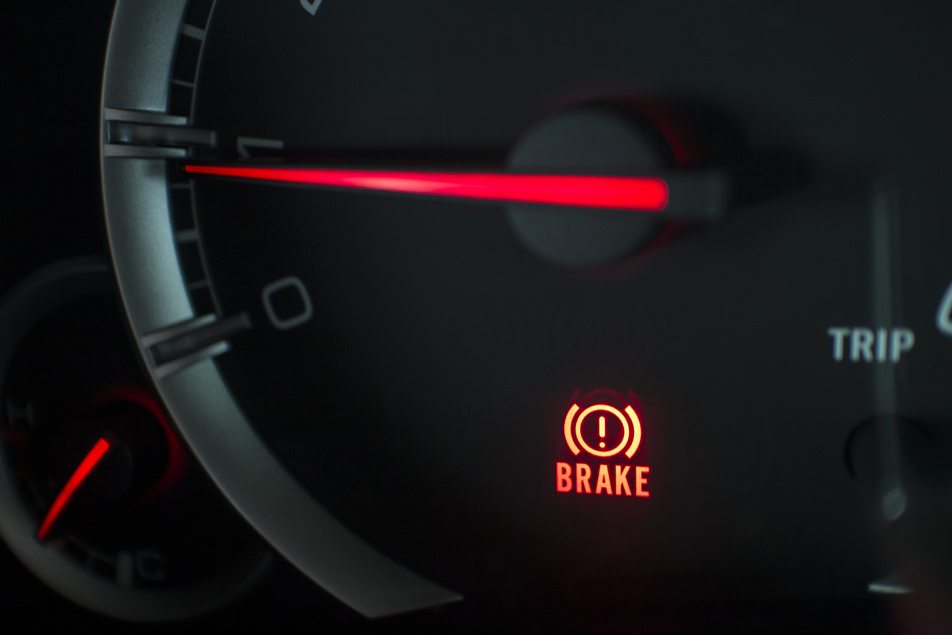
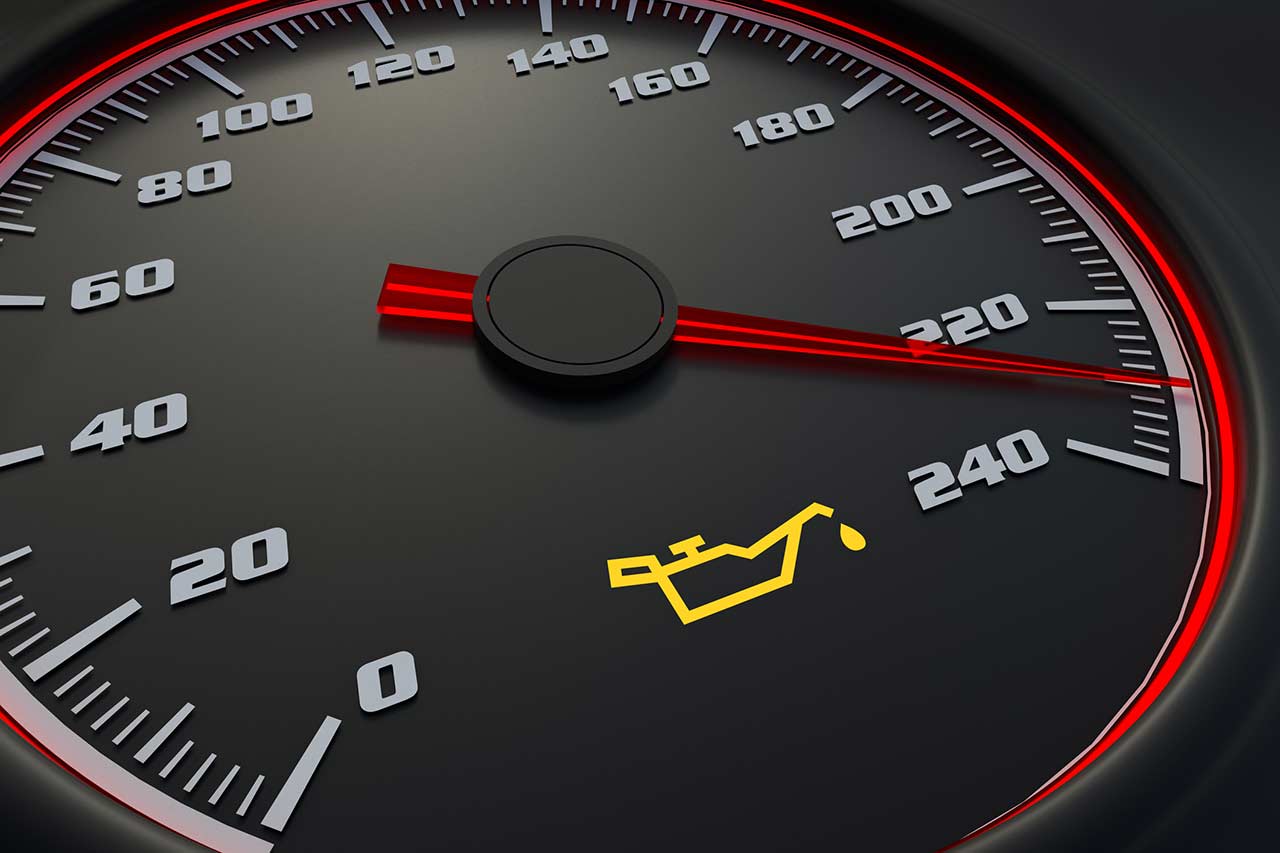
Oil pressure sensor light
One of the most obvious indications is the illumination of the oil pressure warning light on the car dashboard. This light typically looks like an oil can or an oil drop. If the warning light comes on but the engine oil is still at the standard level, the cause may be a faulty sensor. When this sensor malfunctions, the results obtained will be inaccurate. In some cases, it also indicates that the oil pressure has dropped below the recommended level.
-
Errors in the oil pressure gauge
Currently, most new cars are equipped with an oil pressure gauge on the dashboard to give oil pressure information to drivers. If you detect that the gauge shows a very low level of oil pressure or fluctuating readings, it means the oil pressure system is faulty. This affects the system’s operation, reducing the accuracy of displayed results. This is one of the common signs of a problem with the oil pressure sensor. Please note that a properly functioning oil pressure gauge should display a stable pressure within the normal range. Any deviations from the normal reading may indicate a problem.
-
“Check engine” light
The engine control unit (ECU) monitors various sensors, including the oil pressure sensor, to ensure the engine is operating within optimal parameters. If the ECU detects a problem with the oil pressure sensor, it may trigger the “Check Engine” light to alert the driver of a potential issue.
When the oil pressure sensor malfunctions, it may send incorrect signals or no signal at all to the ECU. As a result, the ECU may interpret this as a problem with the engine’s oil pressure and trigger the “Check Engine” light.
However, the “Check Engine” light can show off for various causes, so it’s better to have the diagnosis for trusted mechanics to retrieve the specific error codes stored in the ECU.
If diagnosis confirms that your oil pressure sensor is bad, there are several methods you can apply:
- Monitor the engine oil pressure: Make sure that oil pressure readings are within the normal range.
- Check the oil level: Inspect that the engine oil level is within the recommended range.
- Replace the oil pressure sensor If necessary
-
How To Replace A Bad Engine Oil Pressure Sensor?
Replacing a new oil pressure sensor is the recommended method If this sensor has an issue. Here is a general step-by-step guide to changing the oil pressure sensor you can refer to If you have a bad one:
Step 1: Prepare the necessary tools
Before starting the process, the car owner needs to gather the tools required for the job such as a set of screwdrivers, a soft towel, specialized glue, and a set of wrenches.
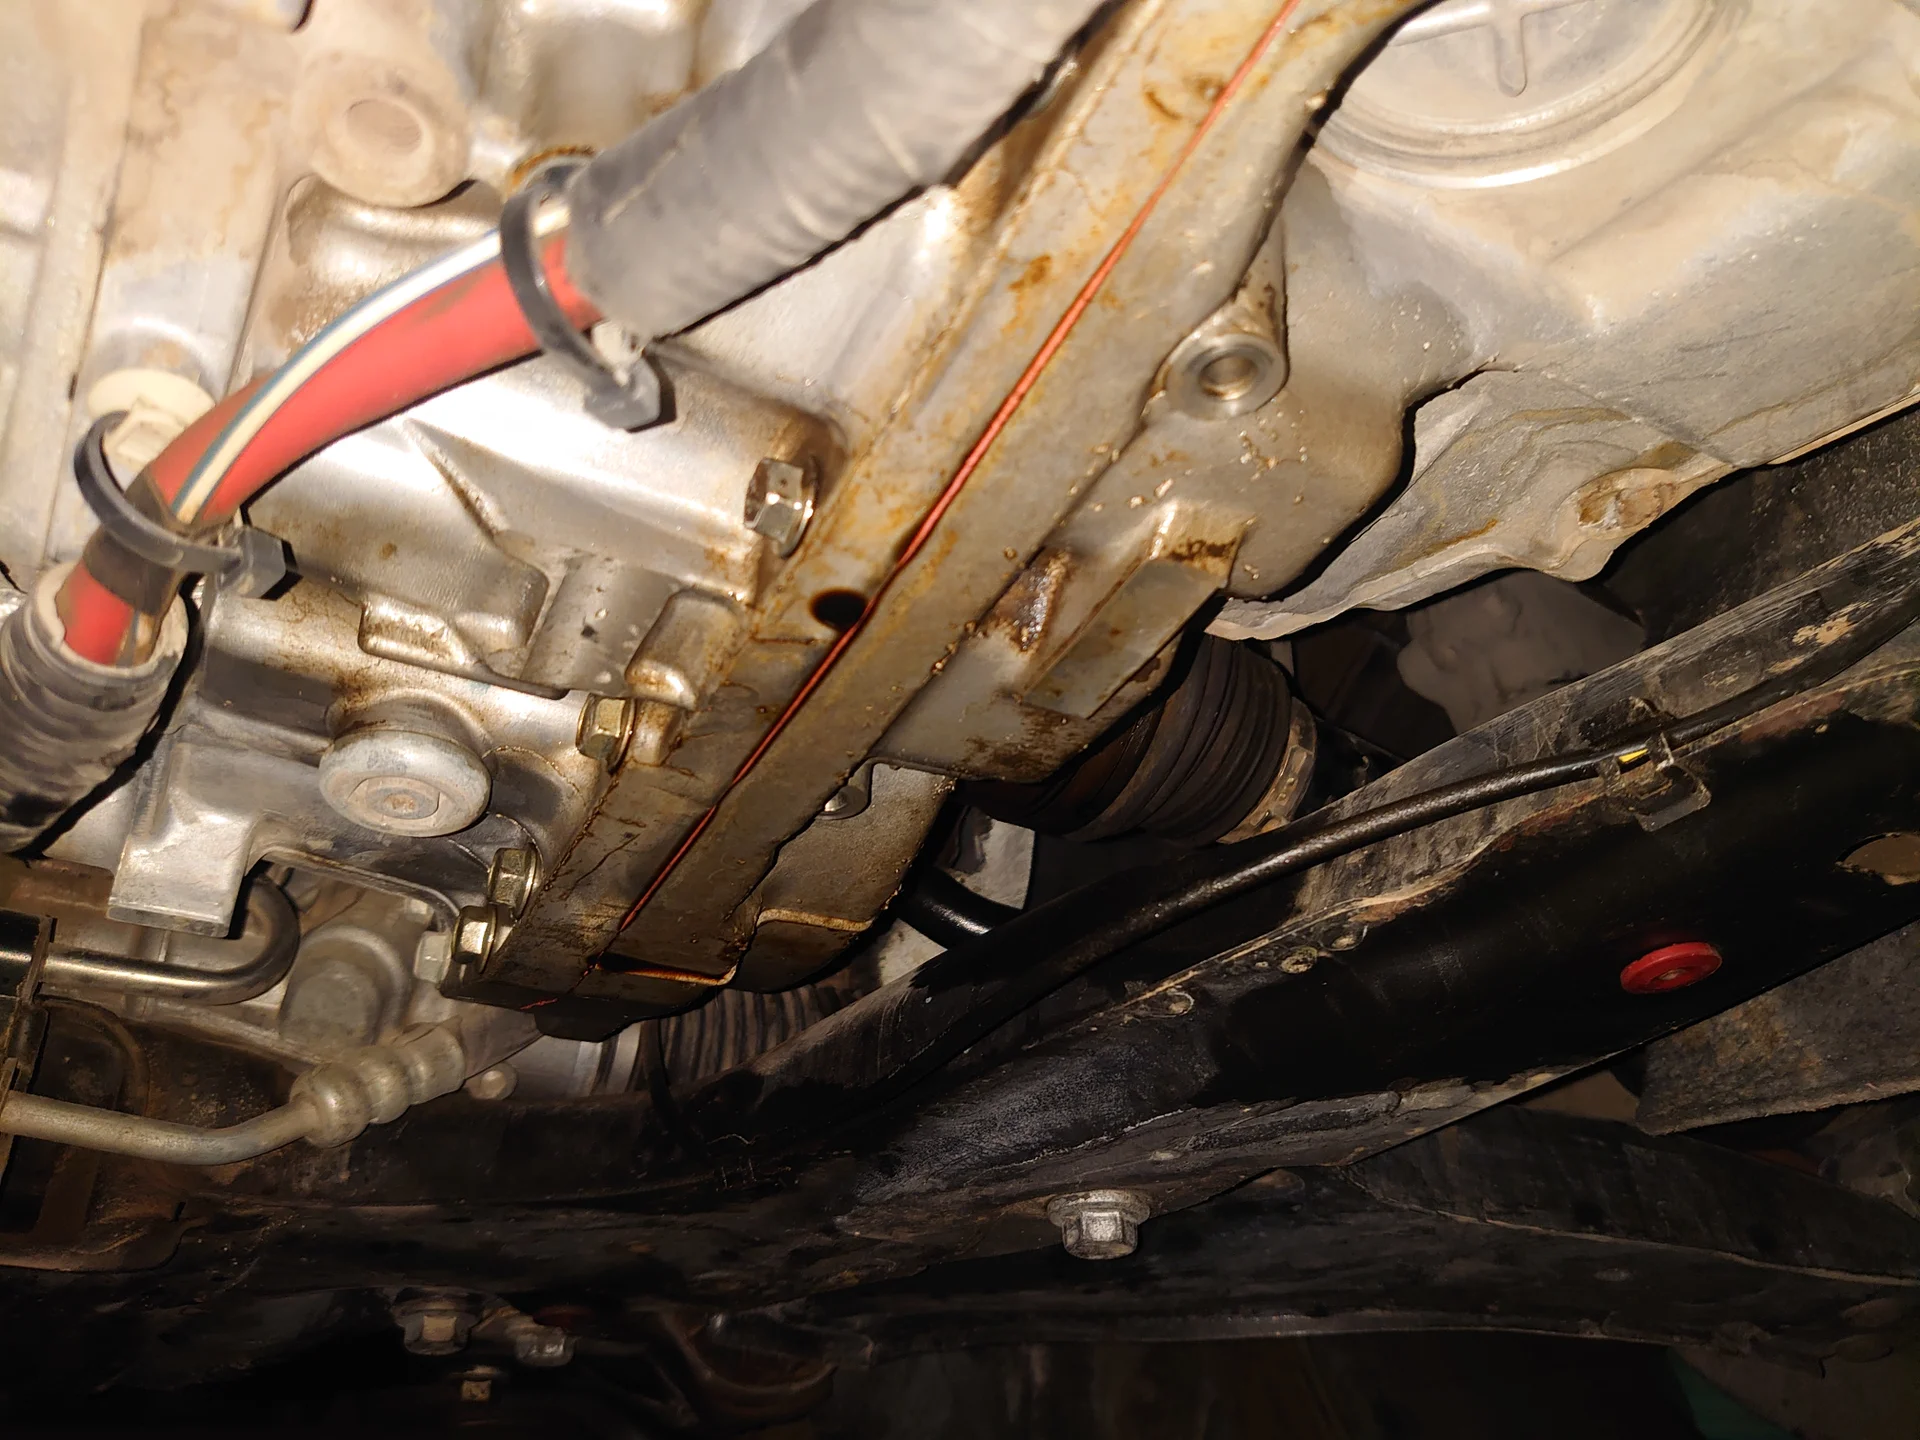
Step 2: Locate the sensor
Depending on the vehicle’s design, type, and engine structure, the location of the pressure sensor on each car may be different. Typically, this sensor is installed near the bottom of the cylinder head inside the engine block or oil pump. You can read the owner’s manual to know the exact position of the sensor.
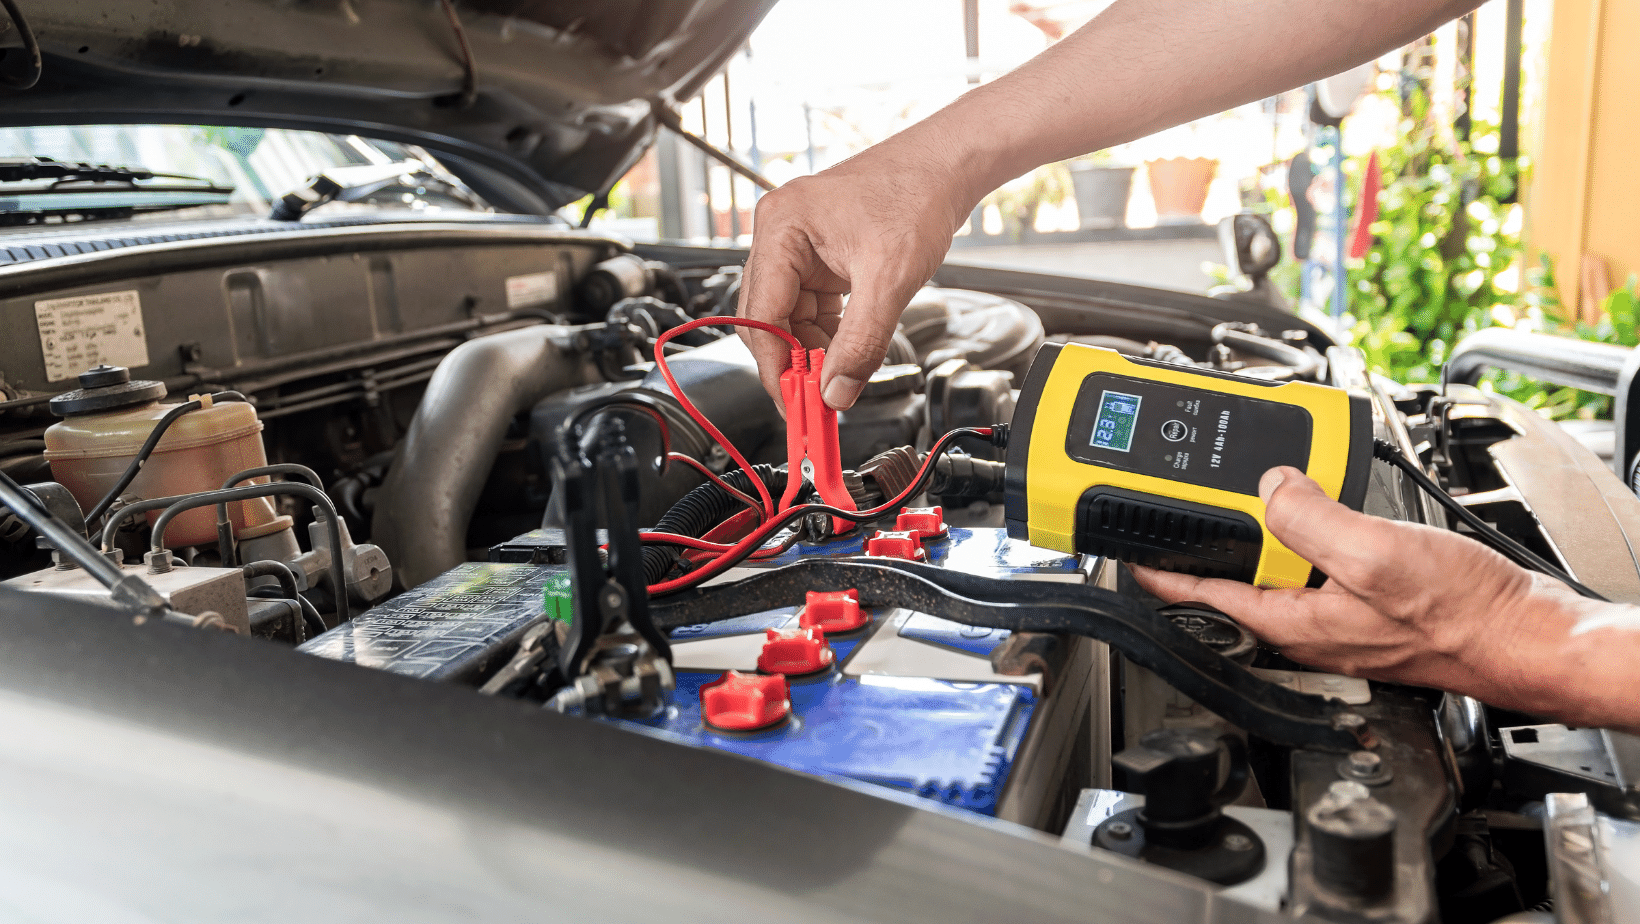
Step 3: Disconnect the car battery
To prevent any electrical accidents, disconnect the negative terminal of the vehicle’s battery. As the next step, you should carefully disconnect the electrical connector from the oil pressure sensor. You may need to press or squeeze a lock tab to release it.
Step 4: Remove the oil pressure sensor
Next, the driver needs to use a wrench or socket to remove the oil pressure sensor to inspect and determine the cause of damage. The oil pressure switch is installed where there is pressurized oil, so repairers should be extremely cautious when doing so. Take note of any sealing washers or O-rings that may need to be replaced.
Step 5: Replace it with a new sensor
After completing all these steps, you proceed to install the new sensor in the correct position and tighten it. Then, install the electrical connector after tightening it with a wrench. Attach the electrical connector to the new oil pressure sensor, ensuring a secure connection. Finally, the car owner just needs to start the engine and observe the oil pressure indicator to make sure the sensor is operating stably again. Additionally, check for any oil leaks around the sensor area.