As electric vehicles (EVs) become increasingly popular, many drivers are noticing that tire wear can be more significant compared to traditional gas-powered cars. While EVs offer impressive acceleration, environmental benefits, and lower maintenance costs, tire wear is a concern that shouldn’t be overlooked. Understanding the causes can help EV owners take proactive steps to extend tire life and ensure safety.
1. Increased Vehicle Weight
One of the primary causes of accelerated tire wear in EVs is their weight. EVs typically weigh more than internal combustion engine (ICE) vehicles due to their large battery packs. This added weight puts more pressure on the tires, especially during cornering, braking, and acceleration. Heavier loads increase friction between the tire and the road, which can cause the tread to wear down faster.
2. Instant Torque and Acceleration
Electric motors deliver power instantly, resulting in rapid acceleration. While this offers a thrilling driving experience, it can also lead to increased tire wear. The immediate torque can cause more stress on the tire tread—especially the front tires in front-wheel-drive EVs and rear tires in rear-wheel-drive models. Frequent hard acceleration can reduce tire lifespan significantly.
3. Regenerative Braking
Regenerative braking systems, which convert kinetic energy into electrical energy to recharge the battery, are a key feature of EVs. However, they also affect tire wear. Depending on how the regenerative system is set up, it may put more load on certain tires during deceleration, leading to uneven wear patterns if not managed properly.
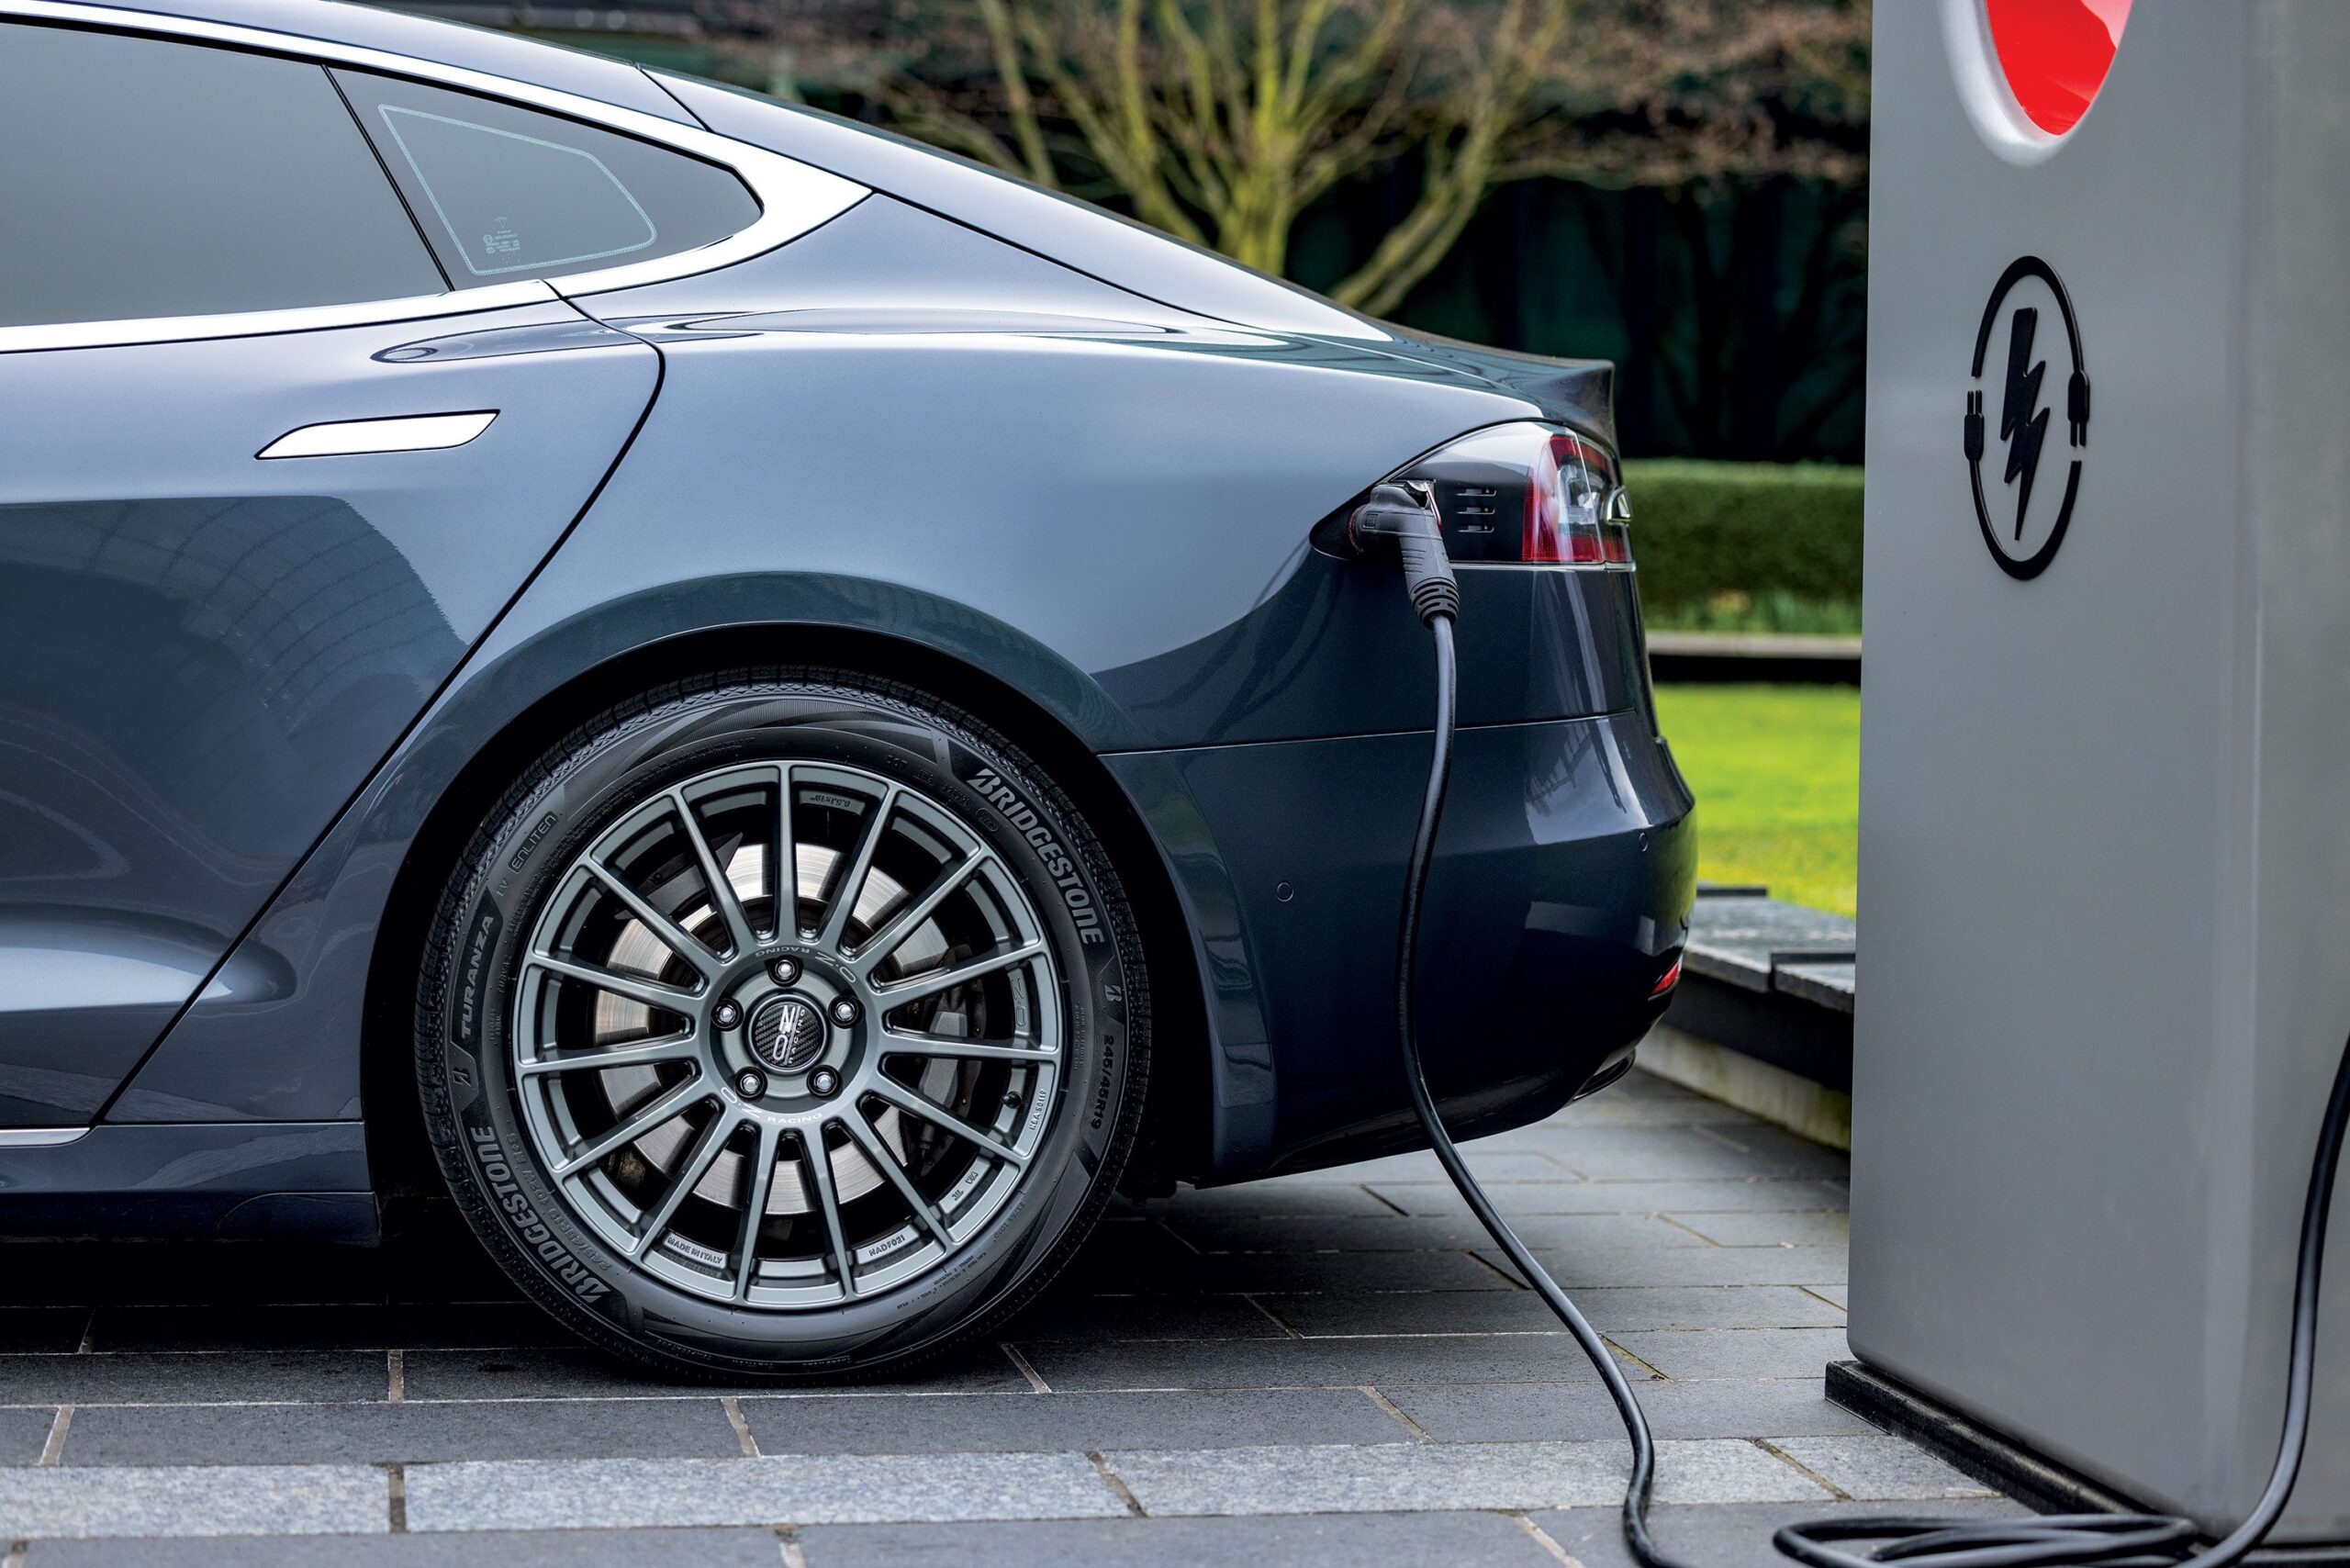
4. Tire Type and Design
Not all tires are created equal. Many EVs come equipped with low rolling resistance tires to maximize range. While these tires help improve efficiency, they often compromise on tread life and durability. Additionally, tires designed for EVs need to support heavier loads and withstand higher torque. Using standard tires not built for electric vehicles can accelerate wear.
5. Driving Habits
Driving style plays a significant role in how quickly tires wear down. Aggressive driving—frequent acceleration, sharp turns, and hard braking—can shorten tire life. Smooth and moderate driving, especially in urban environments where stop-and-go traffic is common, can help reduce the rate of wear.
6. Improper Tire Maintenance
Failing to regularly check tire pressure, rotate tires, and align wheels can result in uneven wear. Underinflated tires increase rolling resistance and cause more surface contact with the road, leading to faster tread wear. Because of the added strain EVs put on tires, consistent maintenance is even more important than with traditional cars.
7. Road Conditions
Just like with any vehicle, road conditions heavily influence tire wear. Potholes, rough surfaces, and uneven roads can contribute to irregular tread patterns and premature tire damage. EV drivers should be extra cautious because the added weight and instant torque amplify the effects of poor road conditions.