4 Ways to Show Your Car Some Love This Valentine’s Day

Valentine’s day is here, and that means it is time to pamper your true love with attention and affection. That means you may want to book a time at the car day spa for a fluid replacement and wash and wax. What are your date plans for your 4-wheeled love this Valentine’s day? No plans? Here are some ideas. Many people schedule annual, biannual or quarterly services for the new year, but this can cause scheduling problems because everyone else is doing it as well. Waiting until February, you are past all the new year’s schedules and can have an easier time getting service done, so schedule annual Valentine’s service and cleaning so your car is ready for the date.

Car detail

This is a simple way you can show your baby you love her. You can even do it at home. It is always a good idea to have a once in a while complete cleaning for your car. If you have a date for Valentines, you will want your car to be perfect for a special night, and if you don’t, you have nothing better to do than spend the day on a deep detail cleaning at the car wash! Single or not, it is a good idea.

Fluid replacement

Oil should be changed every 5,000-10,000 miles depending on the type of oil, so at the beginning of the year and then again before a summer road trip or 4th of July are good times for most regular drivers. Transmission, power steering, and differential oil every 3 years, so if you are approaching 3 years, now is a good time. Power steering fluid is recommended every two years, but some add it to an annual service because it is easy enough to all do at once. So, if your car is coming up on three or six years old, this is a definite for your to-do list.

Tire service

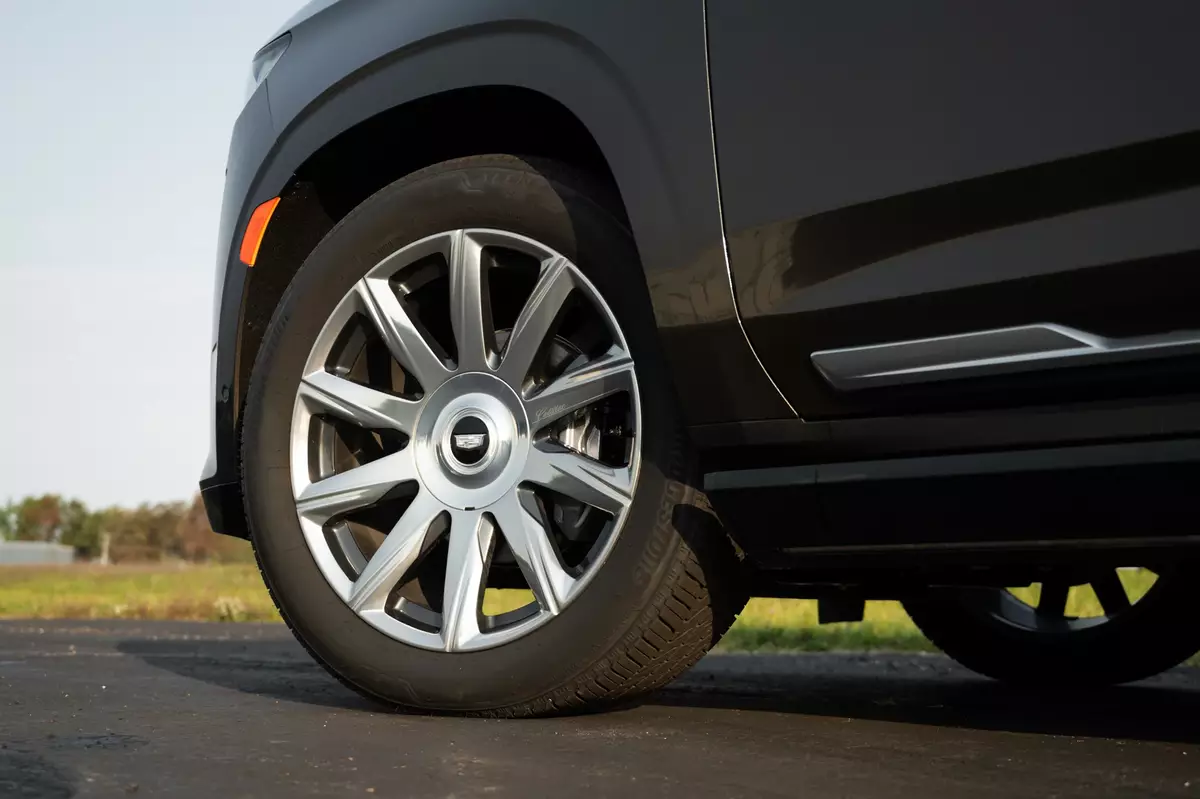
Tires need an occasional rotation as well. Most recommend every 5,000 to 10,000 miles, which puts it in at the same time as an oil change. So, while you are getting those fluids done, add a tire rotation to it.

Annual service

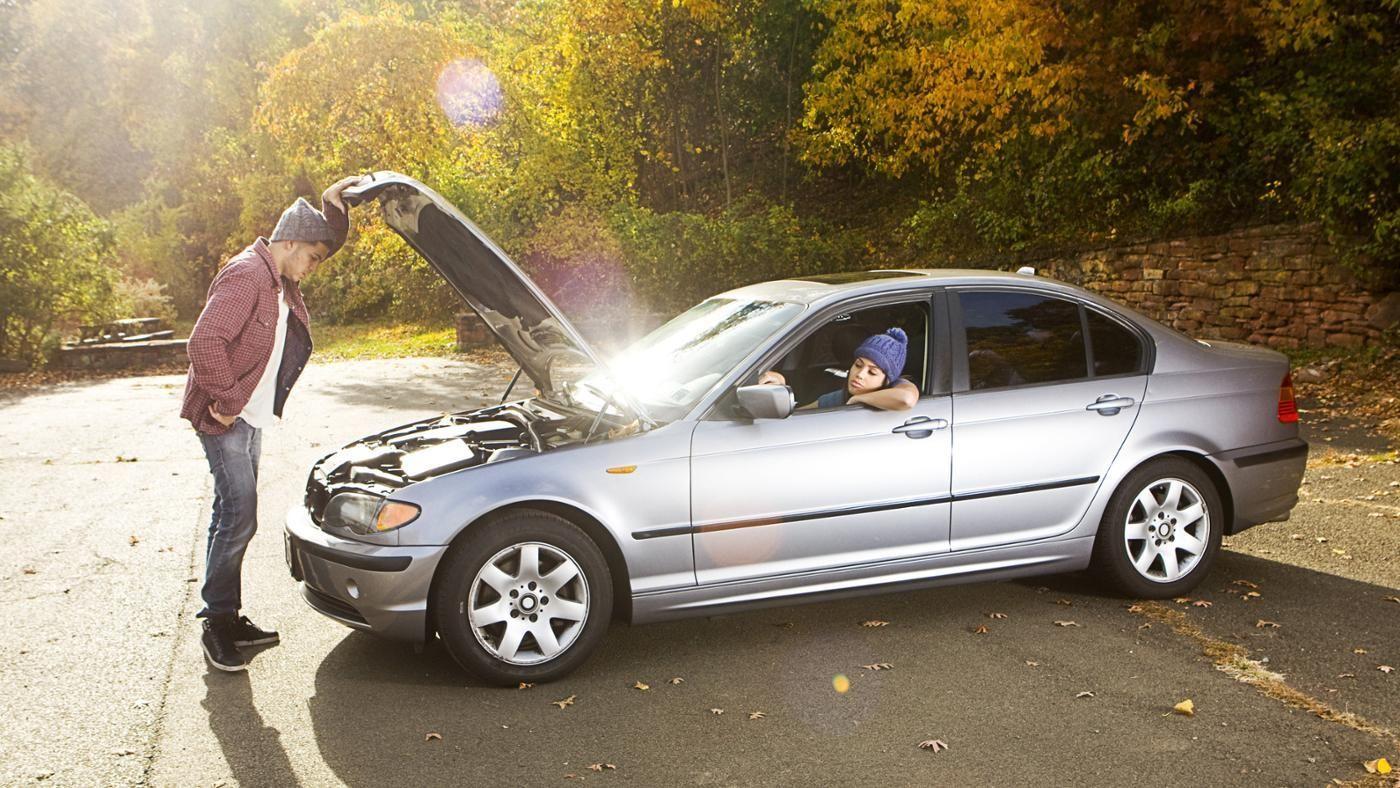
Any high-performance BMW, Mercedes or other vehicle needs an annual inspection. Recommended is every 10,000 miles. This is a good time to do many of our ideas mentioned here as well as have a full overall inspection for incoming problems. Make sure your electrical and other systems are in good shape and not wearing down. It is better to have an annual inspection and find something before it breaks than wind up on the side of the freeway a month later


8 Causes For Blue Smoke From Exhaust

Excessive blue exhaust smoke can present itself for several reasons.
Here’s what to look out for:

1. Blown Head Gasket

Blown head gaskets are famous for leaking excess oil onto hot surfaces.

Blue smoke indicates that lubricating oil has made its way into the hot exhaust system or other connecting engine parts.

2. Oil Leak

Oil leaks from engine components such as gaskets, worn engine oil seals, cylinder heads, and the engine block are common. Leaks can drip onto hot surfaces, like the cars exhaust and drivetrain, which causes burning oil.

When this happens, you can expect blue smoke and a nasty smell. You’ll likely notice this blue smoke when the car is idling or accelerating.

3. Oil Mixing With Fuel

Unfortunately, engine parts like a piston ring and valve seal don’t last forever.

If you don’t follow a rigorous oil inspection routine, the oil will do a poor job of reducing engine friction. Excessive engine heat or friction can damage a gasket and valve seal over time.

Damaged piston rings and valve stem seals will inevitably leak excess oil into your engine’s combustion chamber, allowing it to mix with the fuel.

When this mixture burns in the combustion chamber, it turns the normal grey exhaust smoke blue.

4. Stuck PCV Valve

Another likely cause for excessive blue exhaust smoke is a stuck positive crankcase ventilation valve (also called a crankcase breather).

The crankcase breather is responsible for releasing fuel pressure build-up in the crankcase. This fuel pressure is diverted into the intake manifold for fumes to be re-burned.

When the PCV valve gets stuck, it forces lubricating oil to mix with pressurized air and other gases. This fume mixture eventually gets burned, creating blue smoke.

5. Blown Turbocharger

If your car has a blown turbocharger and emits blue smoke, it’s not a coincidence.

You’ll likely notice a large blue cloud of smoke right as your turbo blows. This results from a damaged turbo casing or a broken oil seal inside the turbo itself. Both causes allow oil to seep into the engine’s air intake manifold, causing oil to mix with the fuel.

6. Faulty Transmission Modulator

Commonly found in older vehicle models, a transmission modulator controls shifting in vacuum-controlled automatic transmissions.

A faulty component in the transmission modulator, like a failing diaphragm, can cause the engine block to pull in transmission fluid.

Here’s the kicker.
Burned transmission fluid creates blue smoke!

7. Bad Glow Plug (Diesel car)

If your diesel car produces blue smoke during start-up, there’s a good chance you have a bad glow plug. Another common sign of a bad glow plug in a diesel engine is longer cranking times than usual.

8. Cylinder Head Valve Guide Issue

If you notice blue smoke happening during deceleration, you probably have a cylinder head valve guide issue.

This means that the valve stem (valve guide) is leaking oil out of the cylinder wall of the combustion chamber. Oil may drip from the valve stem onto the exhaust pipe, and in some cases, even the fuel injector.

Both instances result in either blue smoke or black exhaust smoke, depending on whether the oil has mixed with fuel or not.

With a firm understanding of the causes of blue exhaust smoke, we can now cover its diagnostics procedures.

5 Reasons Why Your Steering Wheel is Shaking

Many drivers are frightened when they notice a shake or vibration in their vehicle, but it’s important to avoid jumping to conclusions. Why is your steering wheel shaking, really? There are several potential issues at play; however, the most common cause is unbalanced tires. When your car’s tires are unbalanced, the steering wheel will often vibrate—the entire vehicle might feel like it’s shaking. Read on to learn more about the causes of a shaking steering wheel and how we can help!

f your steering wheel shakes, it can most likely be chalked up to one of the five following problems:


  1. Unbalanced Tires: When your car’s tires are unbalanced, weight distribution is also unbalanced. This causes the vehicle to vibrate, especially at highway speeds. In this case, steering wheel shaking is even more noticeable if the car has a lightweight suspension system. Failing to address this issue can result in damage to your car’s suspension components.
  2. Misaligned Wheels: Your car’s wheels also need to be properly positioned. If you’re usually careful when crossing railroad tracks and take care to avoid potholes, you can more easily avoid throwing your wheels out of alignment. One tell-tale sign that your wheels are misaligned is uneven tread wear.
  3. Bad Wheel Bearings: When the wheel bearings become damaged or aren’t properly lubricated, the resulting friction can cause steering wheel shaking. If this is indeed the problem, the wheel won’t shake all the time — just during turns. Sometimes, simply cleaning the bearings can stop the shaking, but if there’s damage, you’ll need to bring your vehicle in for service.
  4. Suspension Problems: Damaged or loose suspension components or an imbalanced driveshaft can be the causes of steering wheel shaking. Whatever the case, you shouldn’t postpone these repairs. They’re fairly simple fixes, and our team can have you back on Rye roads in no time.
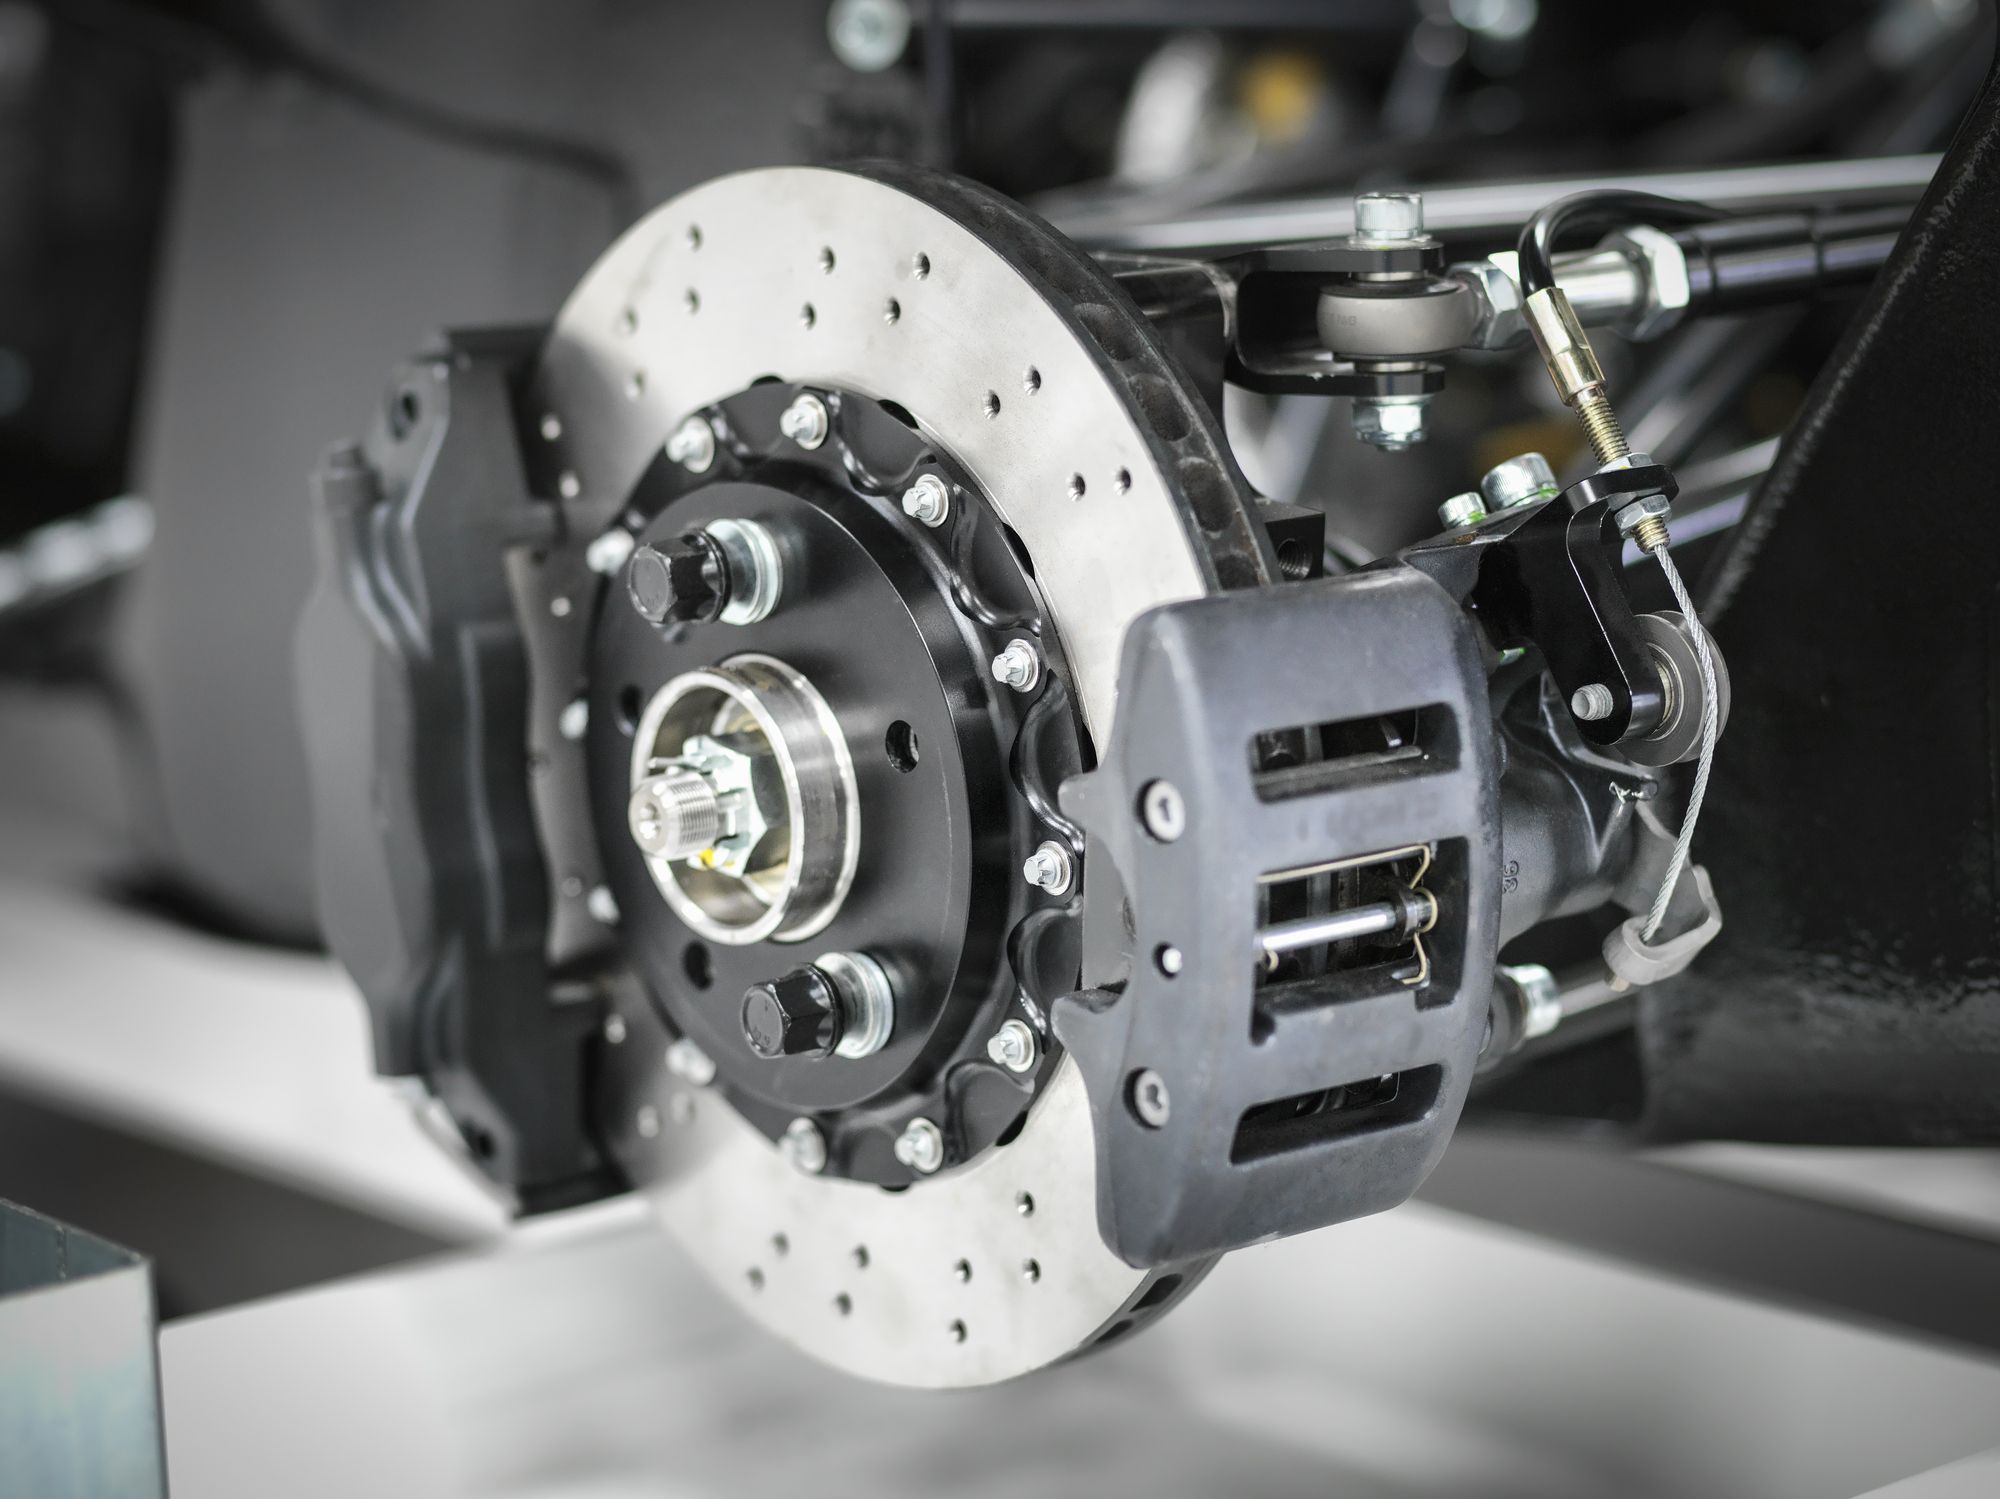
  5. Brake Problems: Does your steering wheel shake when you slow your speed? If so, the problem may be the brake system. Warped brake rotors or damaged brake calipers, pads, discs, or shocks can be the cause.

5 Ways to Extend the Life of Your Brakes

Despite that long lifespan, though, your brakes will eventually require maintenance. With that in mind, you may be wondering what you can do to extend the life of your brakes and avoid emergency repairs or maintenance.

In this blog, we’ll discuss the best ways to make your brakes last longer and keep your car safe.

Let’s dive in.

5 Ways to Extend the Life of Your Brakes

Want to make your brakes last as long as possible? Here are five maintenance tips:

1. Take it slow

When you drive fast, you cause lots of wear and tear on your brakes. Stopping a car traveling at 50 or 60 miles an hour generates a great deal of friction and heat on brake pads, which can cause them to break down rapidly.

Over time, this repeated heat can also cause the rotors to warp, leading to extensive (and expensive) damage to your braking system. Instead of driving like a lead foot, keep your speed low in heavy traffic and do your best to avoid sudden braking.

2. Use engine braking in hilly areas

Are you driving downhill? Hauling a heavy load? Use engine braking instead of your vehicle’s brakes.

In manual transmission automobiles or cars with a mode that allows you to manually shift gears, you can use engine braking (which uses the car’s transmission to down-shift and show the vehicle) to preserve your brake pads and rotors.

While engine braking is a great way to reduce brake burnout on steep hills or when hauling something heavy, it will not stop your vehicle fully, so you’ll need to supplement it with your brakes.

3. Invest in routine brake maintenance

Every time you take your car in for routine maintenance, have the auto repair shop inspect your brakes.

A good mechanic will examine your brake pads and rotors, flush and replace your brake fluid, and remove any debris that may be lodged in your brakes and causing damage.

These routine inspections are also necessary because they allow you to replace brake pads before they wear out completely. This, in turn, will save you money on brake repairs.

4. Reduce your vehicle’s weight

Whenever possible, remove additional weight from your vehicle. Sandbags, excess junk, and anything else that’s weighing down your car is also causing excessive brake wear. In addition to helping extend the life of your brakes, removing excess weight from your vehicle will also improve your gas mileage.

5. Practice defensive driving

Defensive driving involves surveying the surrounding area and anticipating potential driving hazards (like potholes) before you encounter them. It allows you to preserve your brakes by avoiding sudden stops, tailgating, and other activities that are tough on your car.


How to Drive Safely on Ice

Driving on ice requires extra caution! Here are some tips to stay safe behind the wheel:

  1. Slow Down: Reduce your speed significantly when driving on icy roads. It takes longer to stop or maneuver on ice.
  2. Increase Following Distance: Keep a safe distance from the vehicle in front of you. Sudden stops are riskier on icy roads.
  3. Gentle Movements: Avoid sudden acceleration, braking, or sharp turns. Make slow and deliberate movements.
  4. Winter Tires: Consider using winter tires for better traction on icy surfaces.
  5. Stay Informed: Check weather and road conditions before your trip. Plan accordingly and allow extra time for your journey.
  6. Brake Carefully: If you need to brake, do it gently. Use your brakes with steady, light pressure to avoid skidding.
  7. Stay Alert: Keep your focus on the road. Watch for icy patches, especially in shaded areas or bridges.

Remember, your safety and the safety of others are top priorities when driving in icy conditions. #DriveSafe #WinterDrivingTips 

How to Check Your Car’s Oil

Oil is the lifeblood of your vehicle’s engine. Making sure there’s always enough oil is the easiest way to ensure that you avoid catastrophic engine failure and the huge repair costs that go with it.

This is especially important if you’re driving an older vehicle. When a car’s odometer rolls past the 100,000-mile mark, wear on the engine can cause it burn off small amounts of oil every time you drive. That loss adds up, which can make the oil level go down too far between oil changes. High-mileage vehicles are also more prone to oil leaks. Both of those issues are reasons to check your oil regularly to gauge just how often you need to top it up.

Check your oil once a week for a month and you’ll know how quickly it gets depleted—or if it gets depleted at all. Once you know that, you can check it less frequently—say, once a month. Here’s how to check your oil:

Step 1: Prepare to Check

Be sure your vehicle is parked on level ground with the engine off, the transmission in Park (or the manual transmission in a lower gear) and the parking brake on. Lift the hood. If you don’t know how to do this, consult your owner’s manual.

Most vehicles have a hood-release lever under the instrument panel on the left side. There’s also a safety catch under the front edge of the hood that you’ll have to unlatch before you can raise the hood.

Step 2: Locate the Dipstick

The dipstick on most vehicles is easy to spot, as it has a small colored handle—usually yellow or orange—marked with an oil-can symbol.

Step 3: Pull the Dipstick

Pull the dipstick fully out of the tube that it’s housed in. It’s like pulling a sword from a sheath. Have a rag or paper towel ready and wipe any oil off of the end of the dipstick. At the tip of the dipstick you will see two lines: the lower one indicates that the oil level is one quart low. The upper line denotes that the crankcase (the car’s oil tank) is full. Some dipsticks are also marked with words like “full” and “add.”

Step 4: Note Oil Level

Insert the dipstick into the tube slowly and push it all the way down. Now withdraw it and look closely at the tip, which should have oil on it. If the level of the oil is between the two lines, your vehicle has enough oil. If it’s at the low mark or below, it’s time to add a quart.

Step 5: Wait and Re-check

Once you’ve added a quart of oil, wait several minutes for the oil to drain down into the crankcase and and then check it again to ensure that the level is at least between the high and low marks. The oil level does not have to be at the high mark for your engine to have enough lubrication to run safely.

Top Christmas driving tips

Driving during the festive season can be both joyful and challenging. To ensure safety and smooth travels amid the holiday rush, here are the top 12 Christmas driving tips. These recommendations encompass practical advice and crucial reminders tailored to help you navigate the roads during this celebratory period. Whether you’re embarking on a long journey to visit loved ones or navigating busy shopping districts, these tips aim to enhance your driving experience while prioritizing safety for you, your passengers, and fellow road users.

1 – Is the journey vital?

If conditions are expected to be bad, ask yourself whether you even need to travel. Could you delay leaving and wait for conditions to improve? Could you use the train instead?

2 – Fit to drive?

A cold or flu can reduce reaction times. Some medication, such as over- the-counter remedies, can cause drowsiness which will make matters worse. Check medicine warnings and if in doubt ask a pharmacist for advice. Consider changing your plans if you’re concerned. After all, anxiety can affect confidence and lead to unsafe decision making.

3 – Check your car

Has your car been serviced recently? It’s a good way to minimize the risk of breakdowns, as well as maximizing the fuel economy. Check the tread, condition and pressure in all your tires. Tread should be well above the legal limit. Not only will good tread give your tires the best grip but it also disperses water and reduces the risk of aquaplaning.

4 – Travel essentials

Be prepared with an essential travel pack. Fully charge your phone and have important numbers with you in case you need to contact family, friends or your breakdown services. Ensure you have plenty of fuel or – if you drive an electric car – that it’s fully charged. Cold weather reduces the available range. Take warm clothes, pack a blanket and refreshments in case there is an unexpected delay.

5 – See and be seen

Clean all the lights and windows before every journey to give the best visibility. This helps you to see others on the road – and allows them to see you.

6 – Prepare for glare

During the winter months the sun can be much lower and this can make it more difficult to see. Consider having sunglasses with you (including a prescription pair) as they can help reduce the glare.

7 – Allow extra time

Try to avoid rushing on a journey. Leave early and accept the likelihood of congestion and delays. This is much better for your nerves than allowing yourself to get worked up because of situations over which you have no control. But do let relatives or friends know the route you are taking and your expected arrival time.

8 – Keep alert

Take more breaks, especially if you’re driving in poor weather. This requires greater concentration which makes everyone more tired. You’ll know when fatigue is affecting you – it doesn’t just take you by surprise. So resist the urge to press on, and take a proper break.

9 – If you do break down…

Make safety your priority. Turn on your hazard lights and try to pull off the road. Ensure you and your vehicle are visible, then call for breakdown assistance.

10 – Closed means closed

Sometimes police and local authorities have to close roads because of flooding or snow. Don’t be tempted to drive through a road closure as you’re only putting yourself, your passengers – and your rescuers – at unnecessary risk.

Determining the Cause of Oil Degradation

What could be causing our lube oil to degrade faster?

There are many causes that can result in the degrading of your lube oil. The most common are oxidation, thermal breakdown of the lube oil, micro-dieseling, additive depletion and contamination.

Oxidation

Oxidation is the reaction of oil molecules with oxygen molecules. It can lead to an increase in viscosity and the formation of varnish, sludge and sediment. Additive depletion and a breakdown in the base oil can also result. Once an oil starts to oxidize, you may see an increase in the acid number. In addition, rust and corrosion can form on the equipment due to oxidation.

Thermal Breakdown

The temperature of the lubricant should be a primary concern. Besides separating the moving parts within a piece of machinery, a lubricant must also dissipate heat. This means the lubricant can and will be heated above its recommended stable temperature. The Arrhenius rate rule for temperature states that for every 18 degrees F (10 degrees C), the chemical reaction doubles. In other words, for every increase of 18 degrees F for your oil, the life of the oil is cut in half. Keeping the oil as cool as possible when in use will extend its life and reduce the reaction of thermal breakdown.

Micro-dieseling

Also known as pressure-induced thermal breakdown (degradation), micro-dieseling is a process in which an air bubble transitions from a low-pressure region in a system to a high-pressure zone. This is very common in hydraulic systems. Micro-dieseling results in adiabatic compression of the air bubble within the oil, which then cooks the surrounding oil molecules, causing instant oxidation of those molecules.

Additive Depletion

Most additive packages in oil are designed to be sacrificial and used up during the life of the oil. Utilizing oil analysis to monitor additive levels is important not only to assess the health of the lubricant but also to provide clues as to what is causing the depletion of the additives.

Contamination

Contamination such as dirt, water, air, etc., can greatly influence the rate of lubricant degradation. Dirt containing fine metal particles can be a catalyst that sparks and speeds up the degradation process of your lubricant. Air and water can provide a source of oxygen that reacts with the oil and leads to oxidation of the lubricant. Here again, oil analysis can be helpful in monitoring your lubricant’s contamination levels.

TOP 5 MOST COMMON VEHICLE PROBLEMS DURING WINTER

The first snowfall of the year is a cause of celebration for many folks. There’s just something special about seeing those pretty flakes flying for the first time in November or December. But, the onset of winter also means it’s a good time to ensure your vehicles maintenance is up-to-date. Freezing temperatures can lead to issues with your vehicles. Read on for the five most common problems—and how to prevent them this year

  1. Your battery may die in colder weather. It’s a good idea to have your battery tested every time there is a routine service (like an oil change) performed on the vehicle. It also helps to keep your car or truck in a garage during the winter months if possible.
  2. Fluids thicken. To stay ahead of this common winter problem, be sure to have your trusted auto technician regularly check your oil, antifreeze, power steering, brake and transmission fluids. Leaks can also occur; it helps to warm up your vehicles before driving them.
  3. Parts corrode. Road salt laid down to melt the ice and help prevent slide offs can stick to your car’s metal components. If it’s left there, it can cause these to corrode. Wash vehicles regularly to protect the undercarriage, brakes and wheel wells.
  4. Your tire pressure will drop. Most tires lose one pound per square inch (psi) for every 10 degrees F of temperature drop. Under-inflated tires do not perform well in icy weather, so it is crucial to check your tire pressure throughout the winter season.
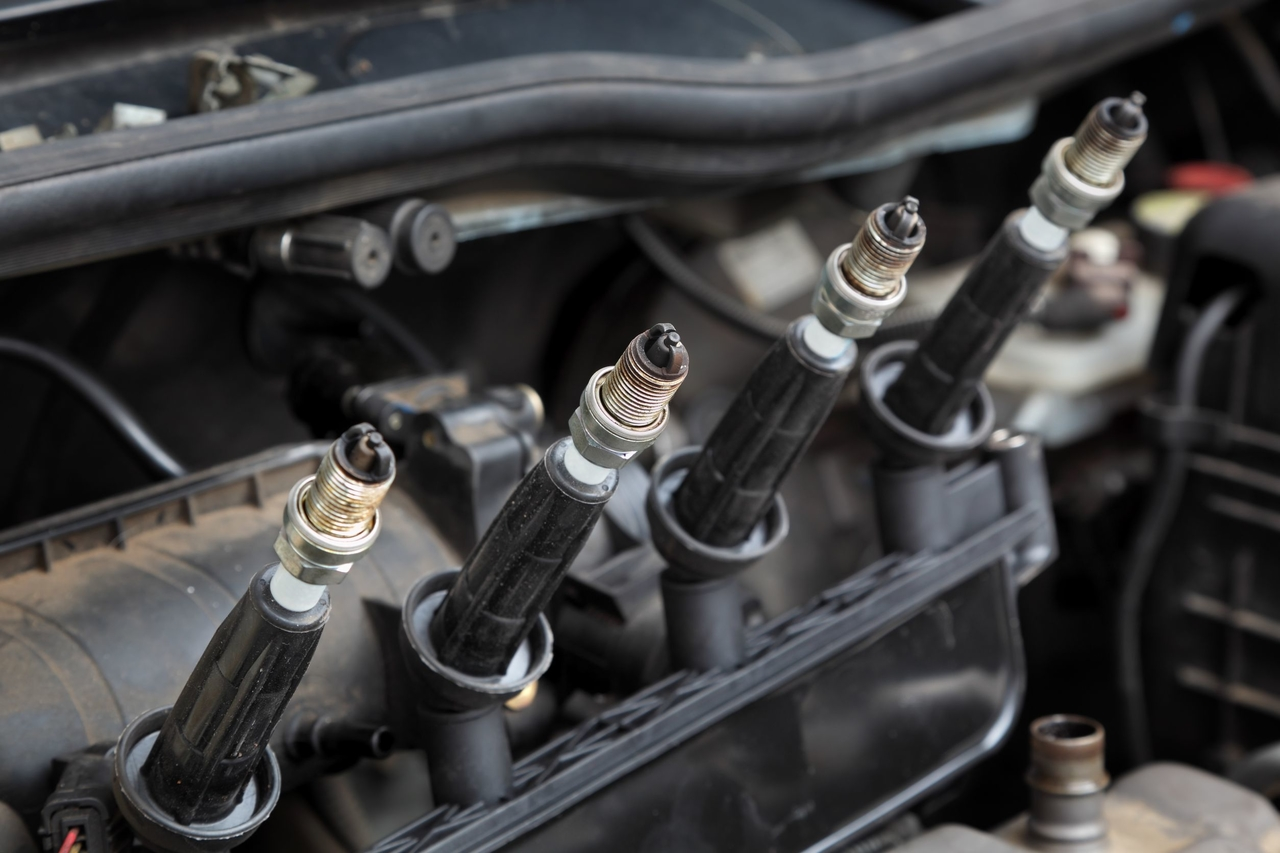
  5. Spark plugs may fail. A bad spark plug, ignition component or clogged filter may cause your vehicle not to start, so it’s smart to check these ahead of the harshest driving conditions.

6 TIPS TO MAKE YOUR CAR TRAVEL READY THIS HOLIDAY SEASON

Here are a few easy ways you can prepare your car for a road trip:

  1. Check Tire Pressure – This step is essential because you can get better gas mileage when you drive on properly aired tires. Not only will you be able to save some money in doing this, but you’ll decrease your risk of a dangerous blowout as well.

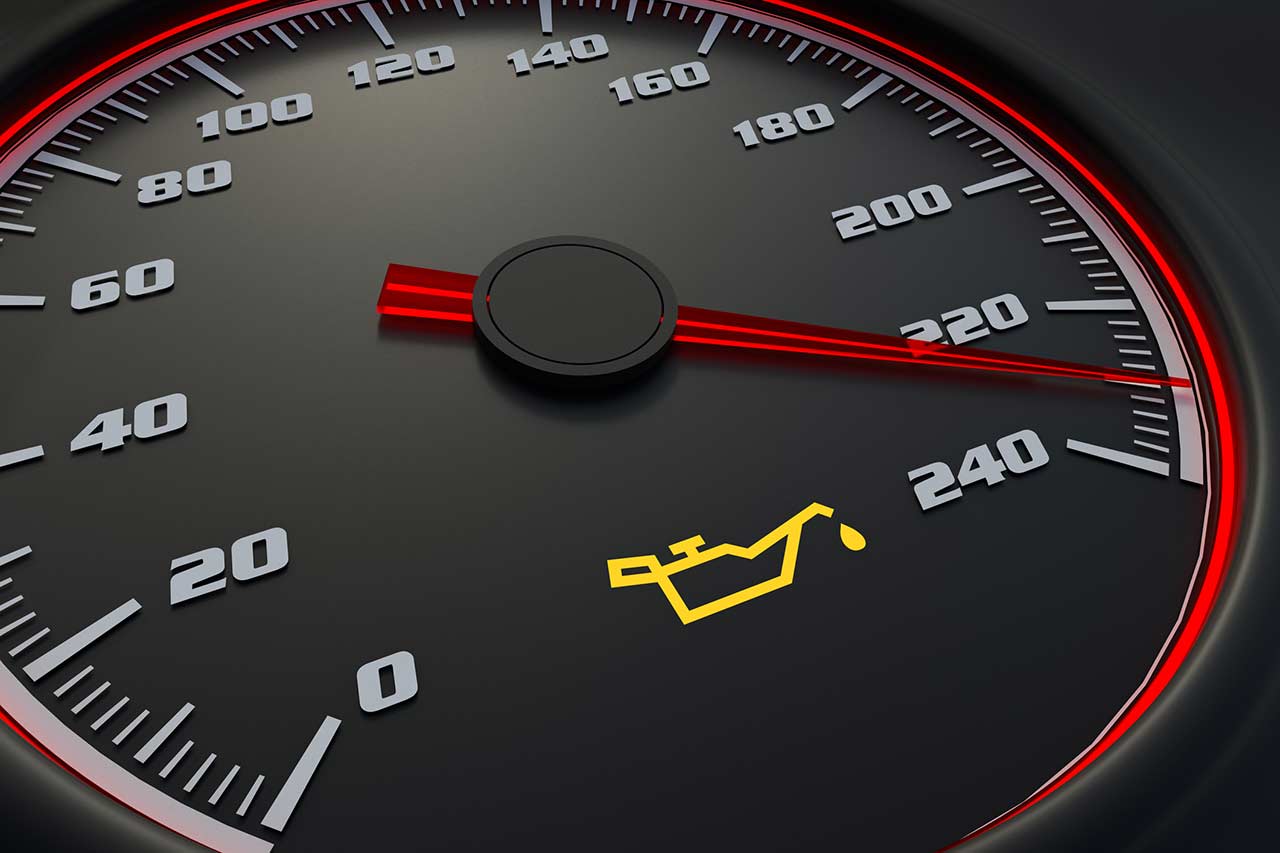
  2. Have Any Warning Lights Diagnosed – If you have some warning lights on your dashboard that you’ve been ignoring up until now, you’ll want to have them diagnosed before a long-distance trip. .

  3. Look at Your Fluids – The fluids in your engine enable it to run correctly, so you don’t want to be without them! You’ll want to check your oil, antifreeze, power steering fluid, brake fluid, transmission fluid, and windshield washing fluid.

  4. Replace Old Windshield Wipers – Putting up with inefficient windshield wipers gets old after a while. Replace old ones before a trip, so you don’t end up frustrated, or unable to see, in the rain.

  5. Notice Unusual Brake Noises – If your brakes have been making a whining or grinding noise recently, it’s probably time to take your car in for brake service.

  6. Check Your Lights – If your headlights aren’t working, visibility while driving at night can be an issue. If your brake lights or turn lights are burnt out, you pose a danger to both yourself and other drivers. Have a spotter assist you in checking your headlights, taillights, brake lights, and turn lights.