How to Clean Headlights

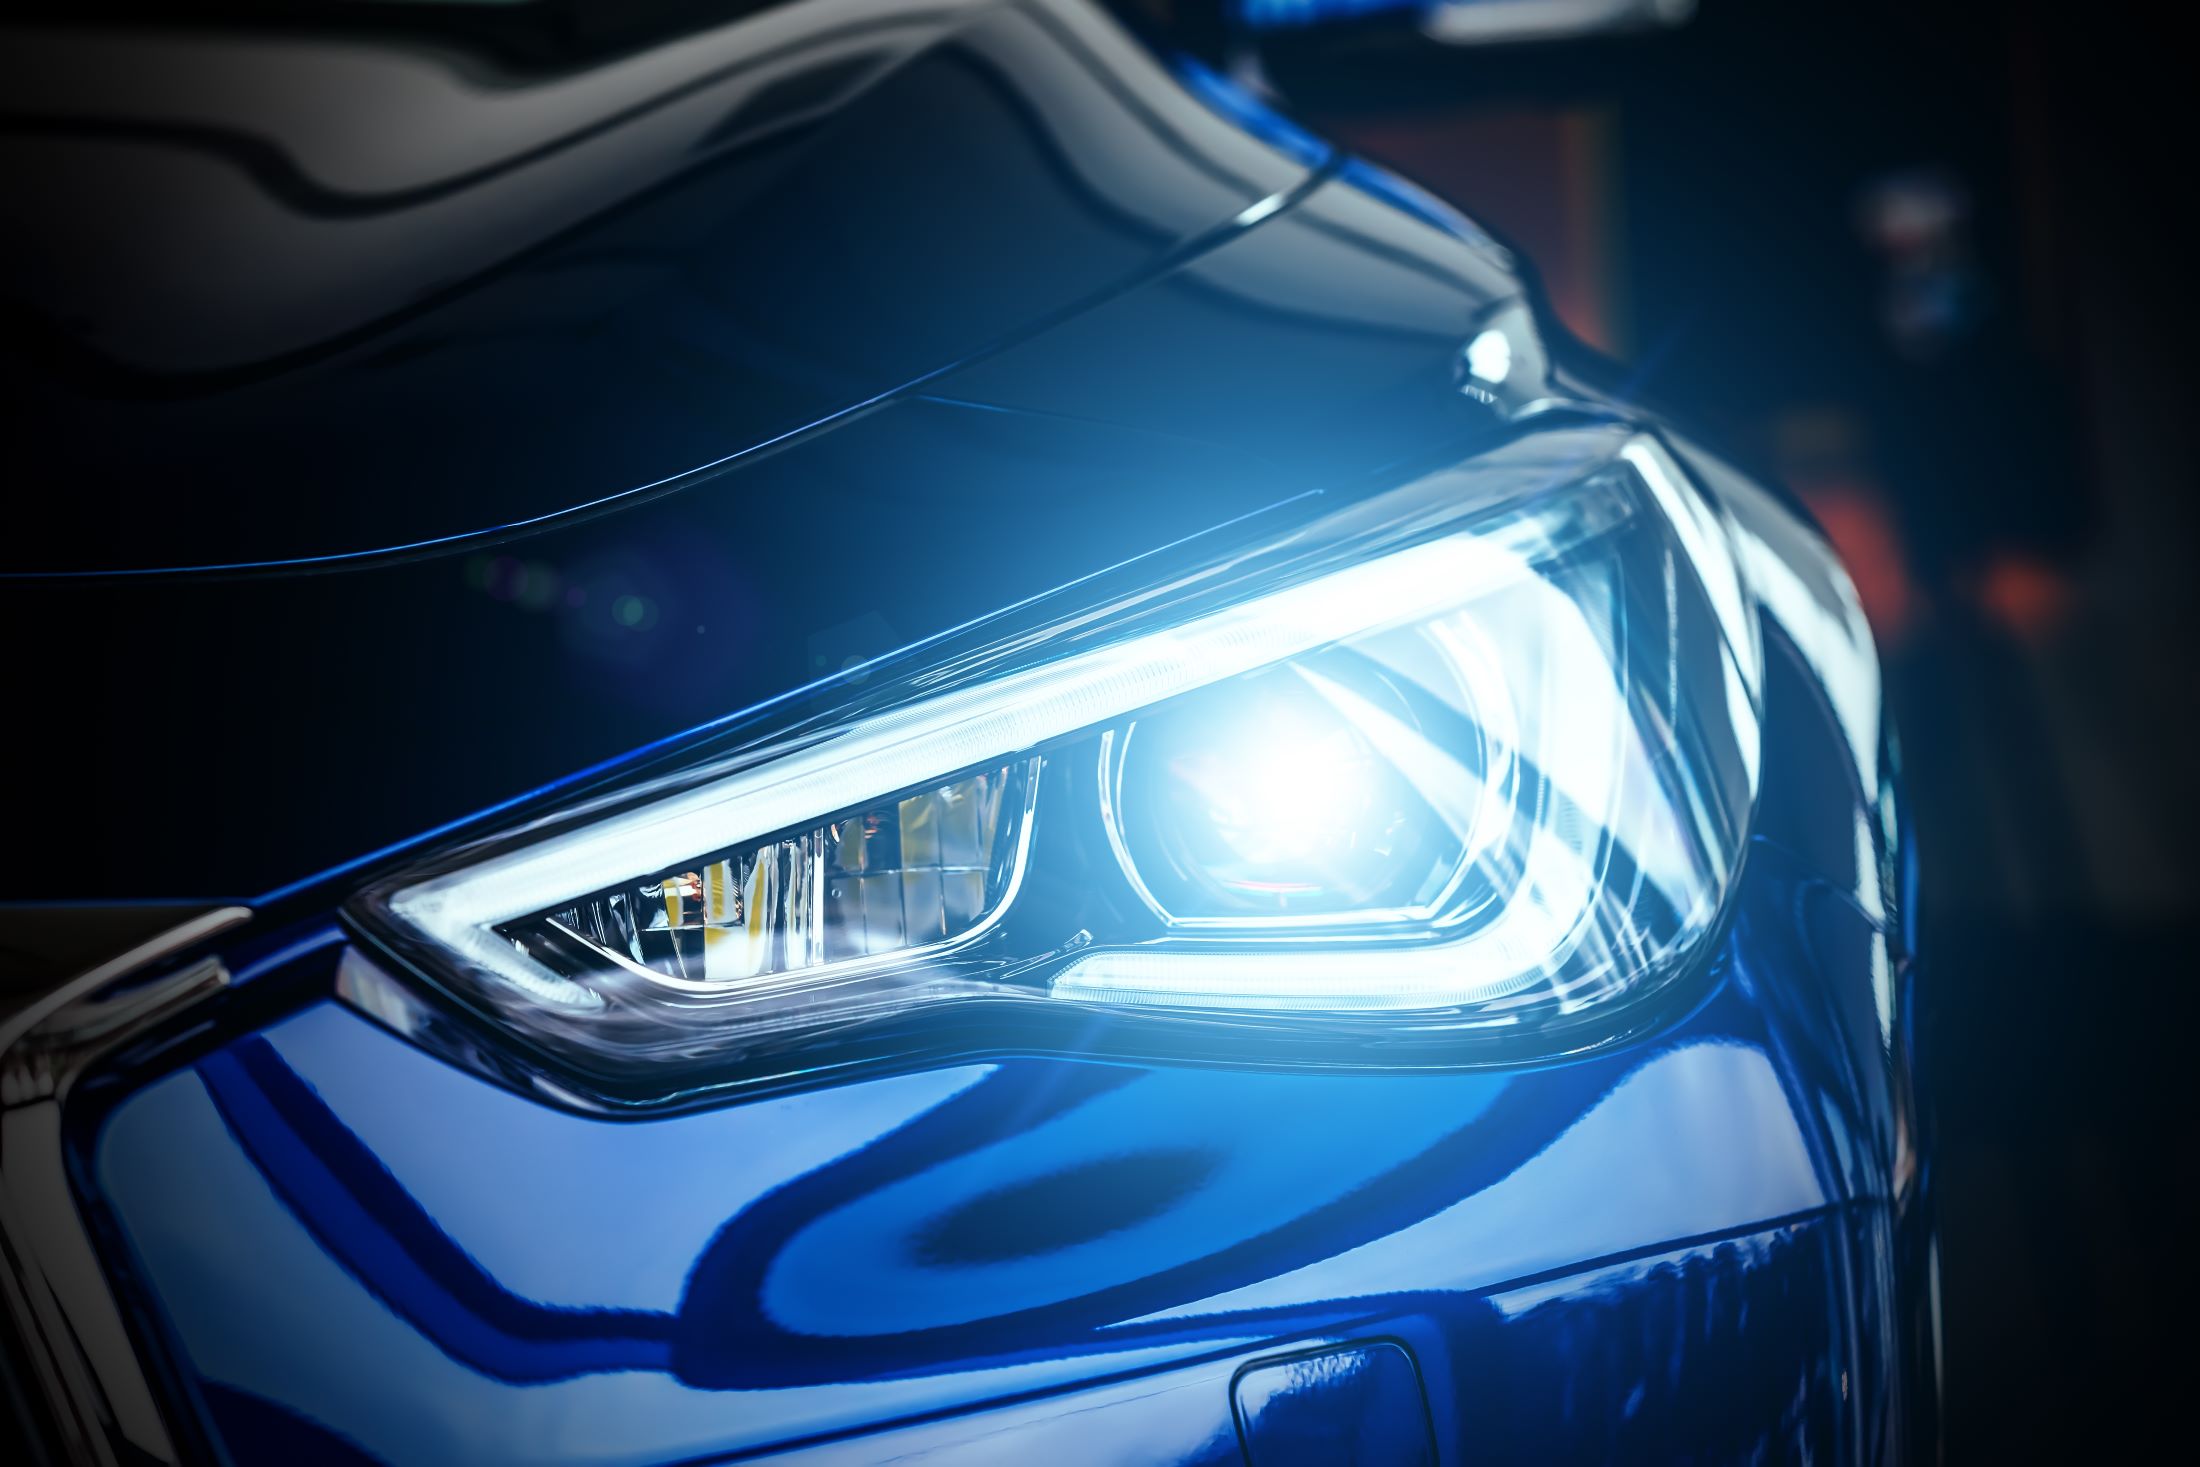
Headlights are an important safety feature on your car, whether you’re driving at night or in inclement weather. Unfortunately, headlights can become foggy and dirty, which dulls their brightness and makes them less effective at lighting the road. Plastic headlights can become foggy as a result of UV ray exposure and damage from the elements.

If your lights don’t appear as bright as usual, try one of these methods to clean them. There are several ways to restore clarity to your headlight lenses.

Use liquid soap, baking soda and vinegar

With liquid soap, baking soda and vinegar, you can restore your headlights in a few simple steps. Keep in mind that this method may not fully brighten very yellowed, foggy lights, and you may need to repeat the steps several times.

Begin by cleaning dust from the headlights with a microfiber cloth. Add a tablespoon or two of liquid soap to a bucket. Add enough water to thin the soap to a watery solution. Using another clean microfiber cloth, clean the headlight with the soap solution. The idea is to get the lens as clean as possible before using the baking soda and vinegar. Rinse the soap off the headlights using a spray bottle of water and use a towel to dry the headlights.

Mix 1 to 2 tablespoons of baking soda with enough white vinegar to form a thick paste. Using a dry-cleaning cloth, gently polish the headlamp with the paste. Rinse the paste off with the spray bottle of water and repeat until the lens is clean and clear.

How to clean car headlights with toothpaste

Before beginning, remove dust and grime from the headlight with a clean cloth. Then, spray the headlight with water using your spray bottle. Using an old toothbrush, apply toothpaste to the lens and gently scrub. Use regular white toothpaste, not the gel type. Rinse with water until toothpaste is gone and the headlight is clear.

How to clean foggy headlights using a headlight restoration kit

These kits can be expensive, but they’re effective and safe for restoring headlights. Use them as directed; typically, you’ll just need to apply the cleanser and rinse. A kit may also come with waxing compounds to protect the lights.With any method, use soft cleaning cloths made of microfiber. These are gentle and can help to prevent scratching. They also typically don’t leave stray fibers behind. Learn how to restore your headlights.

How to Clean Your Car Engine

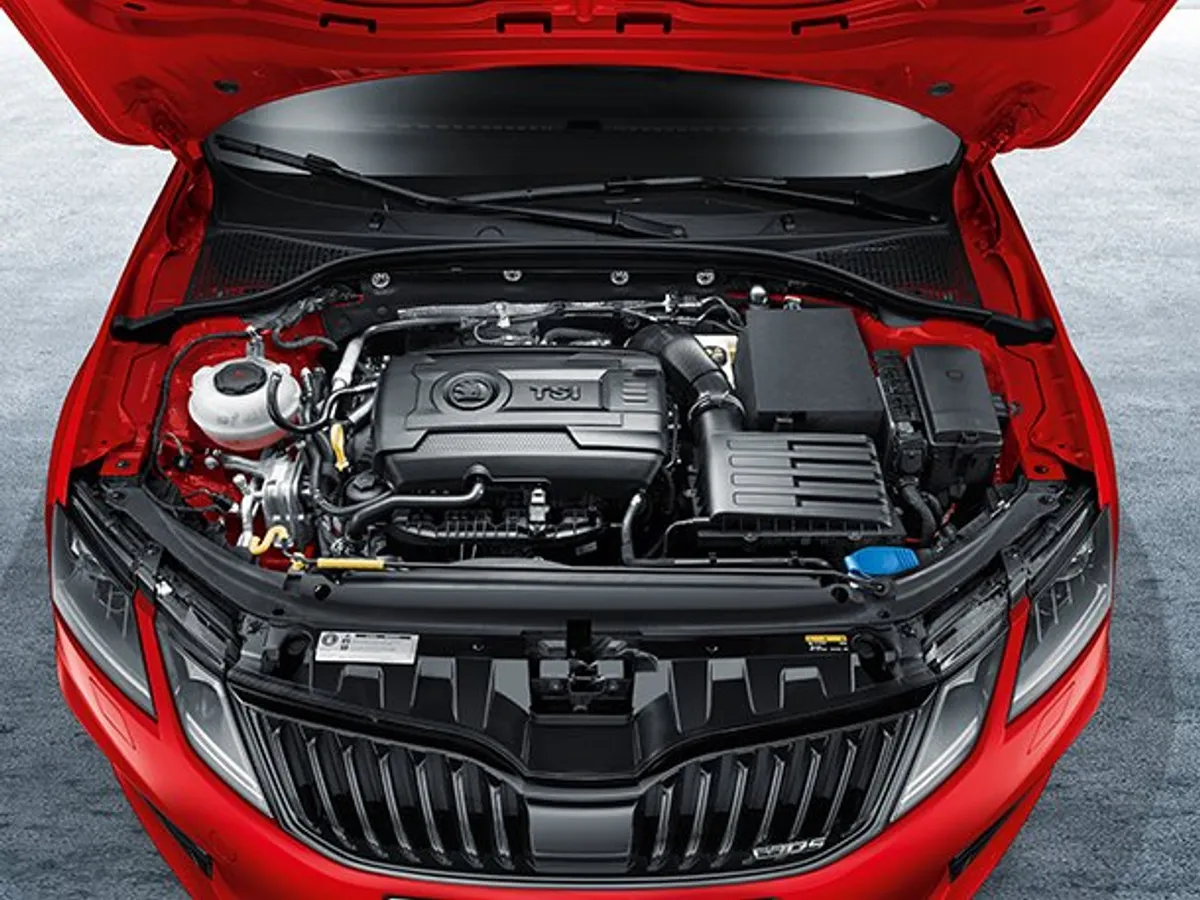
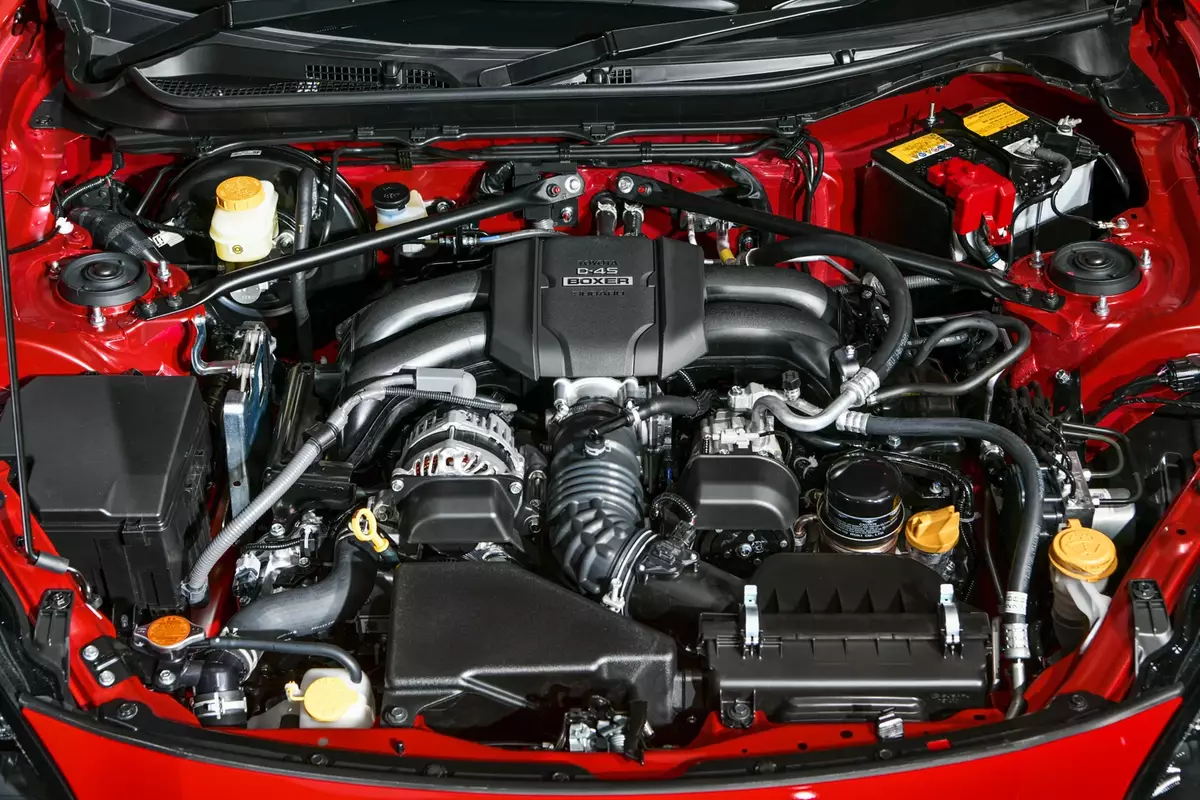
Knowing how to clean your engine is an important part of vehicle maintenance, and it can save you money. Tidying up under the hood helps extend the life of belts, hoses and other components. Plus, it’s easier to spot leaks, tears and other damage on a clean engine. Check out the steps below to properly clean your car engine, and be sure to consult your car’s operation manual before you get started.

1. Eliminate any residue

Your car’s hood, grille and vents are prime areas for dirt buildup. Blow them out with compressed air or clean the areas with a wire hand brush.

2. Get the temperature just right

Next, let your engine warm up to a moderate temperature – not too hot. This will help soften grease buildup in the engine compartment.

3. Know what to cover when cleaning your engine

Plastic sandwich bags come in handy when it’s time to clean up your car. The parts to keep covered when cleaning your engine are:

  • Electrical wiring
  • Sensors
  • Spark plug openings
  • Alternator
  • Distributor

Secure the baggies with tape. To protect your battery, cover it or simply remove it.

4. Don’t forget the drip pan

Place old towels on an absorbent mat under the engine’s oil drip pan to catch any hazardous waste.

5. Give the engine a good spritz

Thoroughly spray the engine compartment with an engine cleaner, avoiding the wiring you bagged and taped. Since petroleum cleaners can damage rubber and vinyl components, consider a citrus or water-based degreaser. For parts that seem extremely oily or greasy, let the cleaner soak in for 15-30 minutes and repeat if necessary.

6. Rinse and unwrap

Once the engine cleaner has done its job, lightly rinse engine and components with water. Remove the bags you used to protect the wiring. Once the towel or mat is dry, dispose of it properly. And if you removed the battery, don’t forget to replace it.

7. Remove excess moisture

Blow away excess water in the engine compartment with compressed air.

8. Dry out the interior

Lastly, turn on your engine and let it run until warm. The heat will help dry the hard-to-reach areas.

Tips for Driving in the Dark

Common sense tells us driving at night is more difficult than driving in the daylight. Darkness reduces our field of vision (including peripheral vision), our depth perception and our ability to distinguish colors. Driver fatigue is also a contributing factor. The question is, what can you do about it? The following tips can make night driving easier.
 
Keep Your Eyes on the Lines
Headlights from oncoming traffic can cause glare and impair your vision in the dark, so naturally, you’ll want to avoid staring at those lights. If you’re having a hard time seeing the road, take note of the white line marking the traffic lane’s edge on the right side of the road. This will help keep you on course.
 
Do not, however, constantly stare at that line (or the middle yellow dividing line) while driving at night. Keeping your eyes focused on those lines for too long can “hypnotize” a driver and reduce awareness.
 
When to Use Your High Beams
Your field of vision will grow wider and deeper when using your car’s high-beam headlights in the dark, but that doesn’t mean you should turn your high beams on at dusk and keep them on until dawn. Drivers should use high-beam mode only when traveling in very dark areas with low visibility and—most importantly—when there is no car immediately in front of you and no oncoming traffic. As soon as you see another car’s taillights or the glow of approaching headlights, be sure to turn off your high beams to prevent distracting other drivers and impairing their ability to drive safely.
 
Keep Your Windshield Clear
Windshields that appear clean by day may show streaks or smudges in the dark that will create a halo effect around lights and make it difficult to see at night. Your windshield will smudge if you touch it with your skin, so professional car detailers often use newspaper to clean the interior windshield surface. A cotton or microfiber cloth will also work to clean the inside of your windshield, which can be easy to overlook when cleaning your vehicle.
 
For the windshield’s exterior, check that your wiper blades are in good condition and not cracked. Always be sure to use windshield wiper fluid rated for sub-freezing temperatures. This fluid has some anti-freeze liquid in it (that’s usually why it’s blue), as opposed to using just water, which can freeze in your lines if you live in a cold climate.
 
Dim the Interior Lights
 
Most drivers realize their night vision is impaired when the overhead dome light is left on. But if the dashboard displays are too bright, this can also limit a driver’s forward vision in the dark. Most vehicles come with a dash dimmer switch. Make sure to locate yours and keep the dash at a low glow when driving at night.
 
Beware of Animals
 
If you live in or travel through rural areas on dark country roads, you will most likely be sharing the road with some animals. Larger animals like deer and moose can be hard to spot even if they are in the middle of the road—be on the lookout for the reflection of your lights in the animal’s eyes.
 
If you see a pair of tiny bright spots in the road ahead of you or you happen to see the entire animal, slow down as quickly as possible without endangering yourself, your occupants, or any vehicles that may be near you. Trying to steer around the animal is often futile, because it is likely to follow your vehicle’s lights, and swerving is one of the leading causes of accidents due to wildlife encounters on the road.
 
The Bottom Line
Driving in the dark presents some challenges, but nothing that can’t be overcome with some knowledge and planning. You just need to know what to look for, where to keep your eyes and how to prep your car for driving at night.

How to Clean Your Car Engine

Knowing how to clean your engine is an important part of vehicle maintenance, and it can save you money. Tidying up under the hood helps extend the life of belts, hoses and other components. Plus, it’s easier to spot leaks, tears and other damage on a clean engine. Check out the steps below to properly clean your car engine, and be sure to consult your car’s operation manual before you get started.

1. Eliminate any residue

Your car’s hood, grille and vents are prime areas for dirt buildup. Blow them out with compressed air or clean the areas with a wire hand brush.

2. Get the temperature just right

Next, let your engine warm up to a moderate temperature – not too hot. This will help soften grease buildup in the engine compartment.

3. Know what to cover when cleaning your engine

Plastic sandwich bags come in handy when it’s time to clean up your car. The parts to keep covered when cleaning your engine are:

  • Electrical wiring
  • Sensors
  • Spark plug openings
  • Alternator
  • Distributor

Secure the baggies with tape. To protect your battery, cover it or simply remove it.

4. Don’t forget the drip pan

Place old towels on an absorbent mat under the engine’s oil drip pan to catch any hazardous waste.

5. Give the engine a good spritz

Thoroughly spray the engine compartment with an engine cleaner, avoiding the wiring you bagged and taped. Since petroleum cleaners can damage rubber and vinyl components, consider a citrus or water-based degreaser. For parts that seem extremely oily or greasy, let the cleaner soak in for 15-30 minutes and repeat if necessary.

6. Rinse and unwrap

Once the engine cleaner has done its job, lightly rinse engine and components with water. Remove the bags you used to protect the wiring. Once the towel or mat is dry, dispose of it properly. And if you removed the battery, don’t forget to replace it.

7. Remove excess moisture

Blow away excess water in the engine compartment with compressed air.

8. Dry out the interior

Lastly, turn on your engine and let it run until warm. The heat will help dry the hard-to-reach areas.

Things to Do When Your Car Is Stuck in Snow

Getting stuck in the middle of a big pile of snow or on a stretch of ice can be an all-too-common occurrence during the cold winter months. Luckily, we have a few tips and tricks that can get your car free in no time, even if you don’t have one of the best vehicles for winter driving. Follow these six tips below to get a car unstuck in snow:
1. Clear a path around your tires
Try to dig snow and ice away from the drive tires. You want to free up a few feet in front of and behind the tires so you can move the car back and forth. This is particularly important if your tires aren’t winterized, or if you haven’t taken steps to prepare your vehicle for the winter. Be sure to also dig out any snow under the front or middle of your car that is higher than its ground clearance.
 
Of course a snow shovel makes this much easier, so try and store one in your trunk if you plan on driving in snowy conditions.
 
2. Rock your car free of the snow
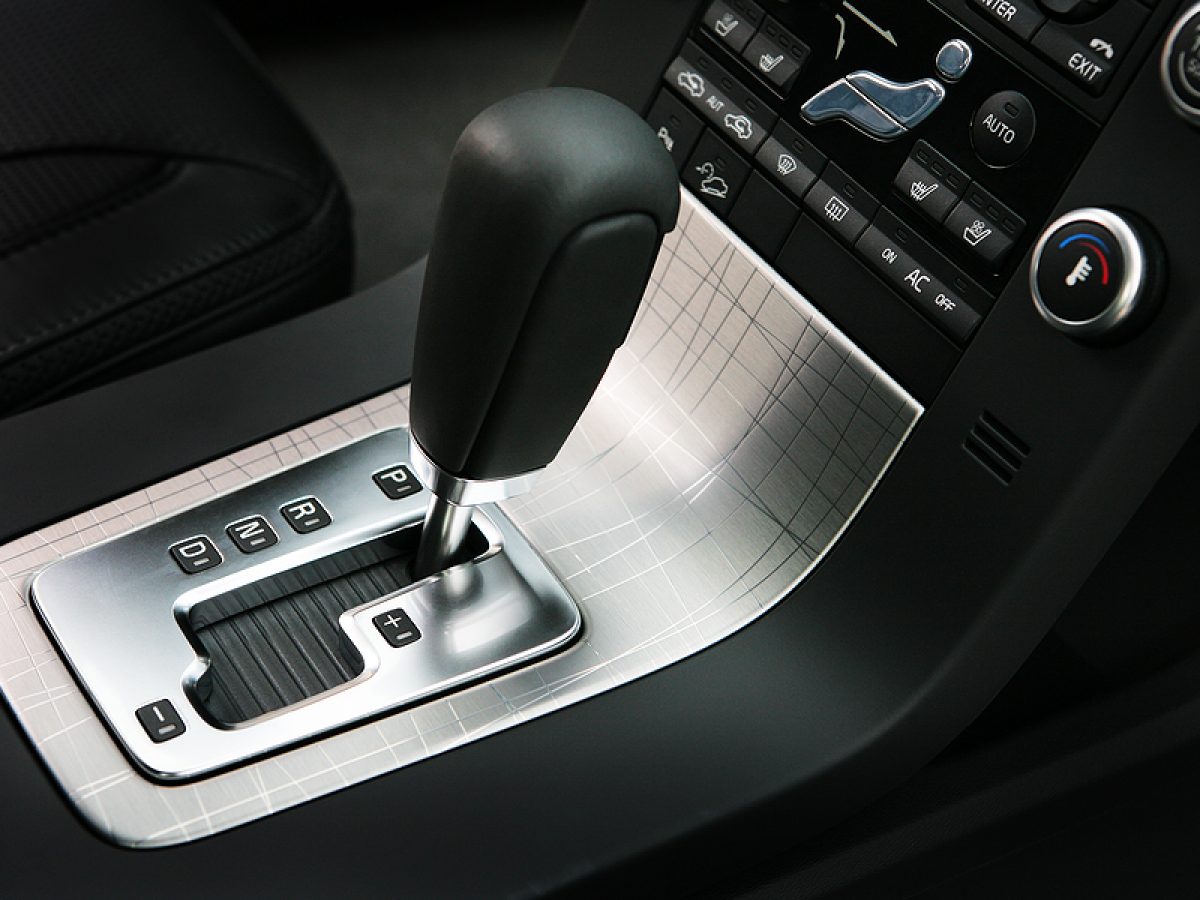
Carefully switching from drive to reverse can help dislodge some of the snow around your wheels. “You go into drive, then reverse, then repeat,” says Mark Osborne, who oversees Michigan Technological University’s Winter Driving School. “But you have to be careful not to wreck your transmission. I put my foot on the brake at the peak of each ‘rock,’ so the car is motionless when I change gears. It’s also helpful to shift to neutral for a second before making the transition.”
 
3. Don’t floor the gas
You’ll always be tempted to floor it if you’re stuck in snow or ice, but don’t. Go easy on the pedal to give the vehicle just a little gas for a moment, then let off. Repeat to enhance the needed “rocking” motion. It’s momentum that sets you free, not power.
 
4. Add traction under your tires
If you still can’t get your car free, you can next try and gain traction under your wheels. Things such as sandbags, salt, dirt or even kitty litter can be used when your car is stuck in snow. Throw several handfuls under your tires for improved traction, then try the gas again.
 
It is also important to remember to turn off traction control if you are stuck in snow. This is one of several safety features that can help you keep control of your vehicle if you hit ice on the road, but leaving it on while stuck in snow is a different story. Traction control prevents wheelspin, which is the rotation of a vehicle’s wheels without traction, and can sometimes help you get your car out of snow.
 
5. Get others to help push your car
If you have other people in your car, or friendly onlookers who can help, simply pushing your car out of the snow can be an easy solution. Gently press the gas while the car is being pushed to add additional momentum. Safety always comes first, so make sure you’re in forward gear and the ground isn’t too slippery for helpers to push. Using snow chains can also help create traction under your tires, making it easier to move through snow and ice.
 
6. Ask for help
If all else fails and you can’t seem to figure out how to get your car unstuck from snow, calling for help is your next best bet. Nationwide offers 24-hour roadside assistance services that can help you in getting a car out of snow, jump starting a dead battery, filling an empty gas tank, and more.
 
Always keep a cool head
Whether you’re stuck in snow or hit a stretch of ice, try and remain calm. Don’t do anything abrupt, like slamming the brakes. “If you do that, you’ll transfer your vehicle’s weight to your front wheels,” Osborne says. “That lightens up the rear, making it likely that your rear end will spin.” Instead, Osborne says, gradually let off the gas and hold the steering steady until you’ve cleared the ice.

When to Replace Your Tires

New tires are an inevitable expense, but telling when it’s time to get new tires may not be widespread knowledge to all drivers. Conflicting information from friends and family, from what you read online, etc. may make diagnosing your tire situation a dubious task.

Here are the five telltale signs you should check to determine if you need new tires.

1. Low tire tread depth
To test tire tread depth insert a quarter upside down into the tread. If it doesn’t cover George Washington’s hairline, it means the tread is less than 4/32 of an inch deep, and it’s about time to bite the bullet and get new tires. In many states, just 2/32 of an inch is considered the minimum legal tread depth. However, more tread is safer.

Tests conducted showed a car going 70 miles per hour with tread of 2/32 of an inch took 5.9 seconds to stop and required a distance nearly double that of a vehicle with new tires. Meanwhile, with treads that were 4/32 of an inch, while it still took 100 feet more to stop and 1.2 seconds longer, this was much better than what was achieved with the minimal 2/32 of an inch tread.

2. Tires are old
No matter how rock-solid the tires were when you first purchased them, time leaves its mark. With age, rubber becomes brittle. In addition, the tire’s reinforcing cords can weaken over time. It’s important to know how often to replace your tires. Even if the tread appears intact, most manufacturers advise you to replace your tires after six years.

If you look at the side of the tire, you’ll see the manufacturer’s code. The last four numbers here indicate the production date. If this is 3009, for example, it means that the tire was produced in the 30th week of 2009 and it may be time to get new tires. In more severe climates where you may routinely deal with extreme heat, the ultraviolet rays of the sun may impart structural changes in your tires. This may mean that you will have to make the change sooner.

3. Tire sidewall cracking
Look beyond the tread to the sidewall of the tires. Are there any noticeable cuts or grooves? If so, you may be wise to purchase new tires, since these can be signs that a leak is developing or that the tire is weakening and may soon blowout.

4. Bulge in tire sidewall
If the tire has begun to weaken, sometimes the rubber may begin to bulge. This is a red flag, indicating that the tire has begun to fail and may unexpectedly blow out at any time, putting you and your passengers in jeopardy.

5. Vibrations while driving
Has the ride recently seemed very rough or have you noticed vibrations while driving? If so, this can be a sign that your tires are indeed shot, and it’s time to put aside your skepticism and get new ones.

7 Tips to Extend Your Car Battery Life

Car batteries are an essential part of an automobile. From getting your car started to charging your phone on-the-go, batteries provide the zap your vehicle needs to keep rolling. That’s why it’s so important to know when to start considering a car battery change, as well as what you can do to extend its lifespan.

On average, car batteries last between 3 and 5 years. One of the most important factors that affects how long a car battery will last is the weather. A running engine under the hood is already producing high levels of heat. Throw in a scorching hot day and you have a severe drain on your car battery, which can lead to an increased chance of a dead battery if you don’t take proper summer driving precautions.

Warm weather can cause fluid in car batteries to evaporate, damaging the internal structure of the battery. That’s why average battery life is shorter in warmer climates. So when estimating how long your car battery life will last, consider the climate you will do most of your driving in.

Regardless of the temperature you drive in, properly taking care of your car battery can help keep it running. Check out the seven tips below on extending the life of your car battery:

1. Limit Short Rides
Quick car rides prevent your car’s battery from fully charging. Maintain your car’s battery power by driving it frequently and for extended periods. If you don’t use your car often, consider investing in a portable car battery charger. These portable chargers can jump start your battery without another vehicle in case you’re ever stranded.

2. Keep Your Battery Tightly Fastened
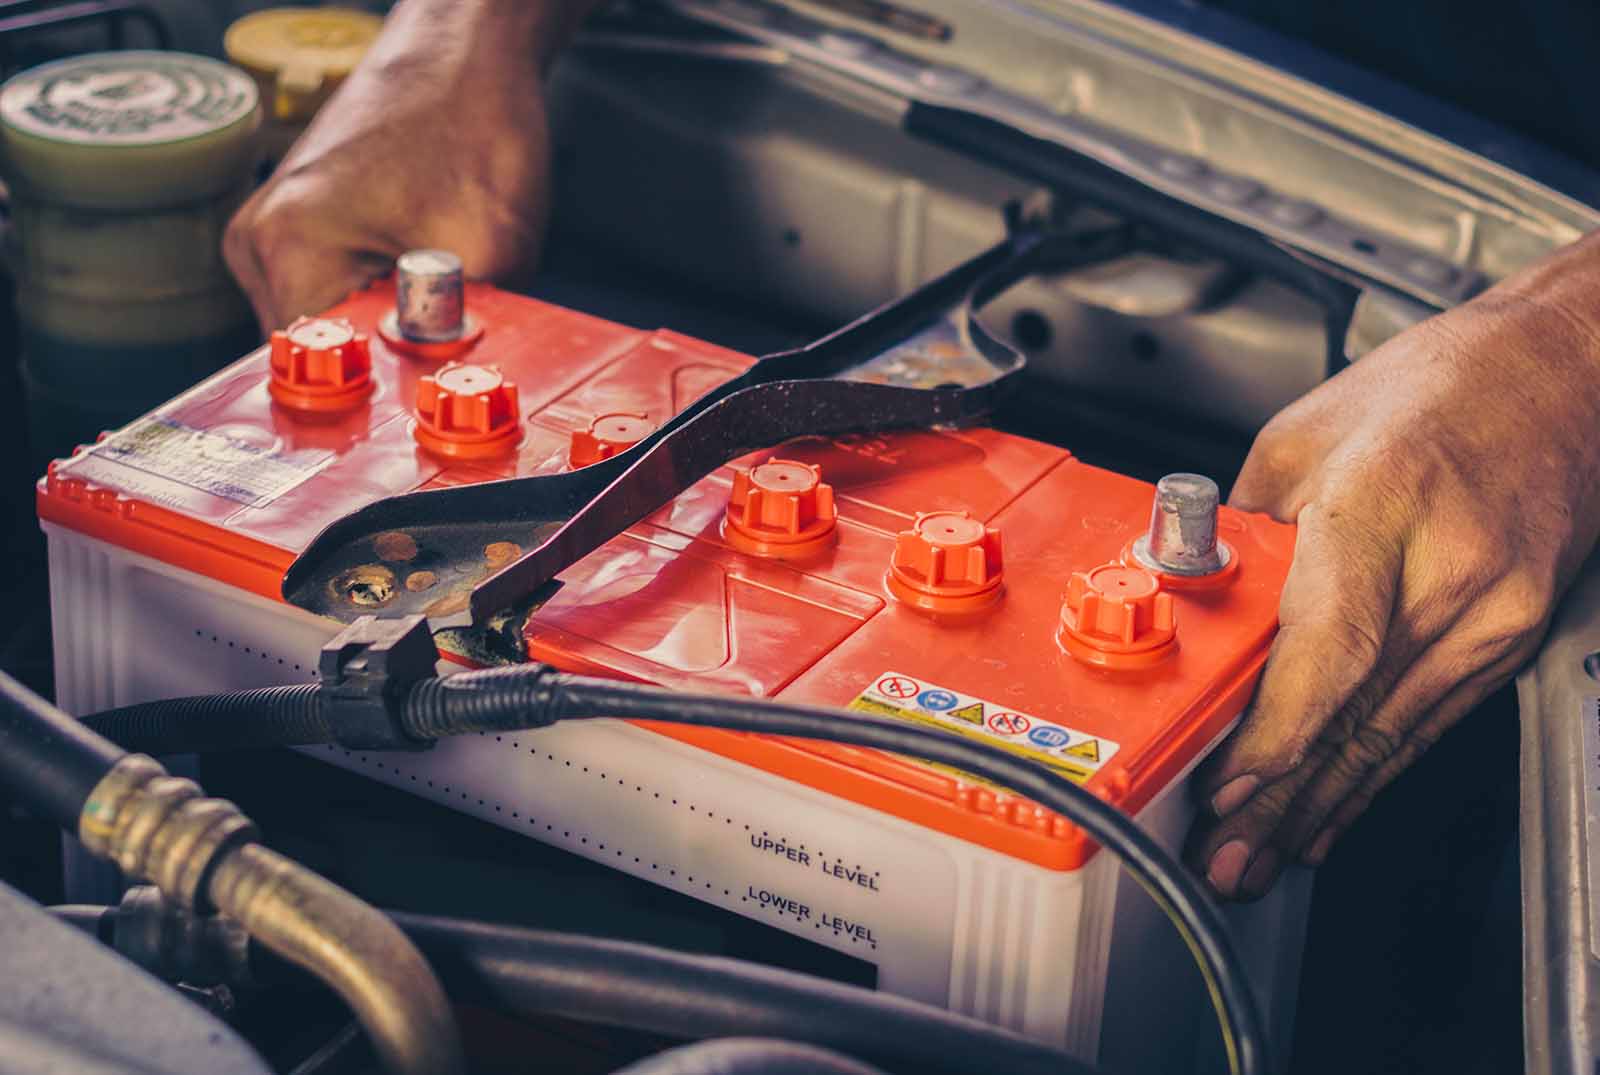
A battery that’s not securely fastened could vibrate, potentially resulting in internal damage and short circuits. Have your battery terminal checked regularly – especially if you frequently drive on bumpy roads – to ensure it is tightly and properly positioned in the mounting bracket.

3. Turn Off All the Lights When You Exit
Accidentally keeping your headlights and car door lights on can put a heavy toll on your vehicle’s battery. To keep yourself from forgetting, post a note on your dashboard, attach a sticker reminder on your car remote or park in a direction where you must walk past your headlights to get to your destination.

4. Control the Corrosion
Battery terminals corrode over time but keeping them clean from buildup is a great way to extend the life of your car battery. Scrub the terminals with a toothbrush dipped in a baking soda and water mixture. Then, using a spray bottle with cold water, rinse the mixture off and follow up with a thorough drying with a clean cloth.

5. Test Your Battery Often
Knowing the condition of your car battery matters when you want to maximize its life. Test your battery’s output voltage level with a car battery tester to keep track of how well you’re maintaining it and if you’re due for a new one.


6. Don’t Use Electronics While Idling

Turn off functions like the radio or air conditioner when your engine isn’t running to put less wear and tear on your battery power. Extended periods of idling also can wear a battery down.

7. Care for Your Whole Car
Your car is comprised of many parts working together. Making sure you are taking your car in for routine tune ups, as well as properly storing your vehicle are also simple ways to ensure your battery’s lifespan can reach its full capacity. The battery is just one component of a well-running car, so make sure to properly maintain all parts of your car to extend its life and the life of your battery.

7 reasons you can be ticketed for your license plate in NJ

Who knew license plate laws could be so complicated? Ever since you put your license plates on your vehicle, you probably haven’t thought much about them.

Well, somebody with a state job at the MVC certainly has given them some thought.

New Jersey has a host of rules that you must follow pertaining to your license plate, mostly put in place to ensure that police, cameras, and plate readers can easily read your license plate, according to the New Jersey Motor Vehicle Commission.
I’m betting there are even a few license plate rules you weren’t aware of.

Here are seven reasons you can be ticketed for your license plates in New Jersey:
You Must Have Two License Plates
In New Jersey, all motor vehicles are required to have a license plate on the front and the back of the vehicle. This goes for all types of motor vehicles, except for motorcycles, which are only required to have a license plate on the back.

Your Plates Must Be Secured
This may come as a surprise, but you can’t simply put your plates in the front and back windows of your car. If you do so without firmly fastening the plates so that they can’t slip or slide around, you may be ticketed.
What’s more, even if you manage to properly secure your license plates in the windows of your car, you may still be ticketed. This is because, in New Jersey, it is against the law to drive with anything blocking any area of your front or back window.

Distance From the Ground
In New Jersey, your license plates must be affixed to your vehicle, such that it is no more than 48 inches above the ground and no less than 12 inches from the ground. This one was news to me. Do police actually get out and measure? They just might.

Inadequate Illumination
Your plates must be adequately illuminated at night. This is why vehicles are constructed with small lights around the area where your license plates should be attached. Make sure that these lights are in working order, or you may be ticketed.

Snow And Ice
You must also be sure to remove any snow and ice from your license plates that might prevent them from being read. If any letters or numbers on the plate are unable to be read, you may be ticketed. You will see many people breaking this rule every time it snows.

No glass or Plastic Covers
New Jersey forbids the use of any plastic or glass license plate covers, or any other covering or coating that may distort or obscure your license plate, such that it cannot be properly read or photographed. I am not breaking this rule, but that’s completely by chance. I had no idea about this one.

Parked Or Driving
You can be ticketed for a license plate violation, whether your vehicle is parked or being driven. If the violation was noticed while you were parked on a public road or highway (as opposed to being parked in your own driveway or garage), the violation will result in a parking ticket.

If the violation was noticed by law enforcement while you were operating the vehicle, it will result in a moving violation.

7 reasons you can be ticketed for your license plate in NJ

Who knew license plate laws could be so complicated? Ever since you put your license plates on your vehicle, you probably haven’t thought much about them.

Well, somebody with a state job at the MVC certainly has given them some thought.

New Jersey has a host of rules that you must follow pertaining to your license plate, mostly put in place to ensure that police, cameras, and plate readers can easily read your license plate, according to the New Jersey Motor Vehicle Commission.
I’m betting there are even a few license plate rules you weren’t aware of.

Here are seven reasons you can be ticketed for your license plates in New Jersey:

You Must Have Two License Plates
In New Jersey, all motor vehicles are required to have a license plate on the front and the back of the vehicle. This goes for all types of motor vehicles, except for motorcycles, which are only required to have a license plate on the back.

Your Plates Must Be Secured
This may come as a surprise, but you can’t simply put your plates in the front and back windows of your car. If you do so without firmly fastening the plates so that they can’t slip or slide around, you may be ticketed.
What’s more, even if you manage to properly secure your license plates in the windows of your car, you may still be ticketed. This is because, in New Jersey, it is against the law to drive with anything blocking any area of your front or back window.

Distance From the Ground
In New Jersey, your license plates must be affixed to your vehicle, such that it is no more than 48 inches above the ground and no less than 12 inches from the ground. This one was news to me. Do police actually get out and measure? They just might.

Inadequate Illumination
Your plates must be adequately illuminated at night. This is why vehicles are constructed with small lights around the area where your license plates should be attached. Make sure that these lights are in working order, or you may be ticketed.

Snow And Ice
You must also be sure to remove any snow and ice from your license plates that might prevent them from being read. If any letters or numbers on the plate are unable to be read, you may be ticketed. You will see many people breaking this rule every time it snows.

No glass or Plastic Covers
New Jersey forbids the use of any plastic or glass license plate covers, or any other covering or coating that may distort or obscure your license plate, such that it cannot be properly read or photographed. I am not breaking this rule, but that’s completely by chance. I had no idea about this one.

Parked Or Driving
You can be ticketed for a license plate violation, whether your vehicle is parked or being driven. If the violation was noticed while you were parked on a public road or highway (as opposed to being parked in your own driveway or garage), the violation will result in a parking ticket.

If the violation was noticed by law enforcement while you were operating the vehicle, it will result in a moving violation.

Crucial Things To Know Before You Start Driving In The Rain

Driving in rain, whether a sprinkle or a heavy downpour, can be one of the most difficult driving situations a driver encounters. Rainy conditions are directly associated with higher accident rates. No matter what part of the country you live in, it is almost certain that you will be required to drive your vehicle in the rain at some point. Knowing how wet roads and reduced visibility affects the way your vehicle handles will help you drive safely in rainy conditions.
Tips for Driving in the Rain
1 Wait Until the Weather Improves if Possible
If you feel uncomfortable driving in the rain and can postpone your trip or commute, wait until the weather improves before driving. There is no reason to put yourself in danger if driving in wet conditions is not necessary.
2 Double Check Your Car’s Equipment
Make sure that your car’s equipment is in working order before encountering rainy weather. Check your headlights, tail lights, and windshield wipers to make sure that they will work efficiently when they are needed. Also check the tread of your vehicle’s tires. Balding tires can severely reduce traction on wet roadways.
3 Slow Down
Not only should you adhere to the posted speed limit when driving in wet weather conditions, you should drive considerably slower than you normally would. Wet roads are very dangerous. Your vehicle’s reaction time is much slower when it is raining. Reduced speed is imperative in rainy weather.
4 Turn On Your Headlights
Most states require drivers to turn on their vehicles’ lights while driving in rain. Even if it is only misting, turning on your vehicle’s headlights will increase both your own visibility and other drivers’ ability to see your car on the road.
5 Use Your Windshield Wipers
While this may seem like common sense, some people forget to turn on their windshield wipers in light rain. Most cars’ windshield wiper speed is adjustable to clear moisture from the glass in a light mist or in a heavy downpour. There are also several products available that can be sprayed or wiped onto the glass and claim to defer the collection of rainwater.
6 Maintain a Safe Distance Between Cars
Keep a greater distance between your vehicle and the car in front of you. Stopping your vehicle will be more difficult when driving in the rain. Maintain a distance of several car lengths between your car and other vehicles.
7 Avoid Heavy Braking
Try to slow your vehicle by taking your foot off the accelerator earlier than you normally would in preparation to slow down or stop. Don’t use cruise control so your attention on using both the gas and brake are in tune.
8 Watch Out For Standing Water
Driving through standing water can cause hydroplaning to occur. Which is when you lose traction and skid across the surface of the road. To avoid hydroplaning, drive around places where water has collected by changing lanes or safely steering around such areas.
10 Let Off The Gas When Hydroplaning
Hydroplaning is one of the most common car accidents in the rain because drivers can lose control. If your car hydroplanes, calmly take your foot off the accelerator and steer in the direction that the front of your car needs to go. Avoid making sudden turns or slamming on your brakes. 10 Ventilate Your Car
Rain causes humidity levels to increase. You may find that your vehicle’s windows become foggy when you operate your vehicle while it is raining. Most cars’ ventilation systems include a function that will work to reduce this type of fog that develops on the interior of your windows and windshield. It may be necessary to pull over if you are no longer able to see through your windows.
Staying safe while driving in the rain is simple if you make a conscious effort to employ these safety precautions. Remember that reducing your speed and turning on your lights are two of the simplest and most effective ways of reducing the chances of an accident caused by wet weather.