Driving can be a thrilling and exciting experience, but it can also be dangerous if you’re not careful. An important thing to consider while driving is the level of traction you have on the road. Traction refers to the friction between your vehicle’s tires and the road surface. When the level of traction is reduced, your car can become difficult to control, and accidents can happen. Here are a few scenarios that can reduce traction and how to avoid accidents if you lose traction while driving.
7. Overloading Your Vehicle
When your car is burdened with excess weight, it can lead to tire overloading, resulting in reduced traction and compromised vehicle control. To ensure safety and prevent accidents caused by overloading, it is crucial to adhere to the manufacturer’s specified maximum weight capacity for your car. Avoid carrying unnecessary extra weight beyond these limits to keep your vehicle operating at its best performance and safety levels.
6. Road Design
Road design plays a critical role in determining traction levels in various ways. For instance, roads featuring steep inclines or sharp curves can significantly diminish traction, especially during wet or icy conditions. Furthermore, roads with inadequate drainage systems may lead to the accumulation of water on the surface, posing an elevated risk of hydroplaning. If you find yourself driving along steep hills, sharp curves and turns, or roads that are subject to flooding, be extra mindful of your driving behaviours and changing conditions.
5. Weather Conditions – Wind
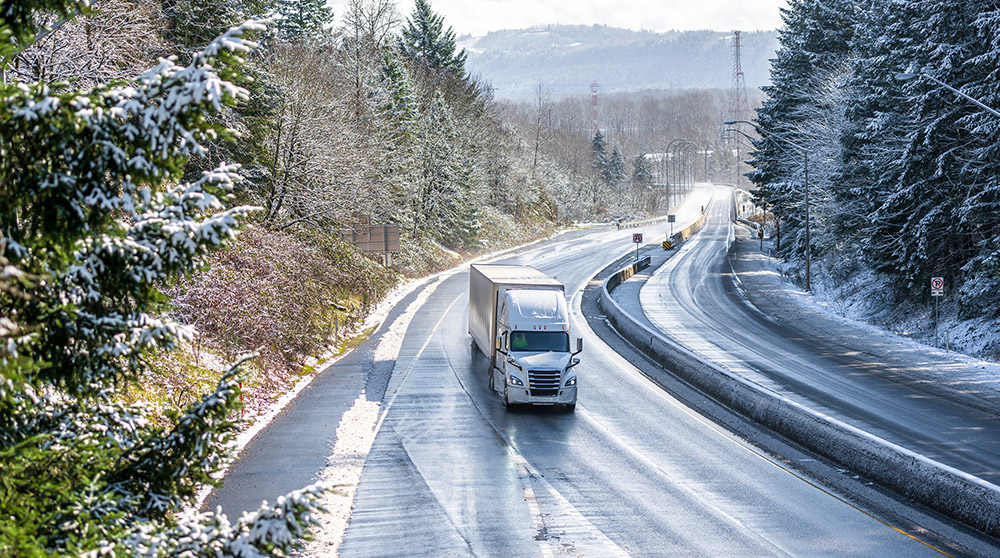
Powerful winds have the potential to forcefully divert your vehicle, compromising its traction and making steering more challenging. This effect is particularly pronounced for tall vehicles like trucks, buses, and SUVs, rendering them more susceptible to gusts of wind.
To minimize the likelihood of losing traction during windy conditions, adjust your driving by lowering your driving speed, keeping both hands firmly on the wheel, and maintaining extra following distance from other vehicles. Additionally, exercising caution in areas that are prone to crosswinds, such as bridges and overpasses, can help to ensure a safe journey. By adhering to these guidelines, you can mitigate the impact of windy conditions and be prepared for decreased road traction.
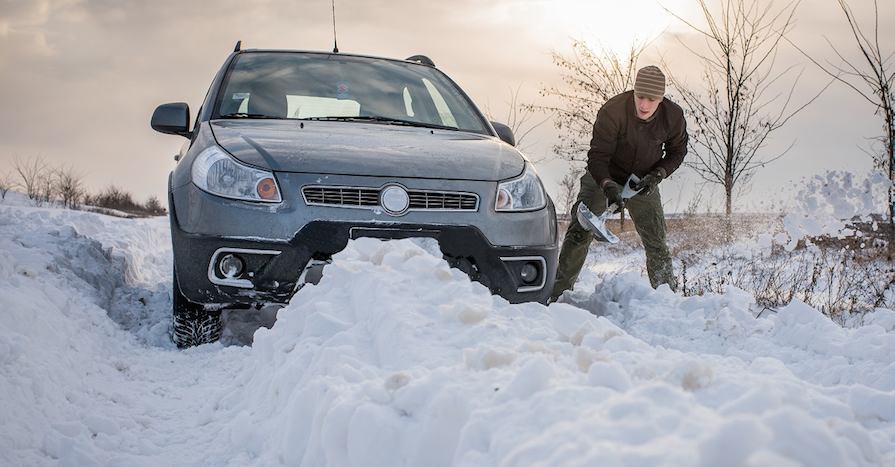
4. Unpaved & Uneven Roads
Road surfaces marred by irregularities or potholes pose a significant risk to traction. As your vehicle’s tires encounter these imperfections, it can result in bouncing or loss of contact with the road, thus diminishing traction. To counteract these hazards, maintain awareness of the road ahead and adhere to a safe following distance from other vehicles, enabling you to avoid potholes and uneven surfaces confidently.
Moreover, loose gravel, dirt, and debris scattered across the road surface can also compromise traction, impeding your ability to control the vehicle effectively. When navigating unpaved roads, exercise caution by reducing your driving speed, maintaining a safe distance from other vehicles, and refraining from sudden maneuvers.
3. Braking and Acceleration
When you brake or accelerate too quickly, it can cause the tires to lose traction. When braking and accelerating, use the pedals smoothly and gradually rather than suddenly. Following a smooth and gradual pattern will allow the vehicle to maintain its traction with the road, rather than losing traction when the vehicle needs to suddenly react to braking and acceleration.
When you’re driving at high speeds, a vehicle’s tires have less time to grip the road surface as they rotate. Always obey the speed limit and adjust your speed to match road and weather conditions to maintain traction and avoid losing control of the vehicle.
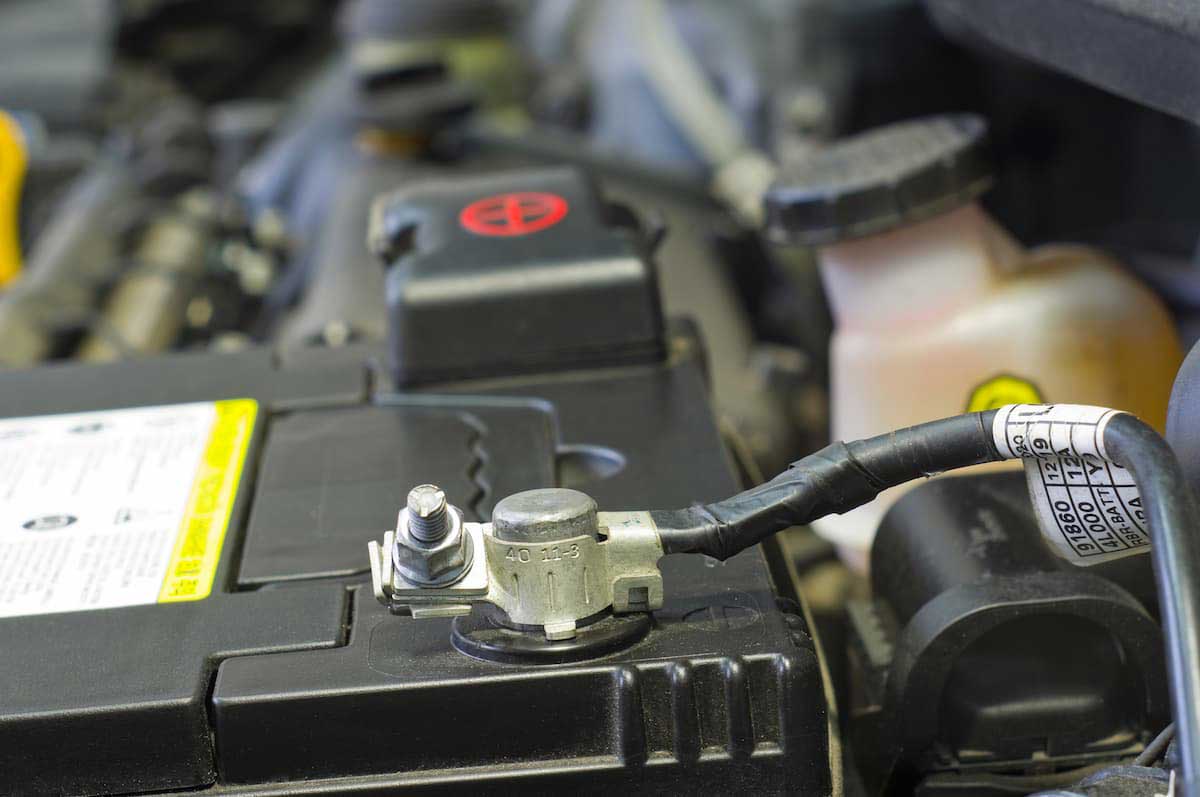
2. Worn Tires
As your car’s tires undergo wear and tear, their grip on the road surface diminishes. To prevent the loss of traction and ensure safety, it is essential to regularly inspect your tire tread depth. Once the tires become excessively worn, promptly replace them with new ones. This simple maintenance routine will help maintain optimal traction and enhance overall driving performance on the road.
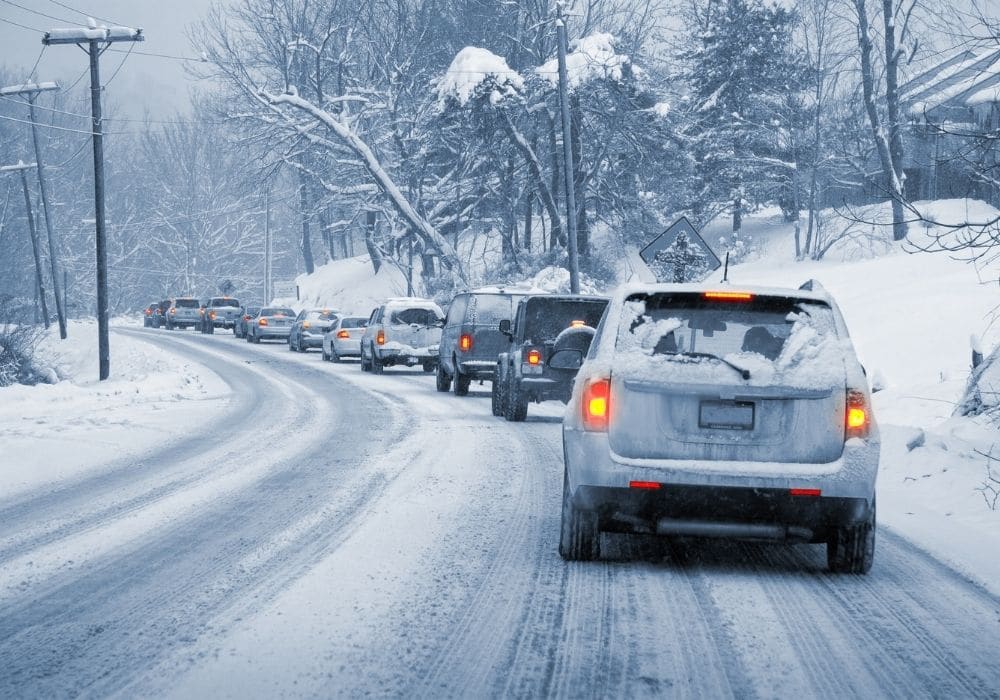
1. Wet, Snowy, or Icy Roads
One of the primary contributors to reduced traction on the road is encountered during wet or icy conditions. The presence of water or ice on the road surface diminishes the friction between the tires and the road, leading to potential skidding or sliding, making vehicle control challenging. To avert accidents in such conditions, it’s crucial to adopt a cautious approach by driving slowly and carefully, while maintaining a safe distance from other vehicles.
Hydroplaning poses another significant risk, occurring when your vehicle’s tires encounter a layer of water too thick to displace, resulting in loss of contact with the road surface and reduced traction. To minimize the chances of hydroplaning, ensure you drive at a safe speed during wet conditions, and verify that your tires are adequately inflated with good tread depth. Avoid making sudden maneuvers or sharp turns, and refrain from driving in the outer lanes of the road where water accumulation is more likely.
In case of hydroplaning, maintaining composure is essential. Avoid sudden braking or accelerating, and instead, steer the vehicle in the direction you wish to go until the tires regain traction. By implementing these precautions and remaining attentive to road conditions, you can enhance your safety and stability during adverse weather situations.