Preparing your car for spring can save you a lot of headaches later in the year. It can even save you money! Spring auto maintenance will get you ready for a summer filled with long drives and vacations. Whether you’re heading to the beach or your child’s ball game, you’ll be glad you took the time to prepare your car for spring.
Visit a Car Wash
Spring cleaning isn’t only for your house. The winter especially can be tough on cars. Freezing temperatures and salt from the road can do real damage to your paint job, so make sure to start the season with a car wash. If you go to a carwash, spring for premium, because you won’t want to miss any nooks or crannies. If you do it yourself, make sure to add baking soda to the wash water if your car has a strong salt buildup. This will help neutralize the salt and save your paint job.
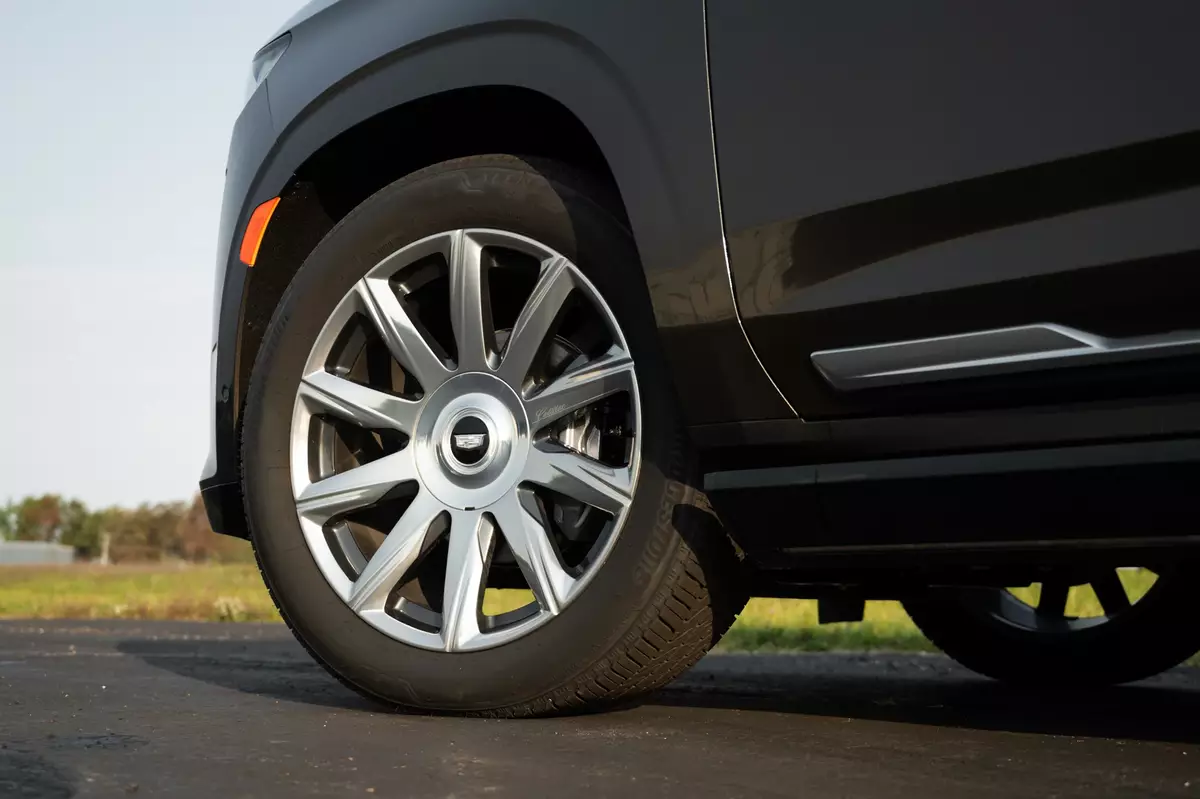
Check Your Tires
Did you know you can save money on gas by making sure your tires are filled up to the manufacturer recommended air pressure? Just by keeping the pressure regulated, your car is better able to distribute and conserve gasoline. The cold air and ice can be rough on the air pressure in your tires, so the Spring is a great time to check those tires. Make sure your tires are rotated regularly and don’t wait until you have a visible flat to fill them up. Check your tires for worn tread and make sure to replace your tires when the treading becomes too worn.
Replace Wiper Blades and Fluids
Snow can damage and wear on your windshield wipers. If your wipers are streaking, replace them. New wiper blades are inexpensive and simple to replace, so you won’t even need to pay someone to do it for you. You should also make sure to top off your windshield wiper fluid and reapply any needed windshield treatments to repel water and rain.
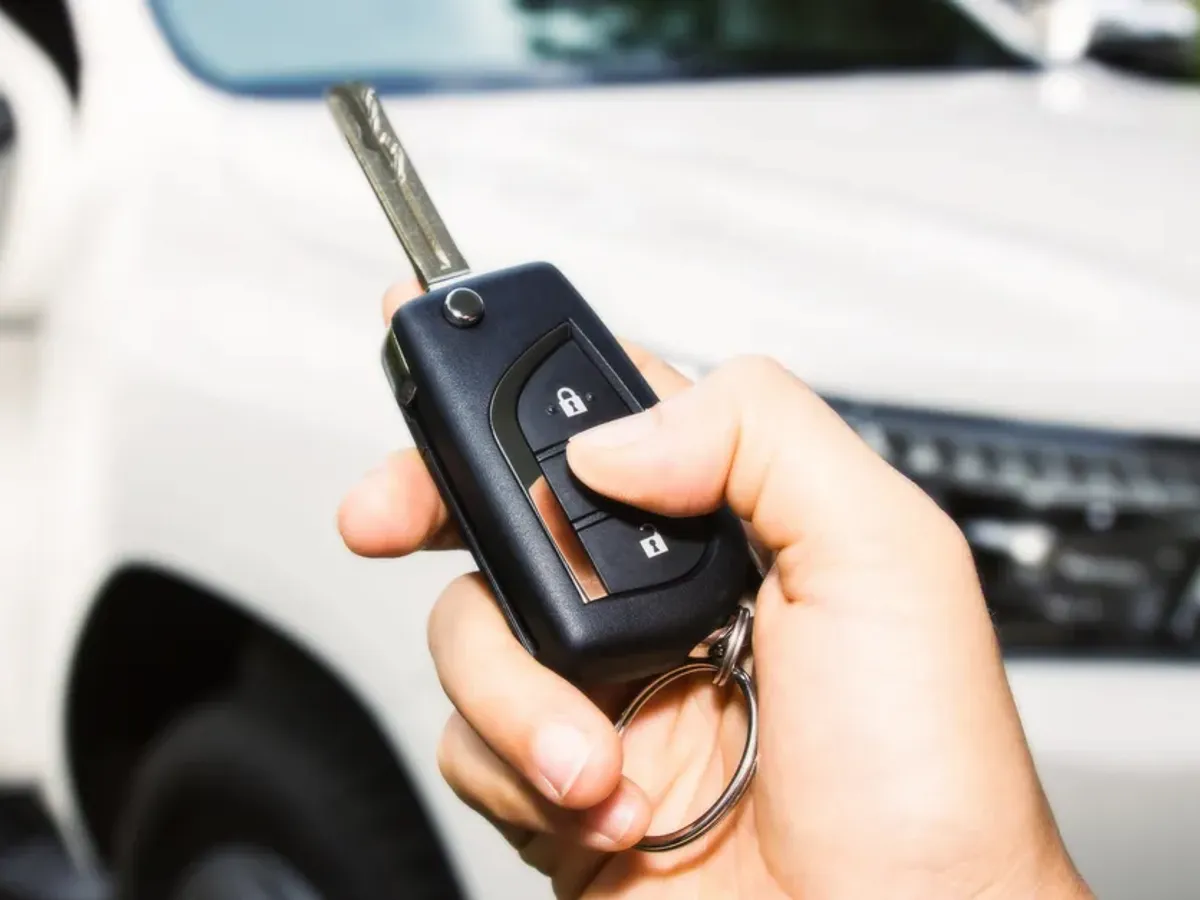
Check Your Battery
At the end of a long winter, you’ll want to be sure to evaluate your car’s electrical system. Many parts shops have free battery checks where you can find out just how strong your battery is. If your battery is getting weak, you can prevent future problems by replacing it before it stops working. That way, you won’t be left stranded with a dead battery.
Change Your Oil
Regular oil changes can make all the difference in making sure your car has a long, healthy life. Make sure to follow the manufacturer’s suggestions for oil change intervals and oil viscosity, and make sure to change the oil filter as well. Some car shops offer fluid top offs, tire checks, battery checks, and even tire rotation included their oil change prices, so you can take care of almost all of your spring maintenance in just one stop.