Some of a driver’s worst fears are a dead battery or alternator, a blown gasket, your car running out of gas and any number of other car troubles that leave you stranded on an empty stretch of road.
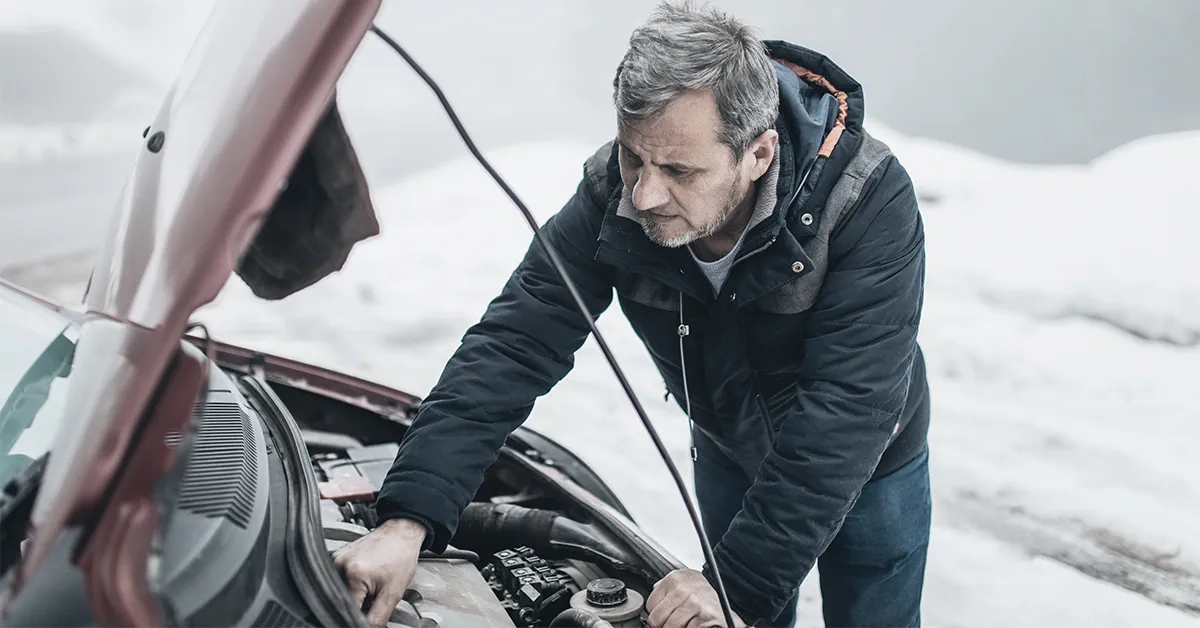
For winter drivers, there’s also the possibility of sliding off an icy road into a snowbank. A quick call to a tow truck or roadside assistance service will usually get you to safety within a couple of hours, but technology can fail, and there are still parts of the country that aren’t covered by cellular service.
In such scenarios, having a car safety kit with the right components can make the difference in keeping you and your passengers safe until help arrives. 58% of people have some emergency supplies in their cars, but only 30% are confident that what they have is sufficient if bad weather strikes.
Depending on the problem, having the proper tools can also get you back on the road as quickly as possible. While some items should be found in every trunk, not every roadside emergency kit is built the same. You should tailor your kit to the type and condition of your vehicle, as well as the weather in which you’re typically driving. With the unpredictability of winter weather, even drivers in traditional warm-weather states may want to consider adding safety items for snow and ice. It’s always wise to err on the side of caution and include certain items just in case.
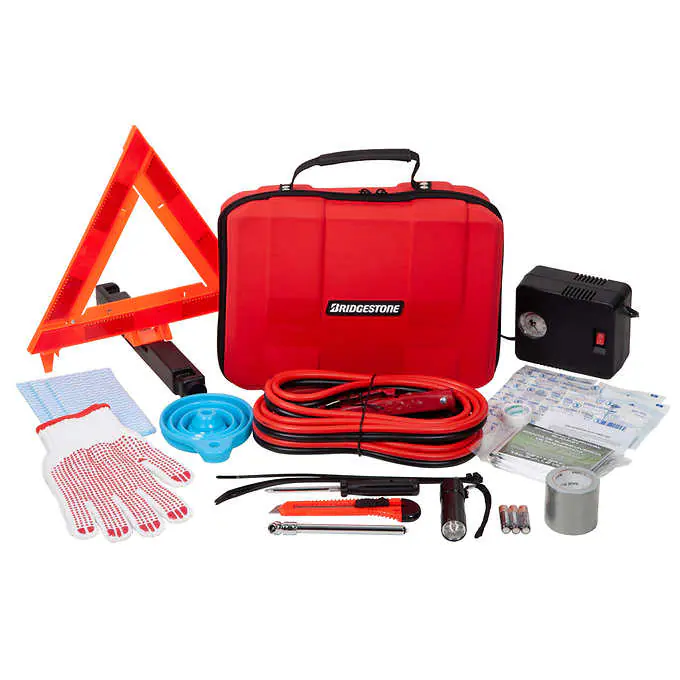
Here is the essential emergency car kit list:
1. Flares and lighting
The first and most important safety items to include in your auto emergency kit are flares or reflective triangles, which warn other drivers of the roadside hazard, especially in low visibility conditions. In case of a breakdown, they should be spaced out evenly along the roadside behind your vehicle. For a reusable, longer-lasting option, invest in battery-operated LED flares. A flashlight is also a necessity, especially a multi-use version that flashes.
2. Jumper cables
Jumper cables are another essential to include in the car emergency kit. Batteries can die or lose their juice at the least opportune moment, and jumper cables, with a jump start from another vehicle, can at least get you to the next service station. You should also consider carrying a separate battery pack for starting your car when no one else is around to help.
3. First aid kit
A first aid kit is a must-have item to include in any emergency road kit, indispensable for addressing smaller everyday injuries and more serious wounds from an accident. You can purchase them prepacked with all the essentials or assemble one customized to your needs. Families with small children should include medications that are age appropriate. Be sure to know what medications are needed for your passengers and pack enough to last for a reasonable time.
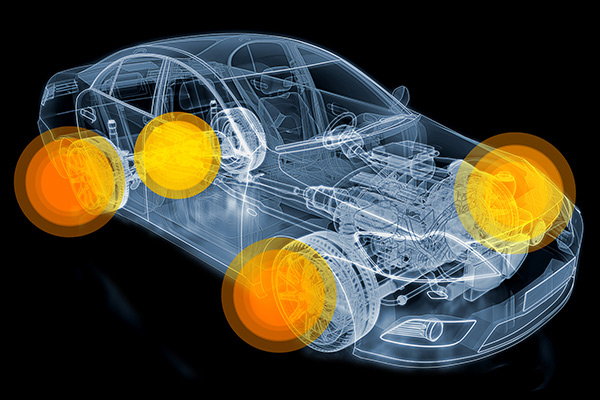
4. Spare tire, tire iron and car jack
A spare tire and tire-changing equipment should be included in your car emergency kit. You should familiarize yourself with how to change a tire just in case help is unavailable and you have to do it yourself. Check your kit every 6 months and make sure that your spare tire is properly inflated.
5. Mobile phone and charger
Another essential for your safety when driving is a working mobile phone and charger in case of a low or dead phone battery. It’s important that you can call for help if you’ve been seriously injured from a car accident or something is wrong with the car.
6. Water
Along with keeping warm, staying hydrated is an essential element of survival. Keep clean drinking water in smaller plastic containers, which will thaw faster with a little body heat in the winter than large gallon jugs. If driving in a remote area, you should be sure to bring plenty of water – one website recommends at least one gallon per person per day for three days if possible.
7. Nonperishable food
Packing food in your kit will help keep you fed in an emergency. Nonperishable food such as granola bars, soup, nuts, jerky, peanut butter and dried fruit are great options to pack in your kit.
8. Car fluids and tools
Flat tires are one of the most common causes of roadside trouble, but it’s not always possible to change a tire. Including a can of tire inflator and sealant in your kit can get you back on the road at least until the next stop. Other items that may help avert a roadside crisis and keep you going:
- 1 quart or more of motor oil (make sure it’s the right formula for your car)
- 1 gallon of coolant
- A toolkit with screwdrivers, pliers and an adjustable wrench
- 1 set of windshield wiper blades
Good wiper blades are also crucial to have handy, as they can clear a windshield in less than three swipes without leaving streaks. Keep a set of new blades in your vehicle so you can replace worn blades quickly and on the go.
9. Winter emergency car kit
Aside from winterizing your car, you should keep certain things in your car to prepare you for a winter emergency. If you know you’ll be driving in snowy weather, include:
- An ice scraper
- A spray bottle with washer fluid
- 1 set of snow chains for your tires
- A shovel
- Waterproof matches
Store all your items together in a box or carrying case in the trunk, making sure it’s easily accessible in case you need it in a hurry. Blankets, a sleeping bag or a heat-retaining emergency survival blanket are critical for making it through a cold night, especially in wintry climates. Bottled water and long-lasting food items such as granola or energy bars can be rotated out over time.